Recently everything related to FPV, Drones, and Robots in general have been occupying my mind. I wanted to create an FPV Terrestrial Drone experience to anyone without the need of having (in portugal we say “kit the unhas”, “nails kit”) skills to pilot an aerial drone.
This little project reminds me those times when I have time and patience, to build small robotic creatures just because the fun of it, I guess I’m getting very nostalgic with this one.
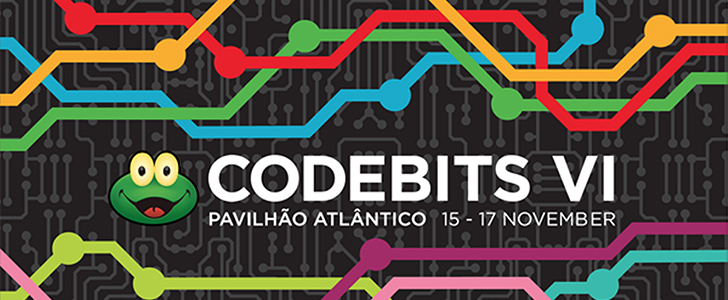
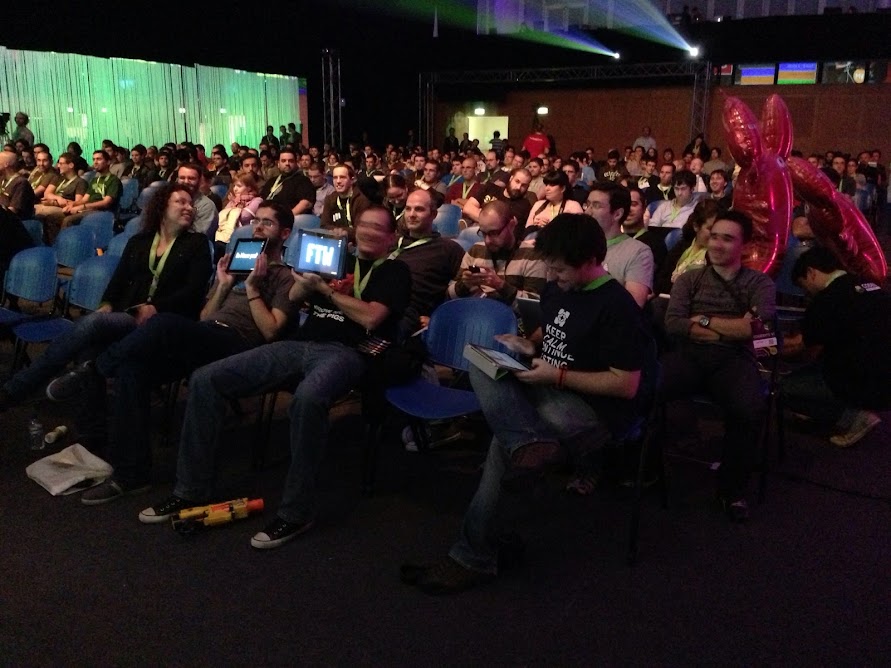
Codebits as you might know is the most geekest event in Portugal and surroundings!
Its audience range goes from programmers and entrepeneurs to hackers and designers! This year 800 people came to participate in 3 days full of talks, challenges, games, demos and junk food!!
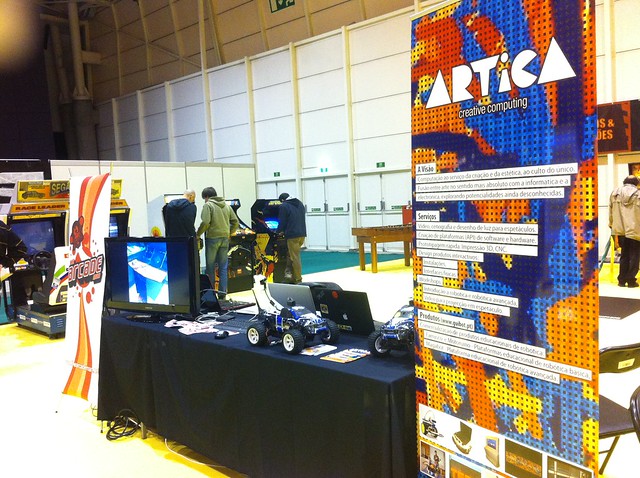
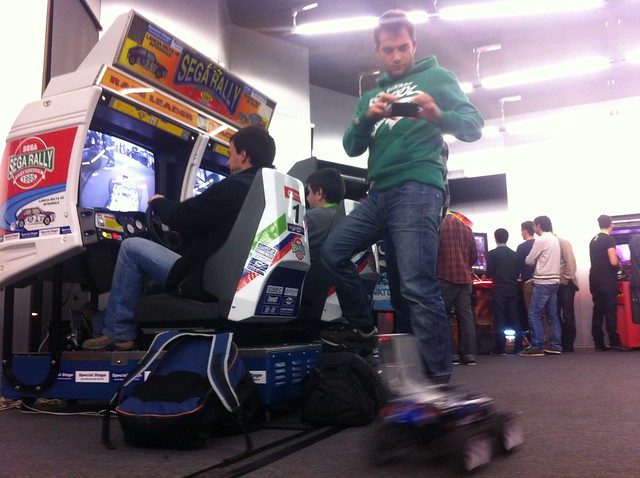
About our participation @ Codebits VI, at Artica we are extremely addicted to race games, Trackmania is only one of our favourites!! We still are addicted to race games but we usually don’t play them, instead, we prefer to create our own games.. :D we thought it would be way cool to drive a remote control car using a steering wheel and pedals, and if the car had a wireless cam, the gamer could look at the screen and really see what the car was seeing in real time, just like an arcade game!
This was our proposal to Codebits! To have an arcade game where it would be possible to drive two cars and participate in a real race, without any simulations or complex algorythms, neither 3D graphics.. we want something real! Celso Martinho was very excited with our idea, and by coincidence (or not) they were planning to have a retro gaming area at codebits!! Luis Sobral also known as TheArcadeMan, was the one behind the retro gaming area, Luis refurbishes old arcade machines and transforms them into brand new machines just like magic!
Besides having his own Arcades there, he was working on 10 old arcade machines, making them work with the so acclaimed Raspberry PI!!
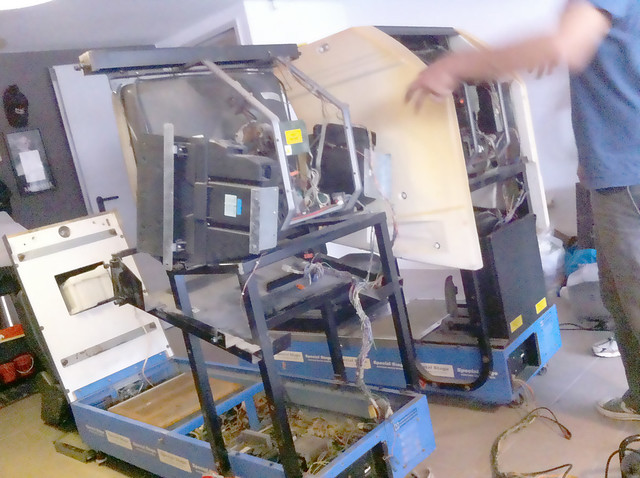
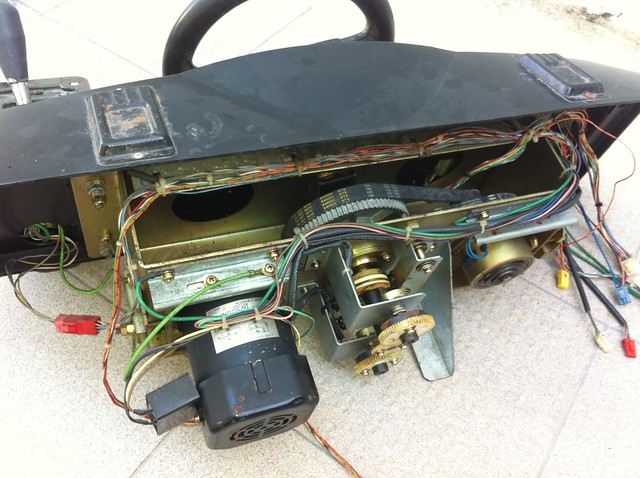
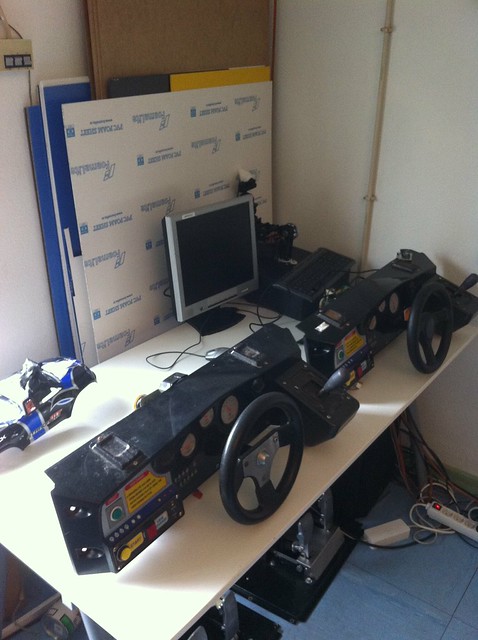
Luis had just bought two old SegaRally Consoles, and there was the possibility to transform them to be the control station for our RC cars! On a first (of many) tours to Luis’s “mancave” we start disassembling the old consoles, removing the old electronics boards, wondering the best way to connect all the gear!
apologize for the crappy quality photo :p
There is a strange beauty in this sturdy mechanical systems, they are so well engineered and one can feel they were pushed into the limits through the years, and are still able to be pushed a lot more!
This was the throttle pedal gear, on the right you can see a hand-made replacement, it was a cool hack to do.. and a miracle that it worked flawlessly all the event!
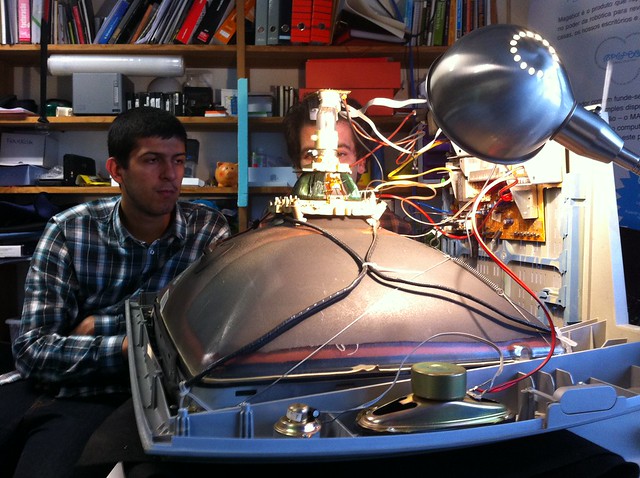
At this stage we couldn’t imagine that one of the biggest challenges was about to come!! Yes, the CRT’s… to send Video signal to this old CRT is not impossible by any means.. but it prooved to be way to much complicated for us..
after many attempts and despair.. we finally decided to “kill the rabbit”!! We found two Mitsai CRT’s willing to have a new glorious life!!! :D
And they fitted perfectly in the old frame!
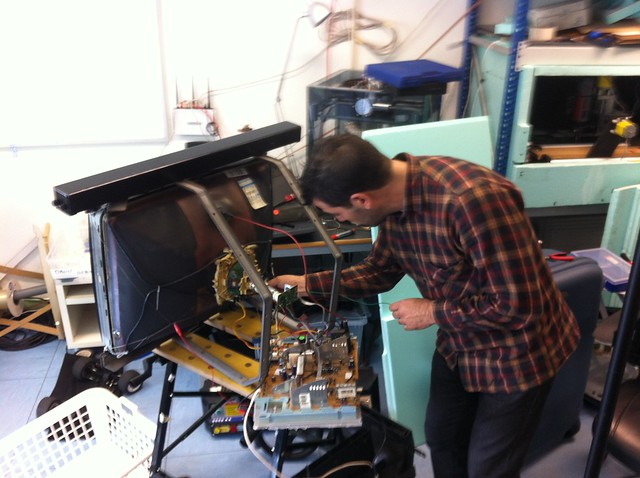
The steering, pedals, gears and buttons were connected to an Arduino, and data was sent via xbee to the car.
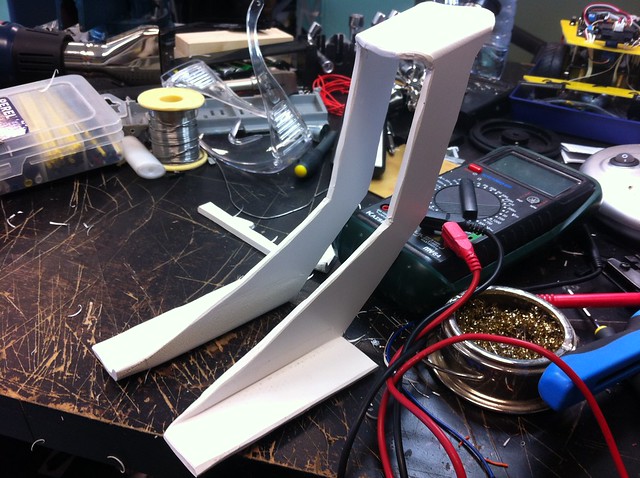
The car had a receiver Arduino mapping the data to the wheels, throttle and to the video switch! The gamer could choose wich camera to use, the front camera proved to be extremely difficult to use and only hardcore drivers used it!! The upper camera needed a support, and it had its iterations due to be easily broken when the car crashes or capsize! The final iteration was a one PVC piece bended with heat, it proved to be sturdy and survived to the hole event!
Sweet!
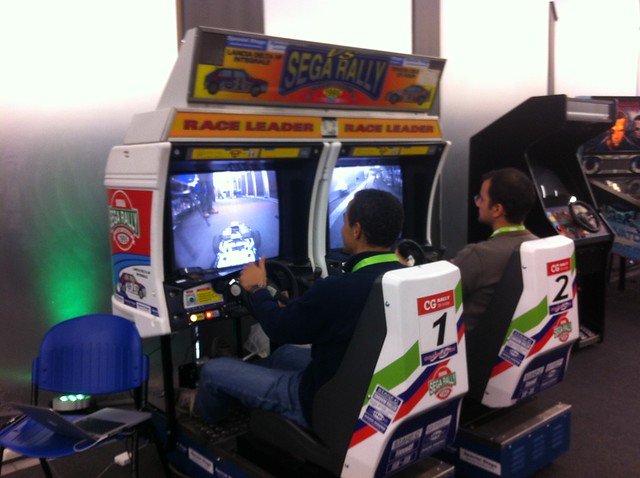
Finally at Codebits VI !! :D Artica had the honor to be at the Hardware Den with TheArcadeMen, Altlab, Ultimaker, InMotion, Mitch Altman and RaspberryPI Foundation.
The Sega Rally Championship Arcade was fully working all the time, we only need to stop a couple of times for final tweaks..
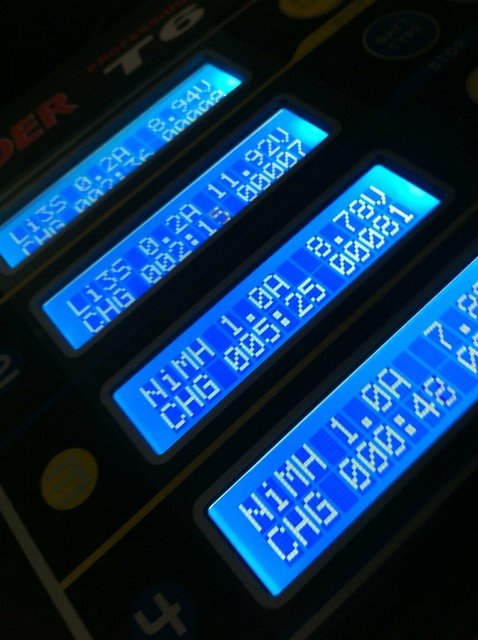
..and to recharge batteries!
To drive this things was extremely cool!! We are looking forward to repeat the experience!!
As a final note, we want to give a big thanks to all SAPO and PT Team for making this event a reality, Mauricio Martins and Adriano Couto from AltLab for helping us with the CRT’s, Francisco Dias gave a major help with his hacking skills, João Ribeiro for being a true Artica member, Filipe Valpereiro for all the hardcore geeky support, he was the guy who told us how to remove the steering wheel lag caused by the xbee buffer.. and finally thank you Celso for believing in us!!!
Here we are at the Museu das Telecomunicações (Comunications Museum) in Lisbon.
One of the museum installations is a shop window, showing three old devices, and when you place your hand or finger one the window, content is displayed on the side screen… fair enough, but the truth is that is was lacking some more interactivity, and we suggested to have spot lights on each device, and every time someone touch the area, the spot would fade in and the others simply fade out. Another cool thing we added was a led-strip on the top, giving an ambient light when there was no interaction, and blue light when someone touch the glass, everything just faded smoothly.
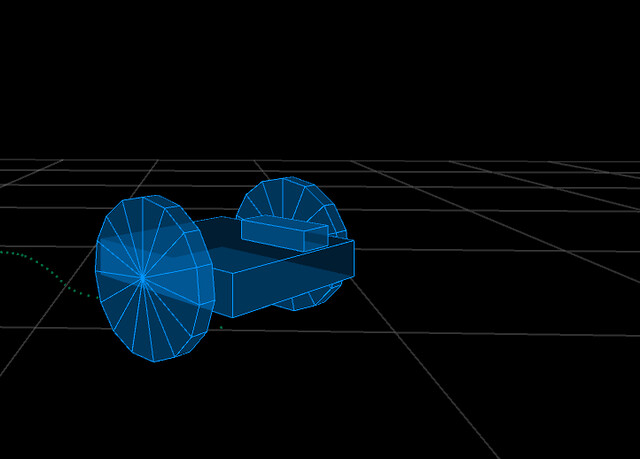
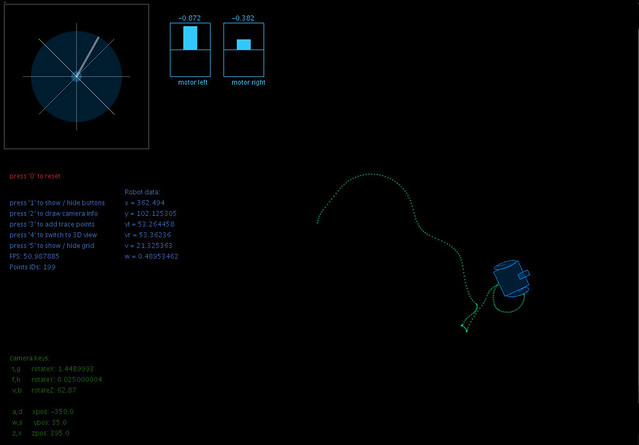
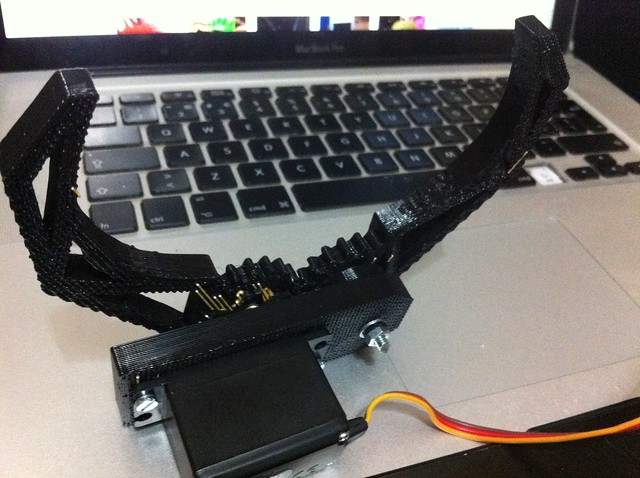
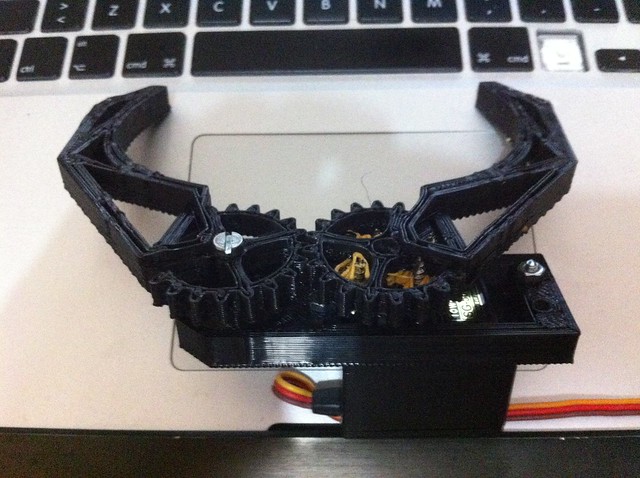
This is a first experiment on building a 3D printed robotic claw, I first got inspired by this project but it was designed for a micro servo, and I wanted to use a standard size servo so I had to design the claw from scratch.
The actual design still need one tweak or two to be optimized for 3D printing, but as it is now is fully functional.
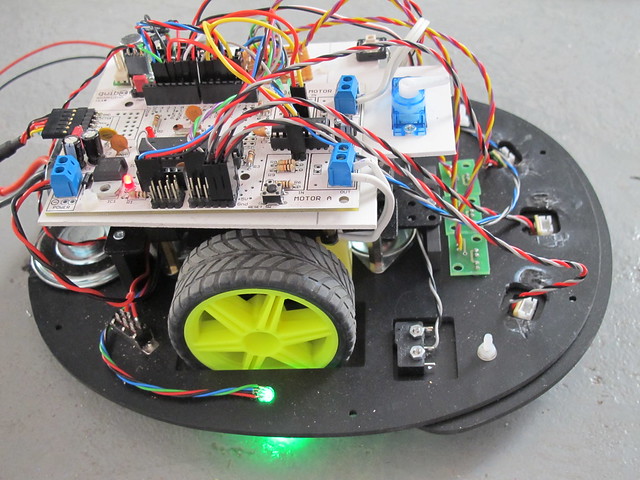
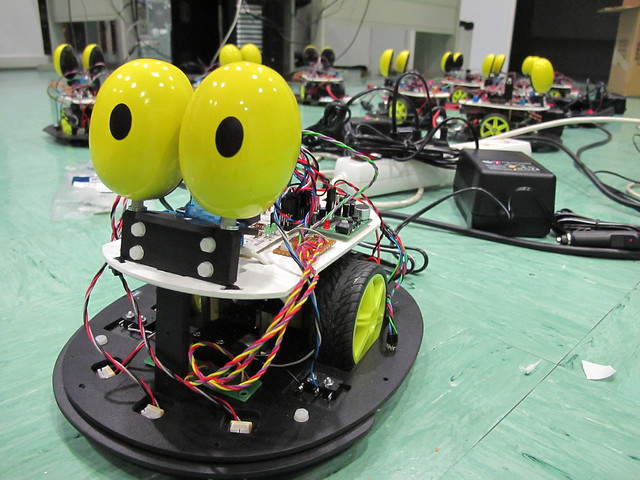
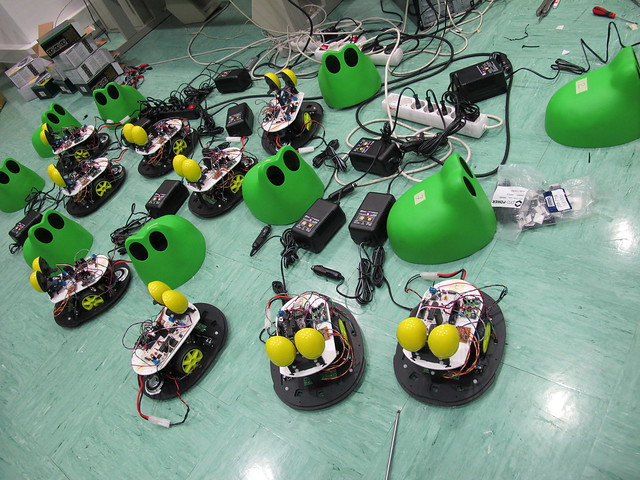
SapoBot is a robot that wonders through spaces avoiding obstacles detects holes on the ground, follow walls and follow lines, to change between behaviors you only need to press the shell, and when he detects a collision gives a frog sound. This project was comissioned by Sapo, means frog in portuguese.
This bots were made with a Farrusco chassis and Motoruino and once again with the great IDMind hardware and electronics skills, all the credits for the eyes mechanics and all the rest of the hardware upgrade goes to them.
The shell was made by Fernando and Margarida Antunes, don’t forget to check their amazing art work at http://margaridantunes.weebly.com.
This is a Farrusco on steroids!! Only the pins 0 and 1 for serial communication are free, all the other pins are taken for a considerable amount of sensors and actuators: 3 infrared sensors to measure distances on the front, 3 infra red sensors facing the ground, a speaker, 1 RGB LED, 1 servo motor, 2 dc motors and 2 bumper micro-switches to detect collisions.
The eyes are meant to give some human expression to the bot, they turn organically to both sides according the direction that the robot takes.
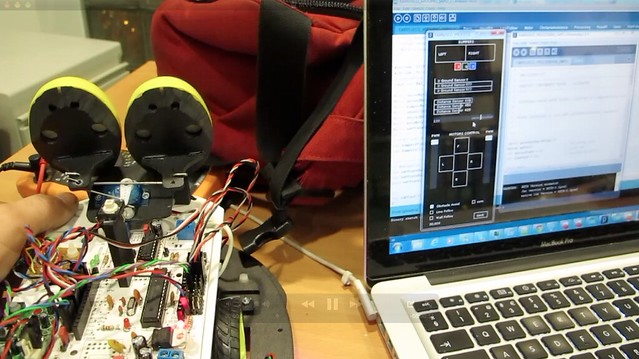
We coded an application in Processing to check all the sensors and actuators, allowing to save settings on the microcontroller EEPROM. This code will be available on Artica’s github soon.
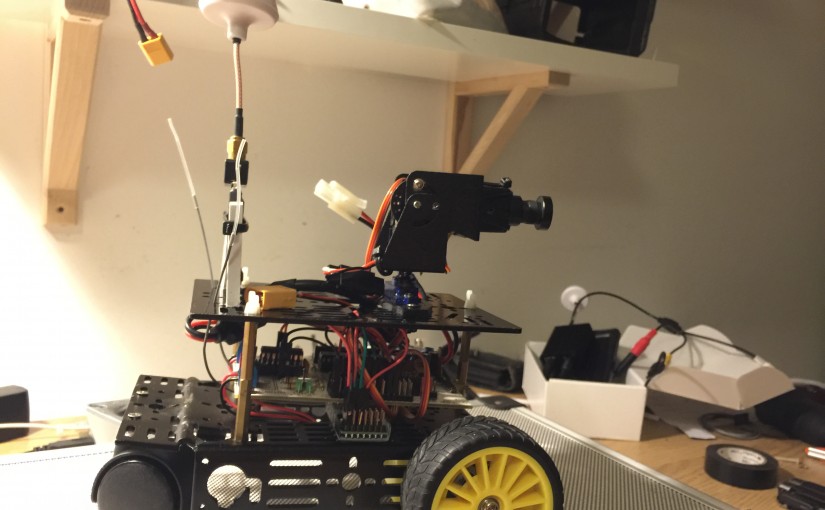
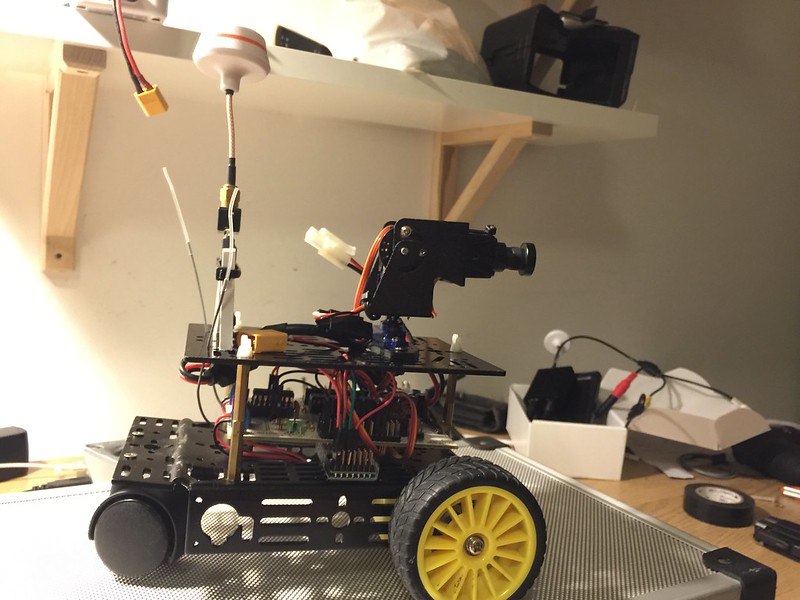
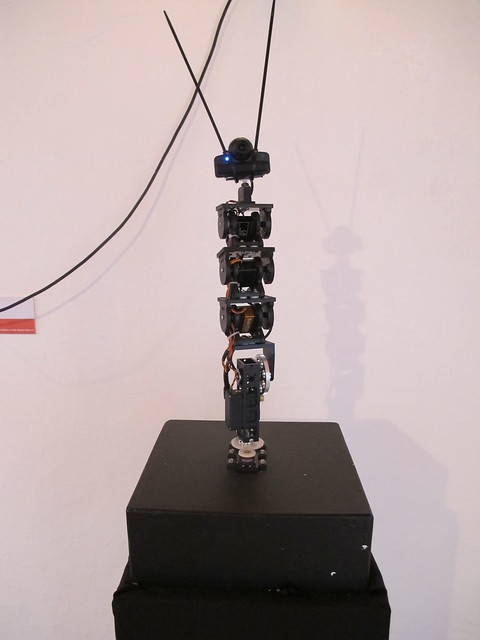
I SEE YOU TOO, is the 2nd version of the original ICU
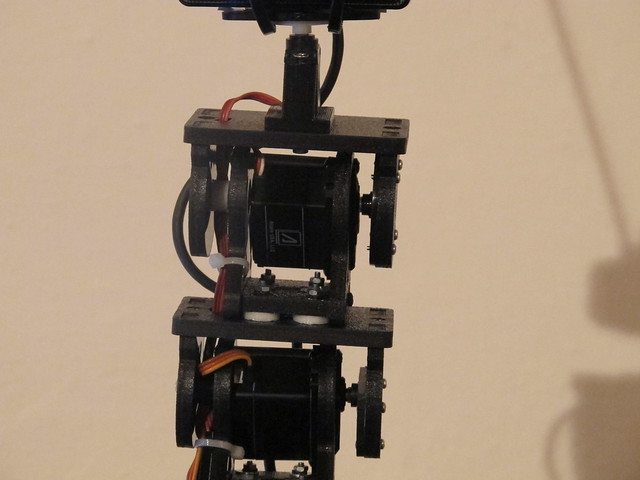
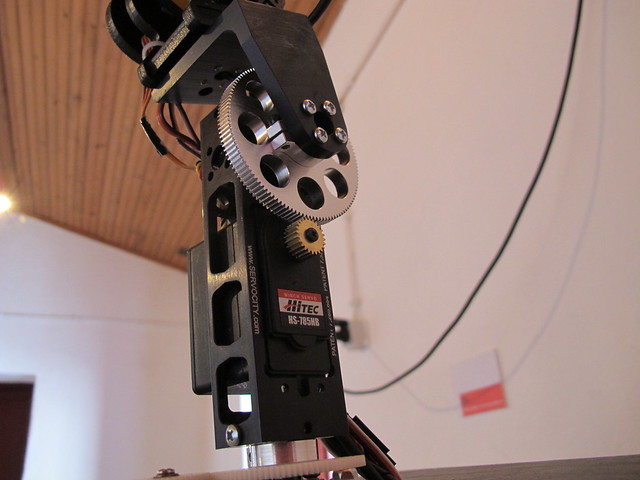
This version gained an upgrade in both hardware and software.
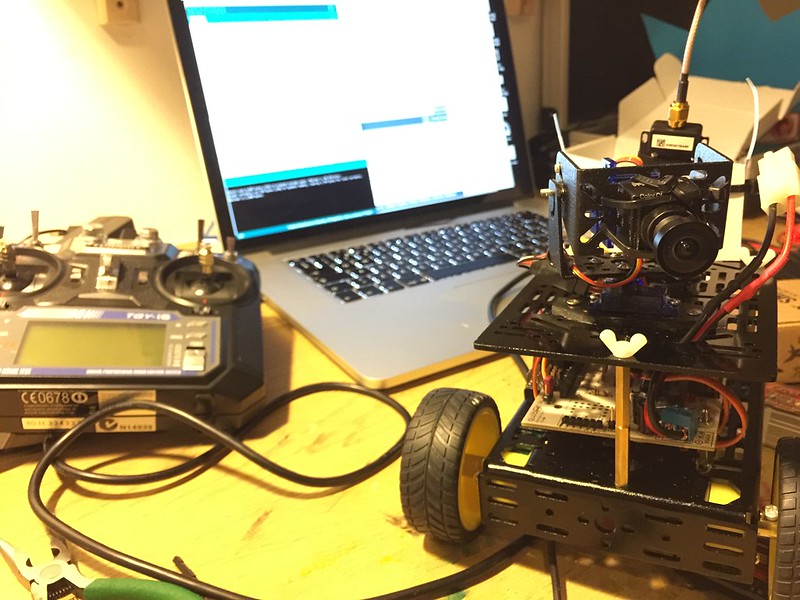
The hardware is mostly based on servocity.com pan and tilt systems.
This is a work in progress, until now what is implemented is Face Detect with the openCV library for Processing.
Next stage is to implement a more robust face and emotions detection and this will run on top of an inverse kinematics algorithm. What we want the most is ICU2 to be a living organism, with a complex behavior tree system.