The greatest part of the project is to actually drive the bot and just play with it.. video speaks for itself :]
Tag: RC

NightRider – update d
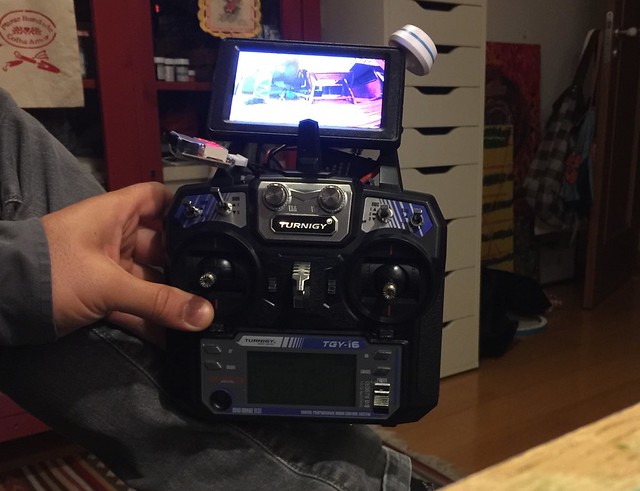
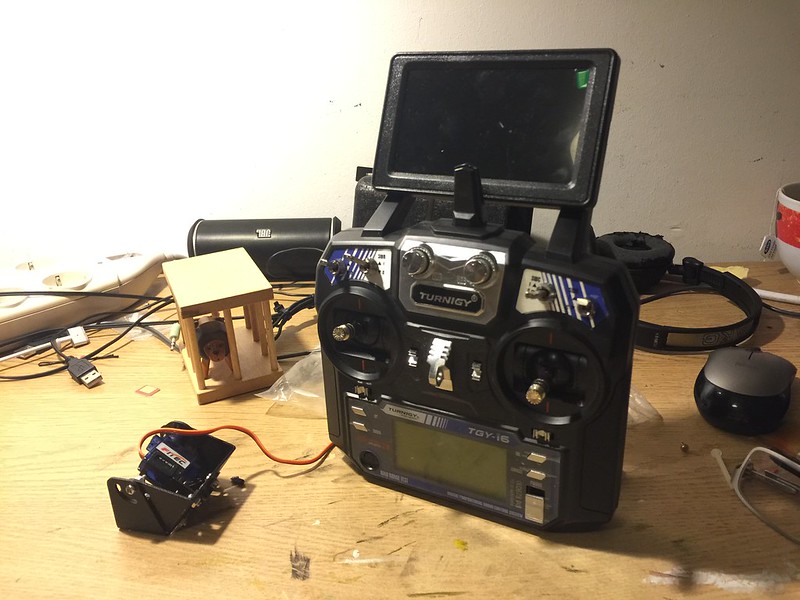
About the controller, I want it to have something we see in the drone industry, a controller with the screen, all-in-one. There is always the option to connect the receiver to the TV, but I really want it to be standalone, independent of power wallets, just something that I can carry anywhere I go.
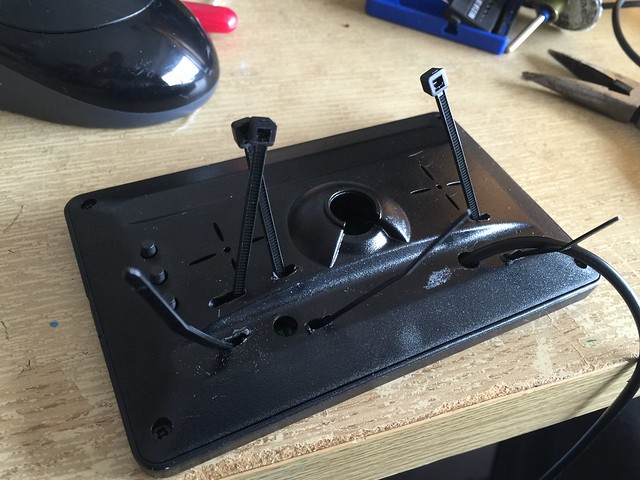
First step was to find a way to hold the screen to the remote, so I added zip ties to the back of the screen.
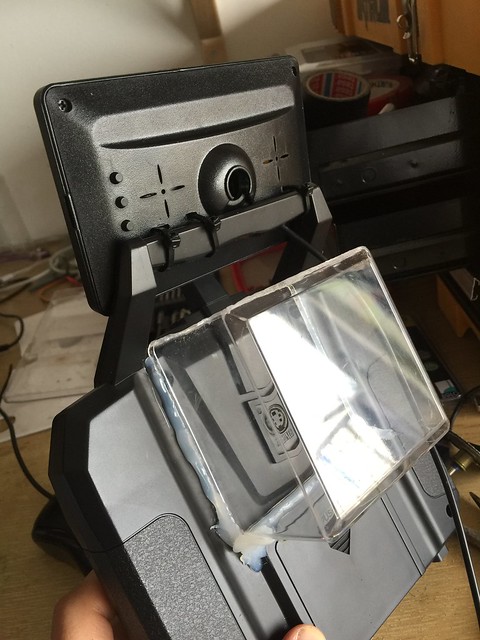
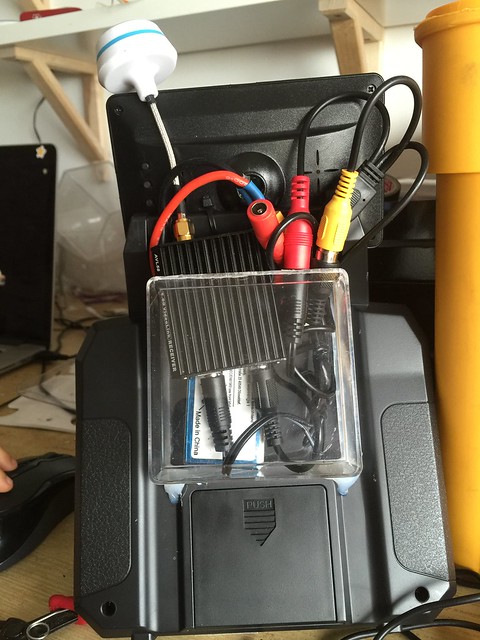
I also added a compartment to hold the receiver, battery and wires (collecting acrylic stuff is a good habit I guess)
Not bad..
The back side is still messy, but I will live with it for now.
and it just works..

NightRider – update b
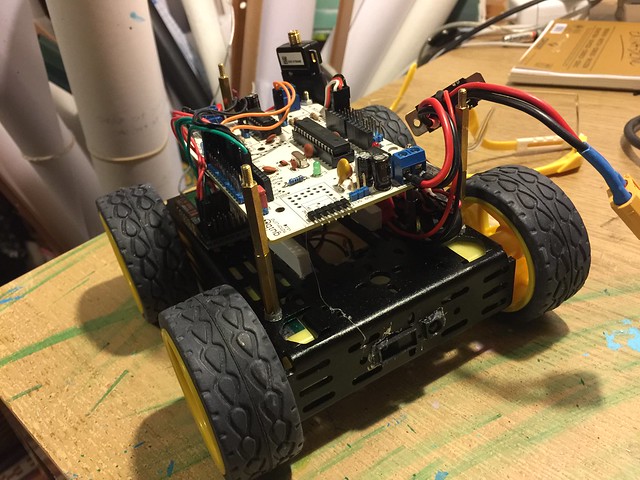
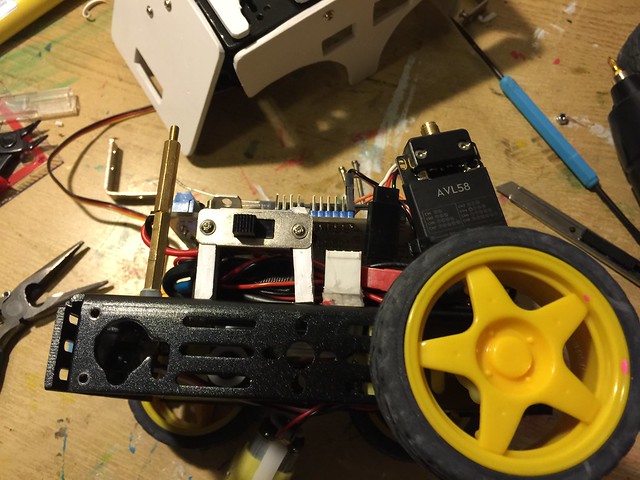
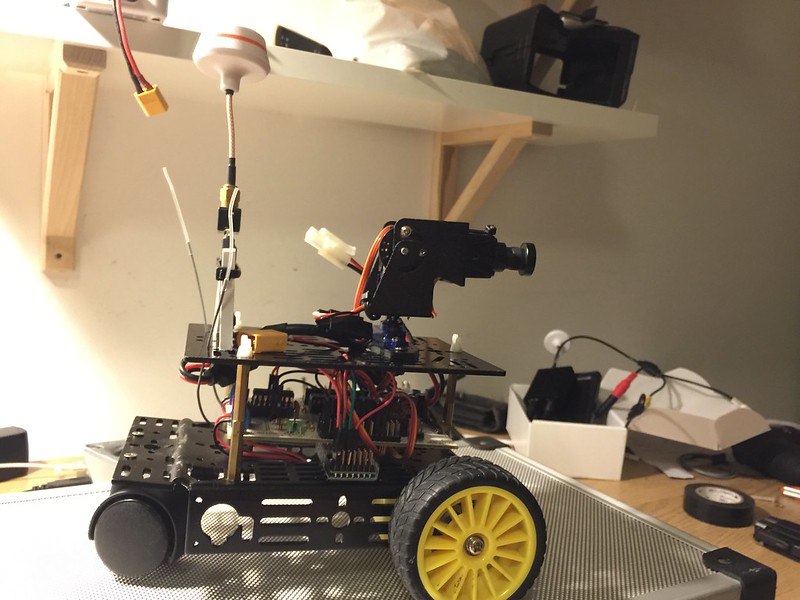
I felt with courage to start the modifications to the bot, first I moved the battery to the lowest possible place, this makes the center of gravity lower.

With the electronics board all looks good..
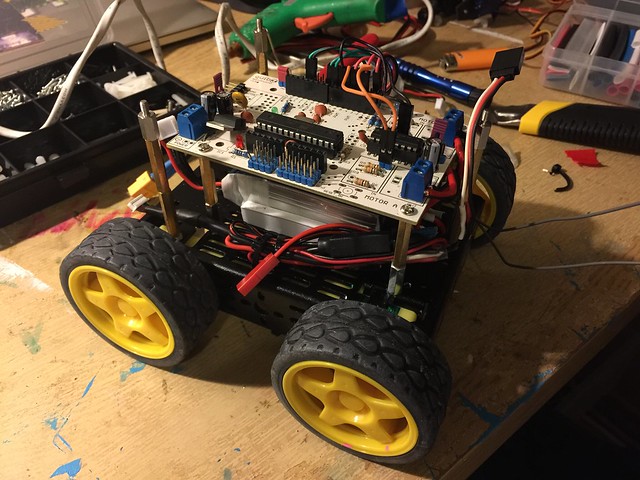
I added a power switch and a Sharp Infra Red sensor, this sensor will act as a fail safe to avoid collisions.
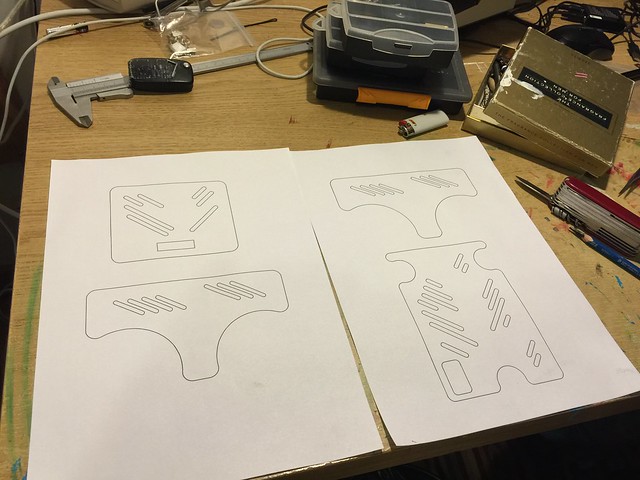
I also wanted to create some kind of a shell, so went to 3D to design the plates and this is the result.
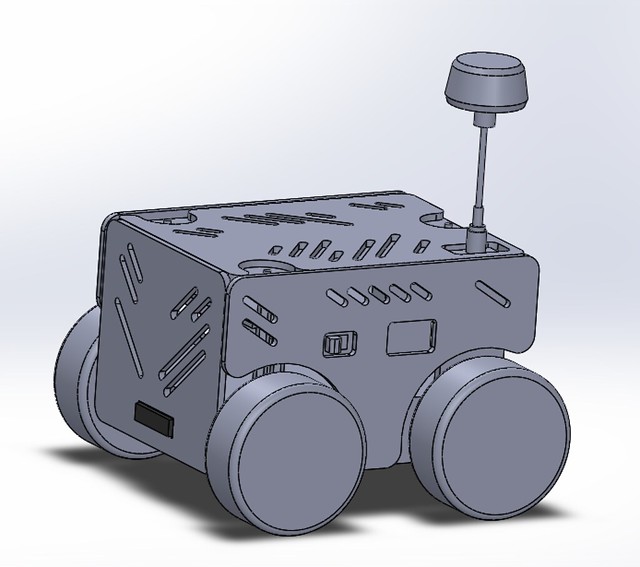
The plates will be cutted in laser or CNC, but meanwhile I will just print them and manually cut PVC sheets.
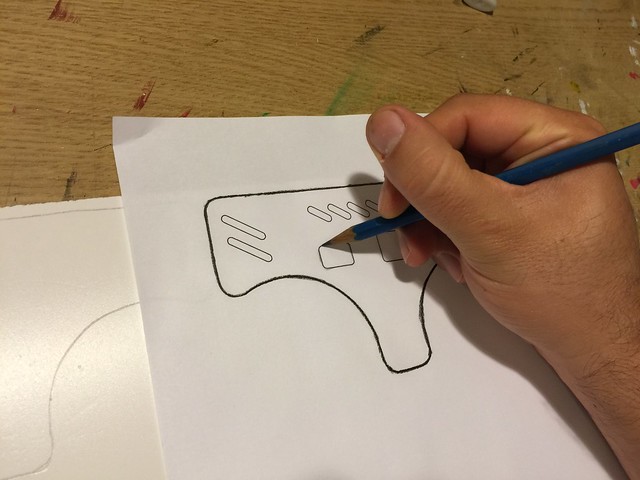
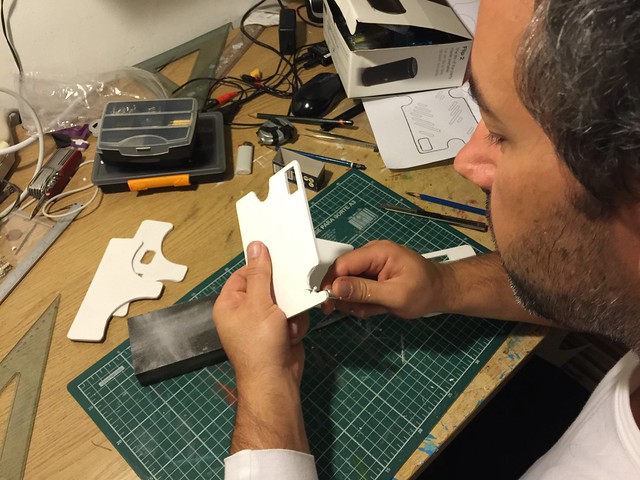
using graphite pencil to transfer the plate drawings to the PVC sheets.
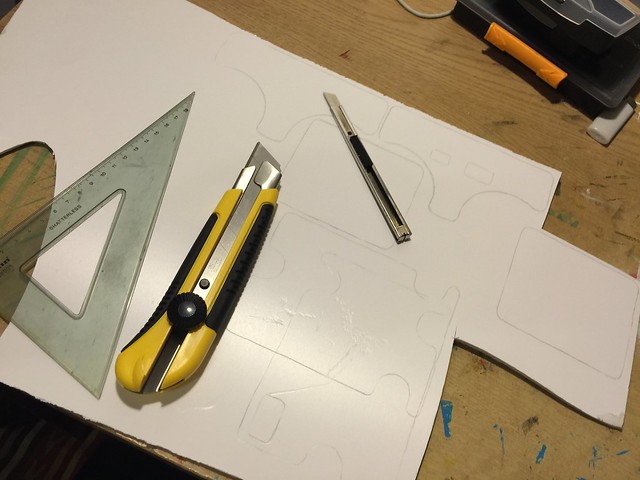
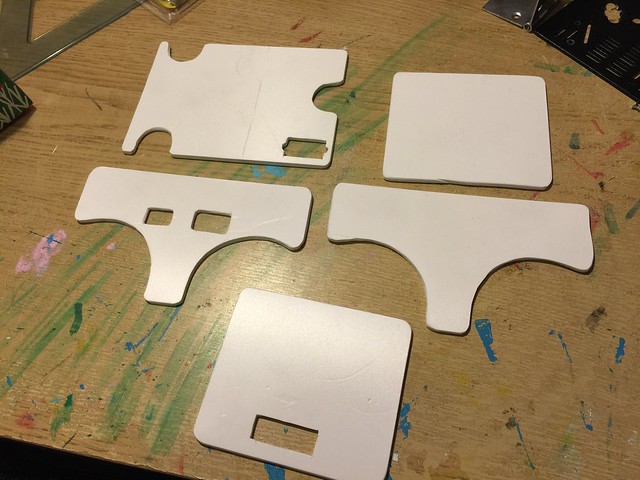
All the plates are transfered and ready to be cutted.
The plates are cutted, now I will just sand a bit to give a final touch
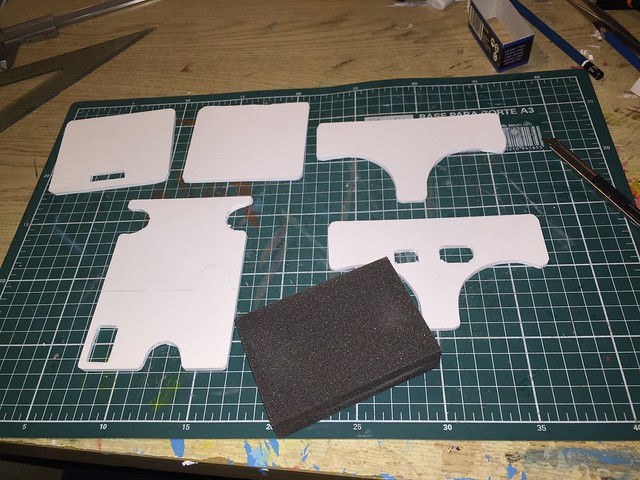
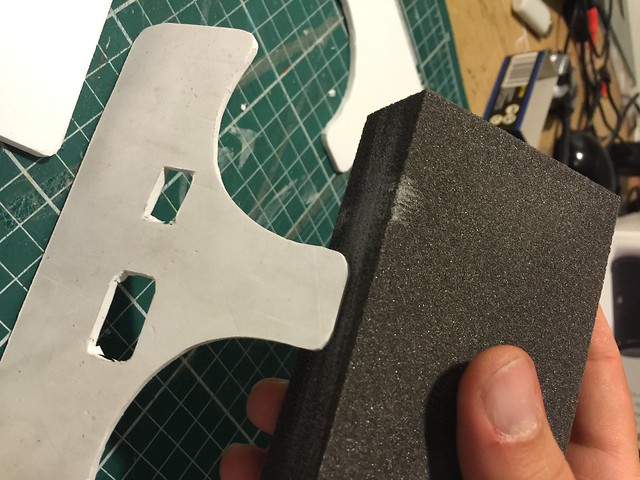
All plates are looking good for now
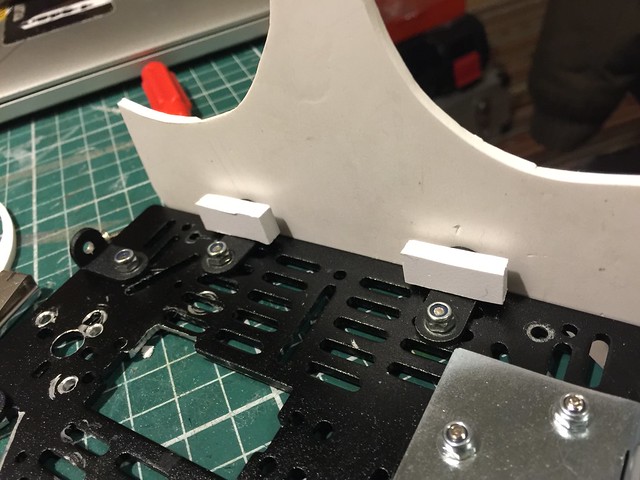
Time to start with the supports for the plates, I will go to these small L shape things
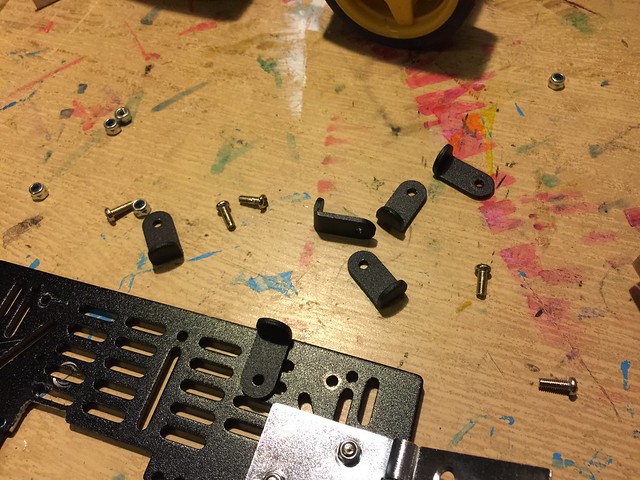
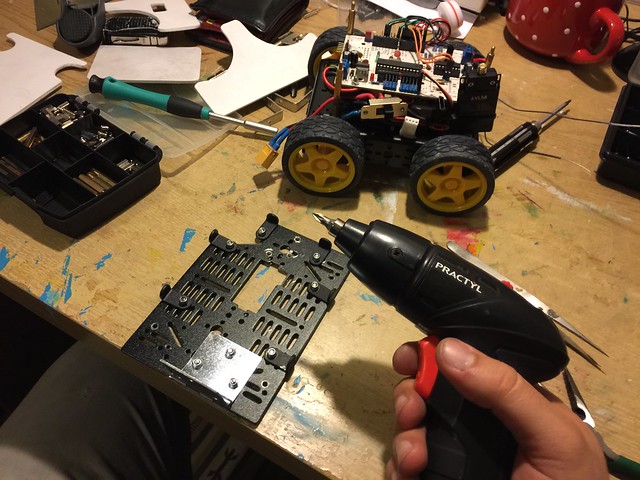
All the supports are fitted, when we have loads of screws an electric screwdriver is handy, this one is the cheapest I could find
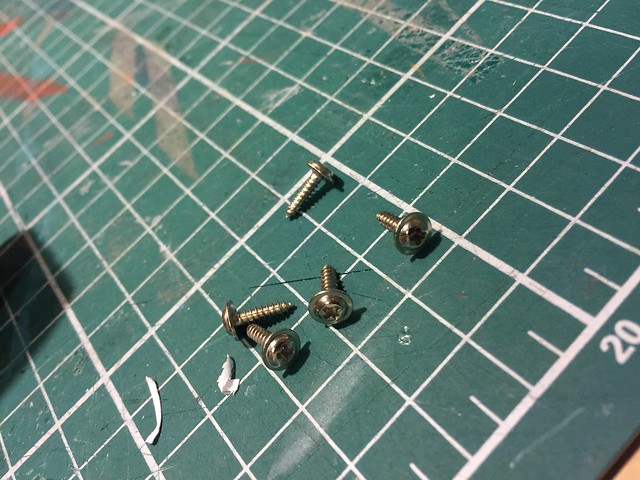
Now to fit the plates I will use this selftap screws, they come together with the servos motors, and I always harvest them because they are hard to find in hardware stores.
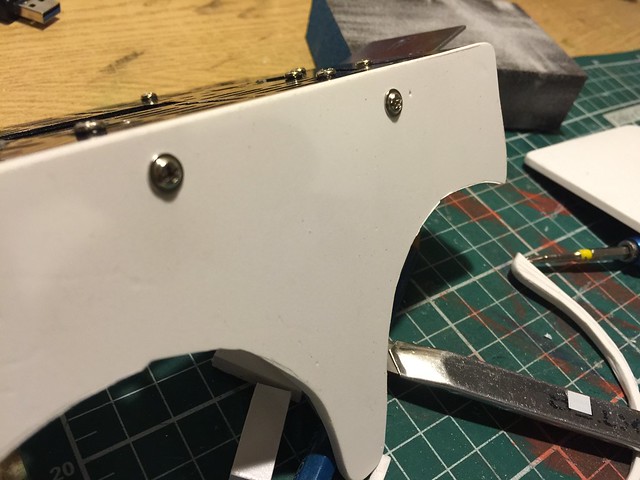
You can also see a hinge, this will actually make a door to swap batteries.
And this is how the plates are securelly fitted.
A look on the inside

This is how I managed to hold the power button in place, it is just PVC pieces fitted to the chassis, and then hold the power button with selftap screws.
There’s the hinge.
Testing everything, all look good.
I was doing another quick test when suddently smoke started to come out, it was the L293D that got smoked.. well, I couldn’t expect worse since I was pushing 12V to 4 motors and the L293D only handles 600 mAh per channel.
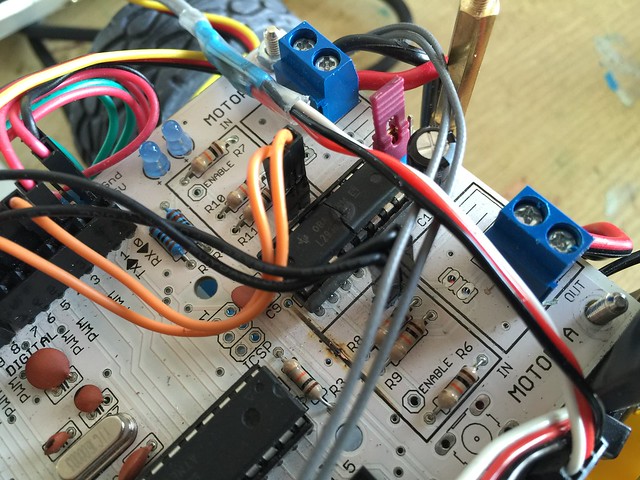
I will swap the board to the new Motoruino2 from Artica, wich is still a prototype but nothing better that this bot to test it.
NightRider
Back to the Origins
Has been a long time since my last robot project.
Recently everything related to FPV, Drones, and Robots in general have been occupying my mind. I wanted to create an FPV Terrestrial Drone experience to anyone without the need of having (in portugal we say “kit the unhas”, “nails kit”) skills to pilot an aerial drone.
This little project reminds me those times when I have time and patience, to build small robotic creatures just because the fun of it, I guess I’m getting very nostalgic with this one.
The Turnigy controller works just fine, and to get the sticks values I am using the very well documented code from Sparkfun Nick Poole
https://www.sparkfun.com/tutorials/348
.
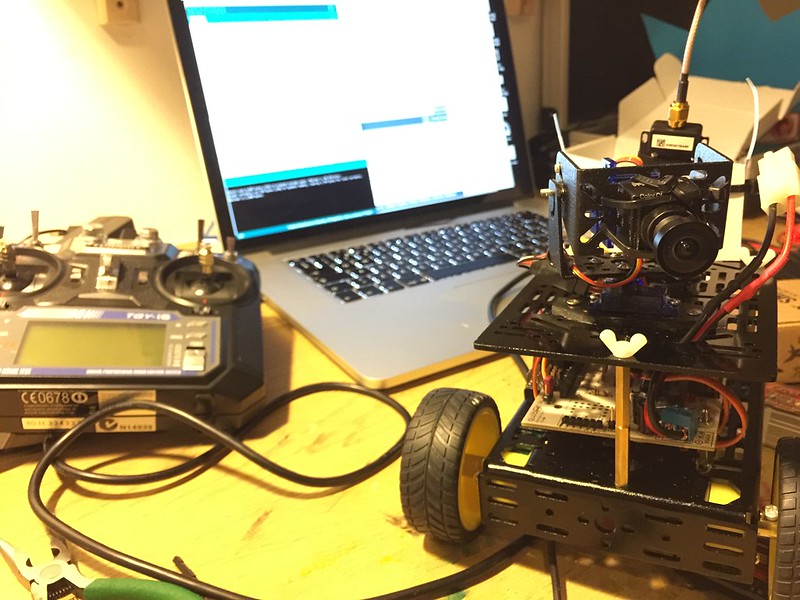
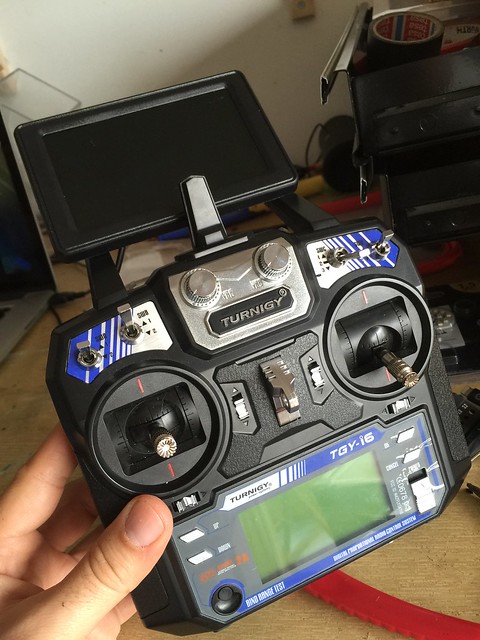
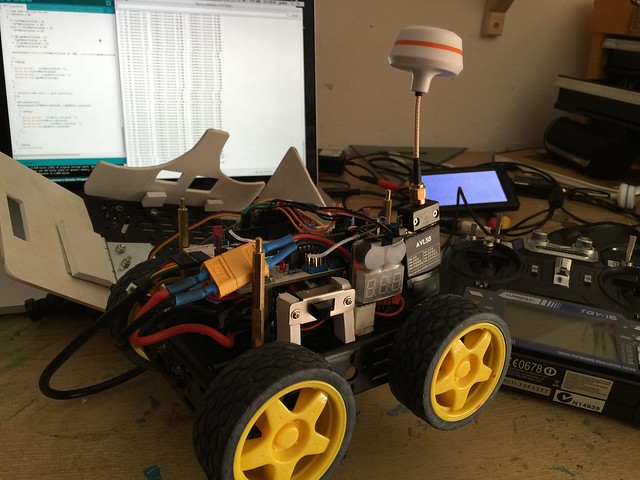
And this is the controller with the screen. There is still missing the video receiver and the battery.
More to come ;]
MERV
Merv stands for Mini E-Revo, and this is my latest acquisition which turned out to become a hobby! Also it gives me what I eventually call “mechanics sensibility”, and due to the high level maintenance it requires, I am becoming a better maker and designer, as if I wouldn’t say so to myself!!
This car design and engineering is so top level and is like an open book, one can learn a lot just from looking it.
Of course the best part is when the car is able to be driven!
RC Sega Rally Championship @ MEO XL Party
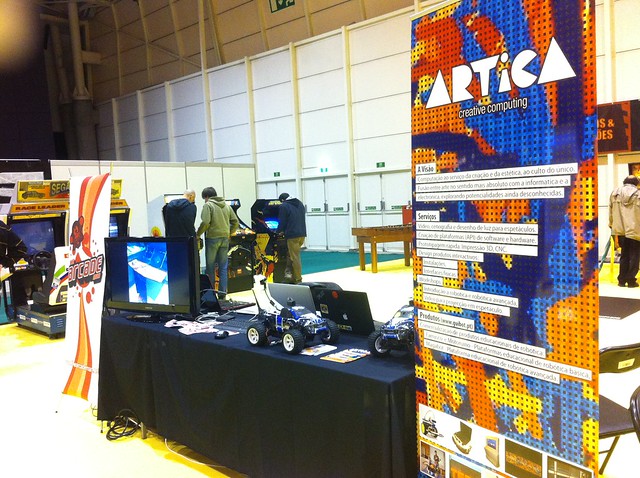
Video by TheArcadeMan!! Enjoy!!! :D
SIC “Futuro Hoje” @ Codebits VI
Great report about Codebits VI by Lourenço Medeiros – SIC @ “Futuro Hoje”
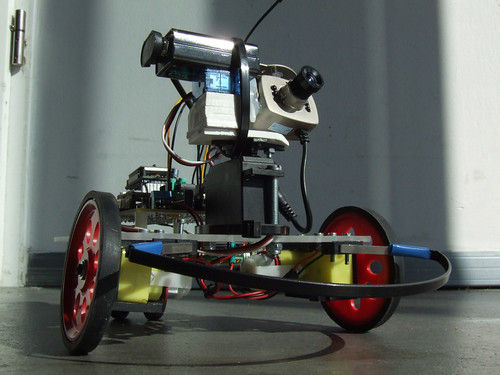
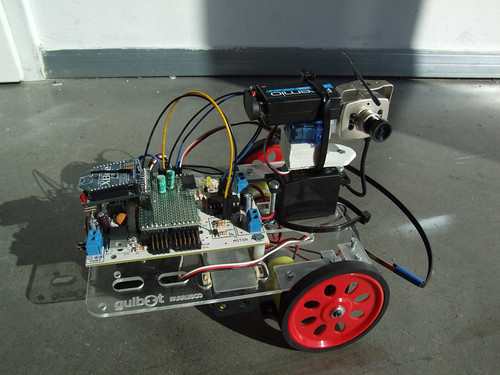
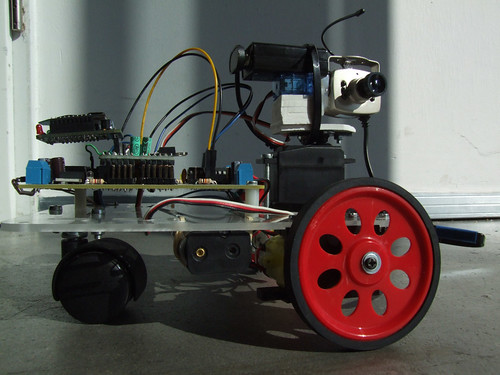
SWARS – See What a Robot Sees

This project is a collection of experiences related to seeing and percieving the world from the point of view of robotic creatures. Robots will send sensor data to the computer and will generate visual and audio landscapes in real time.
The development started during the Audiencia Zero residency in O Espaço do Tempo in Montemor-o-Novo, and will continue until the final exhibition wich will be in July.
This is a colaborative project where many friends are bringing together their skills, until now we have collaborated with:
– Pedro Ângelo with Serial Communication;
– Rui Madeira with computer vision technics and advanced maths;
– Sérgio Ferreira is a media and interaction guru, always providing precious help and advice;
– Daniel Gomes is working on a MAXMSP interactive sound;
– Nuno Morgadinho is developing an online application to remotely control robots.
– André Almeida is a computational guru and a great technology and interaction advisor.
More to come ;)
Sub-projects list:
This is the first iteration of this project, and just a quick test for something greater.. hope to have time for it in the future.
Components list:
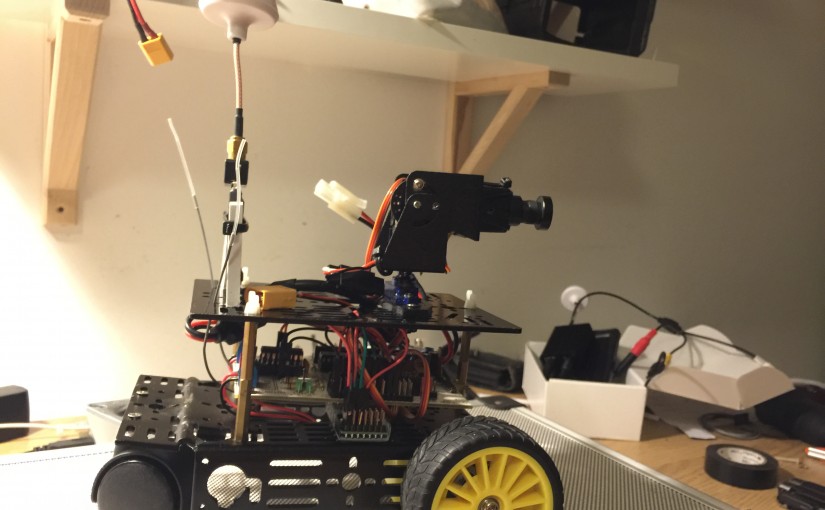
– Motoruino (Arduino compatible board) up and running;
– Wireless camera and video converter sponsored by O Espaço do Tempo;
– Basic pan/tilt system built with PVC;
– GUI written in Processing enabling robot remote control, gives vision feedback and servos orientation.
SOURCE CODE FOR ARDUINO AND PROCESSING
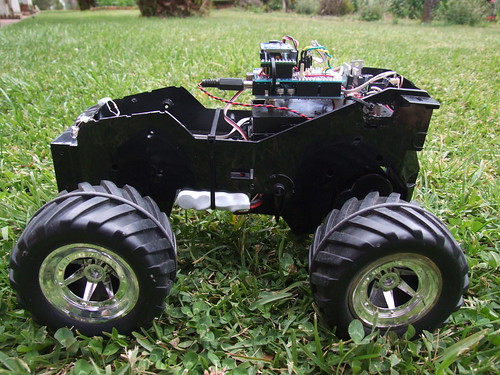
giving a new life to dead rc cars
I’ve found this two rc vehicles on a junk, they are in a very bad condition. The big one has the DC motor burned out, I will try to replace it.. brushless motor maybe.

They both have two different gear mode (hi and low speed), I am wishing to try it out.

This is the dead motor..
The small car doesn’t have the rear suspension, I could try to rebuild it but I wanted to try something different with this one. I want to go for a chopper tricycle style :D


It’s a bit weirdo, and I’m very unsure if this will work, but I will give it a try.. If it fails, I want to try with one of the original wheels on the front, the reason I didn’t try is because I don’t have a way to hold the front wheel right now, I must look on a hardware store for a strong wire and it is 2 AM right now.

Is much stylish this way, definitely, this way it would be an all terrain tricycle!! :D
bigbro upgrade
This time I added the Solarbotics L298 Compact Driver Kit, the car is now much more powerfull and it is very cool to drive.
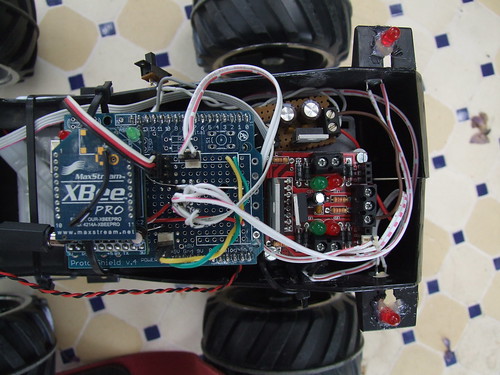
In the photo you can see a proto shield where I connected the Xbee, the motor and servo and the LEDS, than the L298N board and a 6v voltage regulator.
I added a small video with some “stunts” :)
(I´m using the G-Remote to drive this beast!) :D
Click here to see more cool stuff: