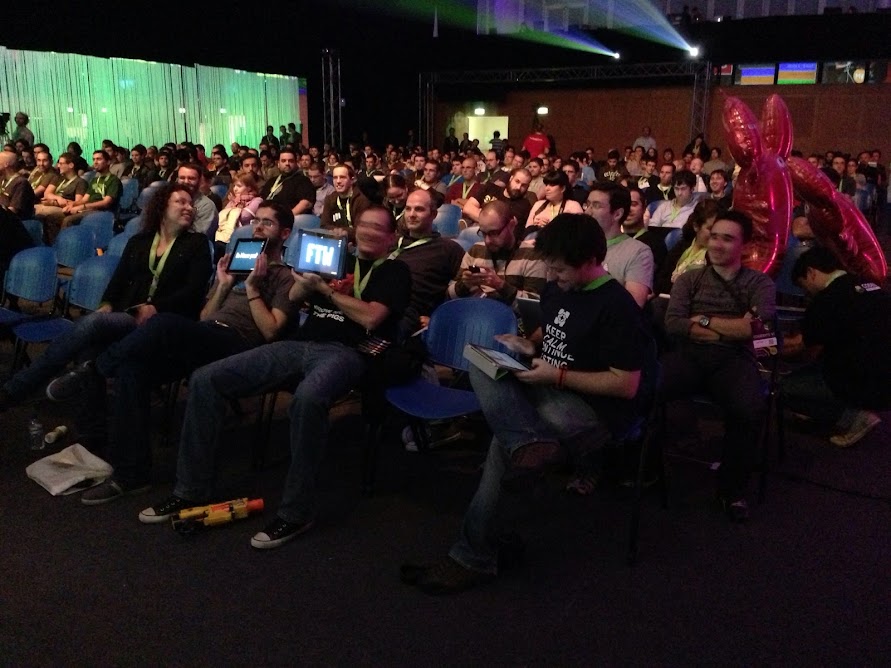
Codebits as you might know is the most geekest event in Portugal and surroundings!
Its audience range goes from programmers and entrepeneurs to hackers and designers! This year 800 people came to participate in 3 days full of talks, challenges, games, demos and junk food!!
About our participation @ Codebits VI, at Artica we are extremely addicted to race games, Trackmania is only one of our favourites!! We still are addicted to race games but we usually don’t play them, instead, we prefer to create our own games.. :D we thought it would be way cool to drive a remote control car using a steering wheel and pedals, and if the car had a wireless cam, the gamer could look at the screen and really see what the car was seeing in real time, just like an arcade game!
This was our proposal to Codebits! To have an arcade game where it would be possible to drive two cars and participate in a real race, without any simulations or complex algorythms, neither 3D graphics.. we want something real! Celso Martinho was very excited with our idea, and by coincidence (or not) they were planning to have a retro gaming area at codebits!! Luis Sobral also known as TheArcadeMan, was the one behind the retro gaming area, Luis refurbishes old arcade machines and transforms them into brand new machines just like magic!
Besides having his own Arcades there, he was working on 10 old arcade machines, making them work with the so acclaimed Raspberry PI!!
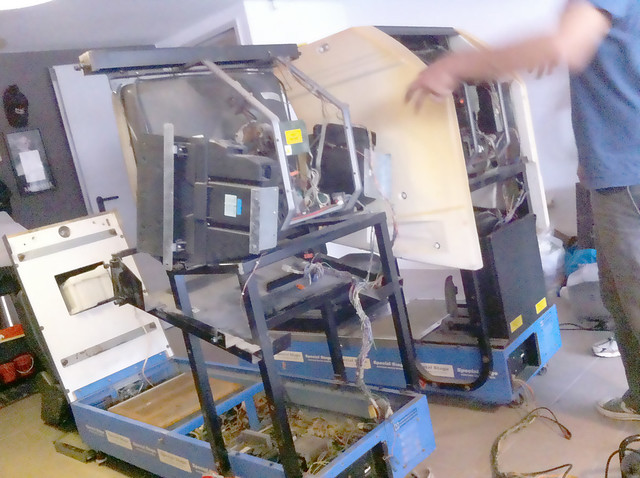
Luis had just bought two old SegaRally Consoles, and there was the possibility to transform them to be the control station for our RC cars! On a first (of many) tours to Luis’s “mancave” we start disassembling the old consoles, removing the old electronics boards, wondering the best way to connect all the gear!
apologize for the crappy quality photo :p
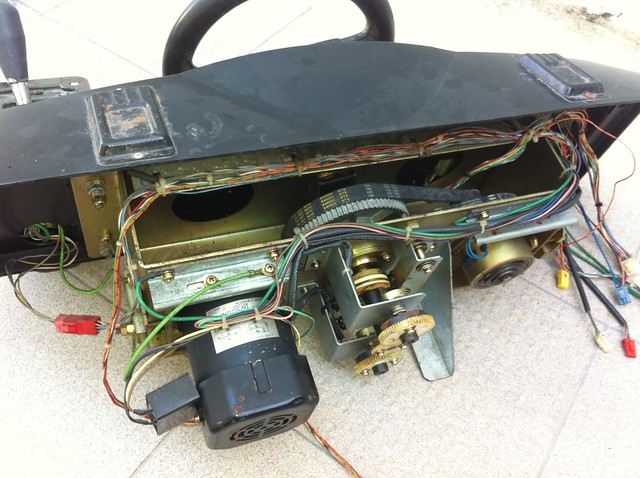
There is a strange beauty in this sturdy mechanical systems, they are so well engineered and one can feel they were pushed into the limits through the years, and are still able to be pushed a lot more!
This was the throttle pedal gear, on the right you can see a hand-made replacement, it was a cool hack to do.. and a miracle that it worked flawlessly all the event!
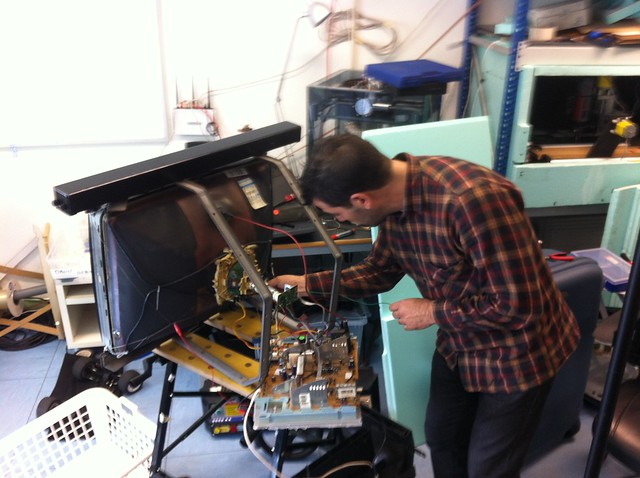
At this stage we couldn’t imagine that one of the biggest challenges was about to come!! Yes, the CRT’s… to send Video signal to this old CRT is not impossible by any means.. but it prooved to be way to much complicated for us..
after many attempts and despair.. we finally decided to “kill the rabbit”!! We found two Mitsai CRT’s willing to have a new glorious life!!! :D
And they fitted perfectly in the old frame!
The steering, pedals, gears and buttons were connected to an Arduino, and data was sent via xbee to the car.
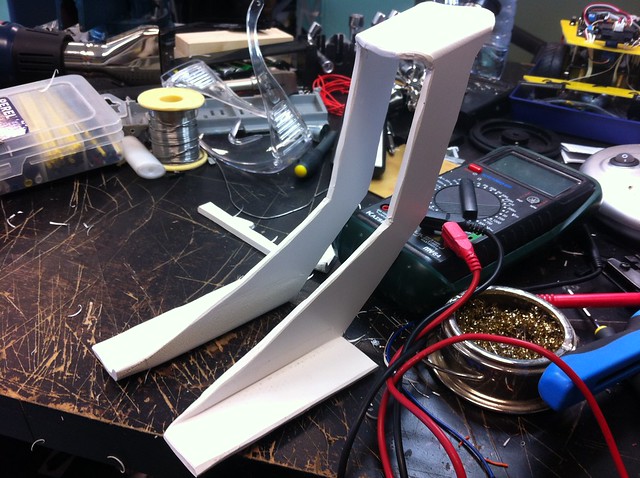
The car had a receiver Arduino mapping the data to the wheels, throttle and to the video switch! The gamer could choose wich camera to use, the front camera proved to be extremely difficult to use and only hardcore drivers used it!! The upper camera needed a support, and it had its iterations due to be easily broken when the car crashes or capsize! The final iteration was a one PVC piece bended with heat, it proved to be sturdy and survived to the hole event!
Sweet!
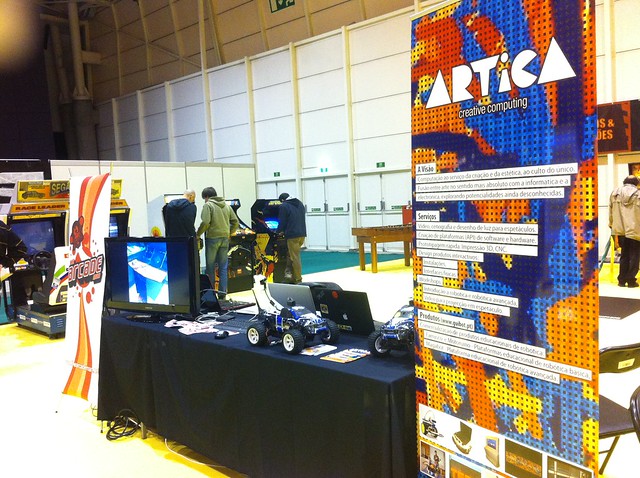
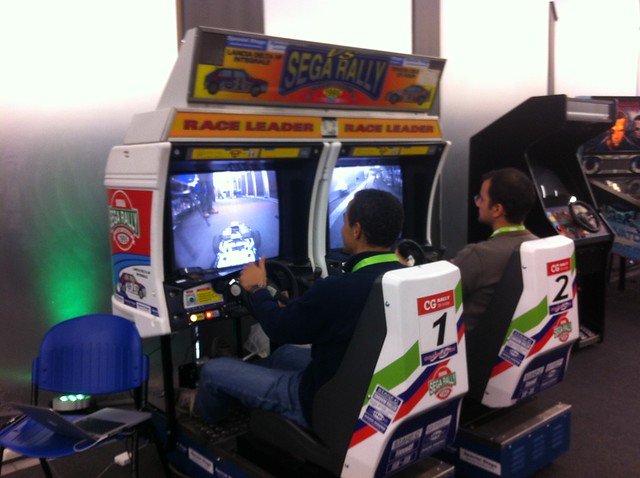
Finally at Codebits VI !! :D Artica had the honor to be at the Hardware Den with TheArcadeMen, Altlab, Ultimaker, InMotion, Mitch Altman and RaspberryPI Foundation.
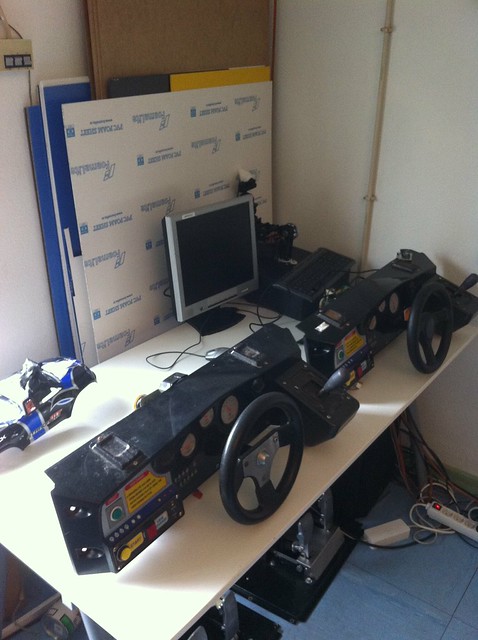
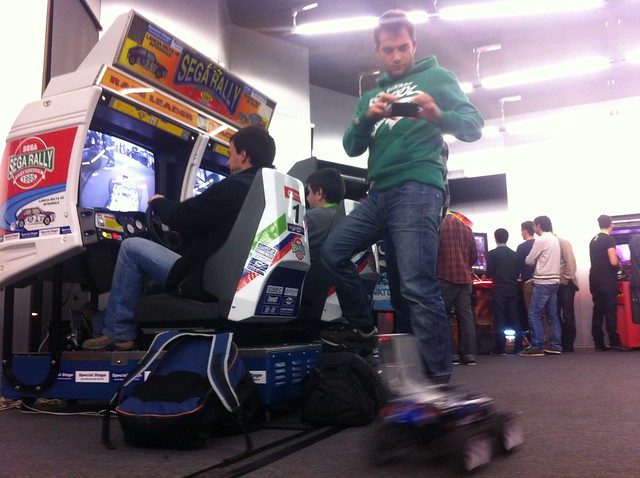
The Sega Rally Championship Arcade was fully working all the time, we only need to stop a couple of times for final tweaks..
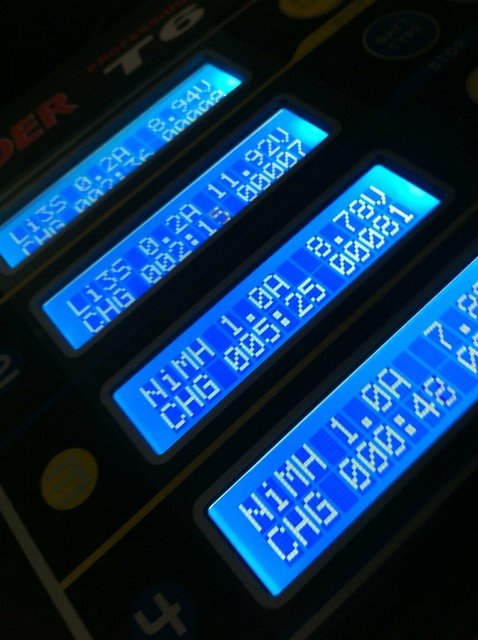
..and to recharge batteries!
To drive this things was extremely cool!! We are looking forward to repeat the experience!!
As a final note, we want to give a big thanks to all SAPO and PT Team for making this event a reality, Mauricio Martins and Adriano Couto from AltLab for helping us with the CRT’s, Francisco Dias gave a major help with his hacking skills, João Ribeiro for being a true Artica member, Filipe Valpereiro for all the hardcore geeky support, he was the guy who told us how to remove the steering wheel lag caused by the xbee buffer.. and finally thank you Celso for believing in us!!!
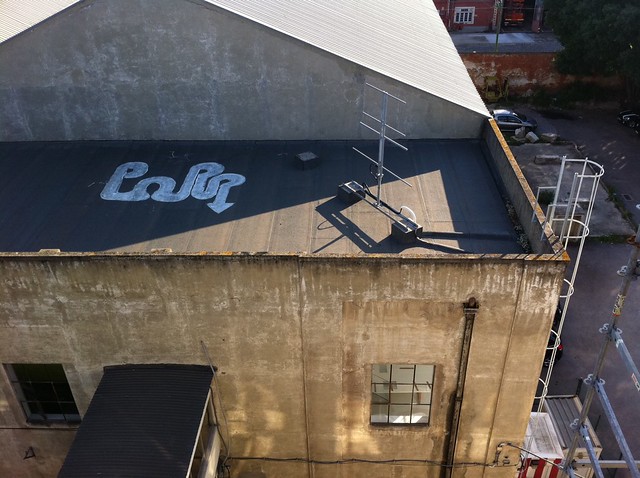
Since the first SWARS experience, I knew this could go A LOT further, but having Farrusco on a remote terrace where you could only have access by climbing an outside ladder.. I must confess, I never thought of such a thing, until… my friend Fernando Mendes (Cowork_LX) came to me with this crazy idea!
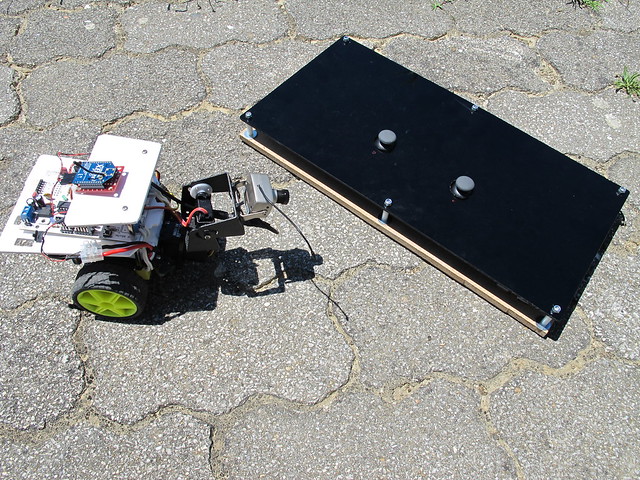
I loved the challenge, and wanted since the first moment to create a cool and easy to use physical interface and it came out a nice piece IMHO.
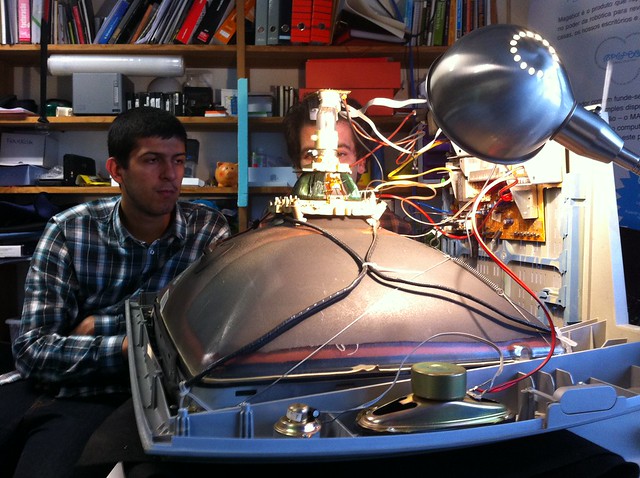
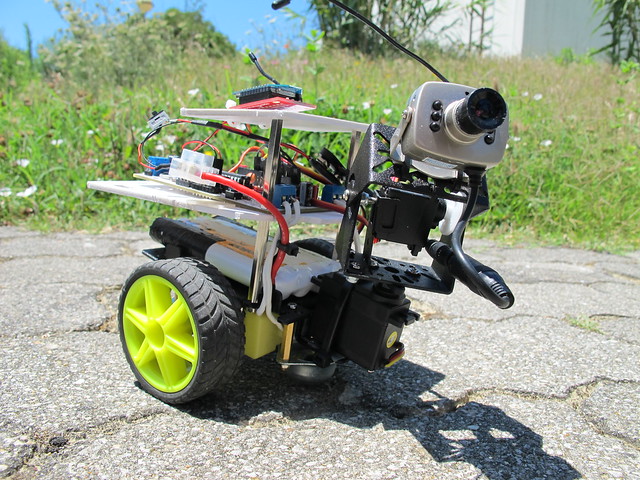
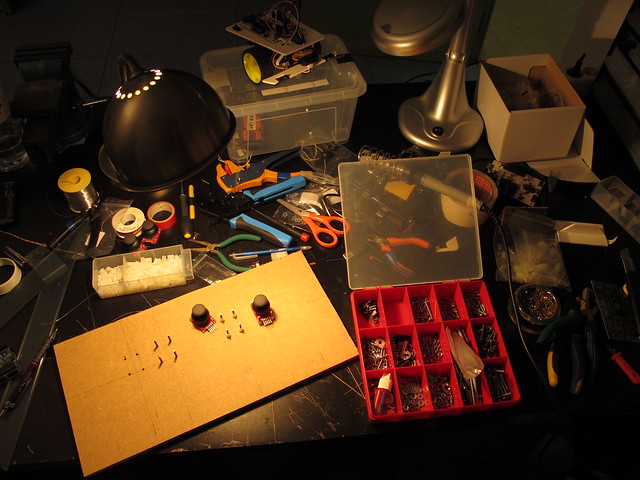
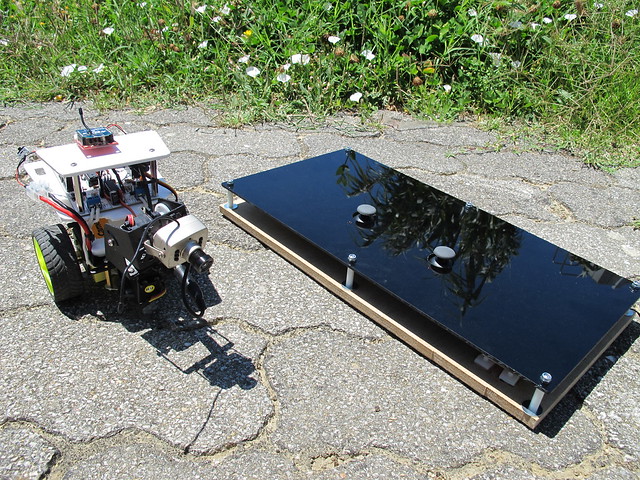
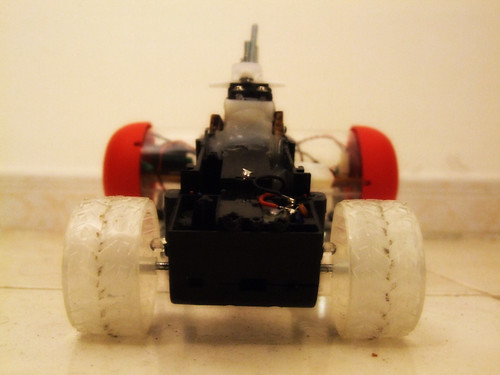
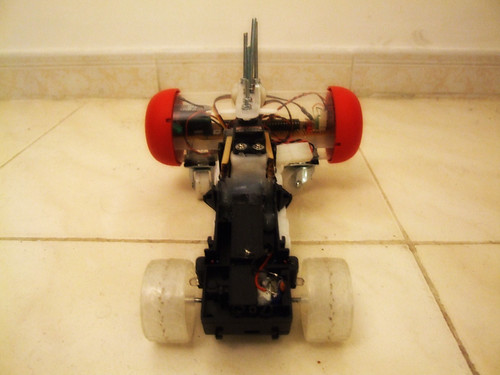
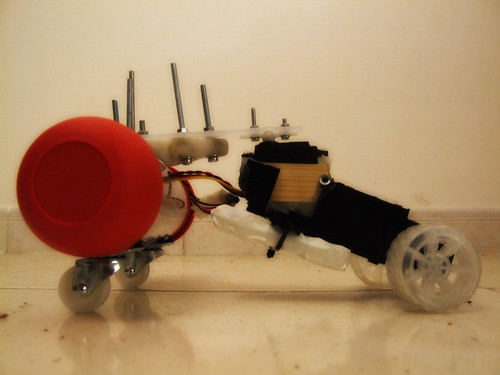
Then Farrusco with the wireless cam already built in for the first “Driving Farrusco” experience, I used two packs of batteries to enhance the play time (one battery pack is missing in the photo). This small wireless camera needs a lot of juice, and a little 9v batteries doesn’t feed it for to long, besides that it gives a very weak transmission with lots of interference, but with this 9.6v racing pack, it worked out really good!
And finally the video:
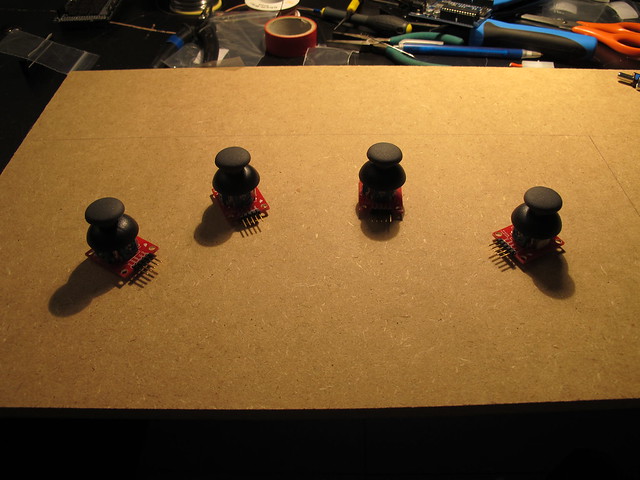
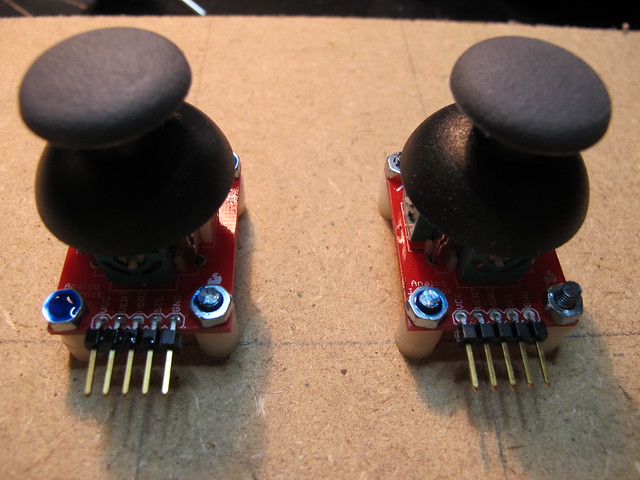
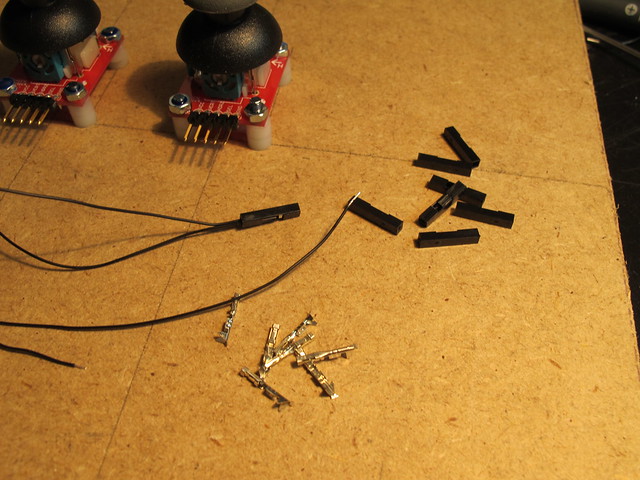
Some bits around the controller:
At the beginning I wanted to have four joysticks, one for each motor, one for pan and the other for tilt the camera.
\
It ended a bit complicated to operate and a learning curve was needed to get used to it, because this was going to manipulated by many people it needed to be simple and fast to learn.
[ FOTO MISSING showing the end result with two joysticks, a motoruino only with the necessary components and the xbee mount ]
This project is a collection of experiences related to seeing and percieving the world from the point of view of robotic creatures. Robots will send sensor data to the computer and will generate visual and audio landscapes in real time.
This is a colaborative project where many friends are bringing together their skills, until now we have collaborated with:
– Pedro Ângelo with Serial Communication;
– Rui Madeira with computer vision technics and advanced maths;
– Sérgio Ferreira is a media and interaction guru, always providing precious help and advice;
– Daniel Gomes is working on a MAXMSP interactive sound;
– Nuno Morgadinho is developing an online application to remotely control robots.
– André Almeida is a computational guru and a great technology and interaction advisor.
This is the first iteration of this project, and just a quick test for something greater.. hope to have time for it in the future.
Components list:
– Motoruino (Arduino compatible board) up and running;
– Wireless camera and video converter sponsored by O Espaço do Tempo;
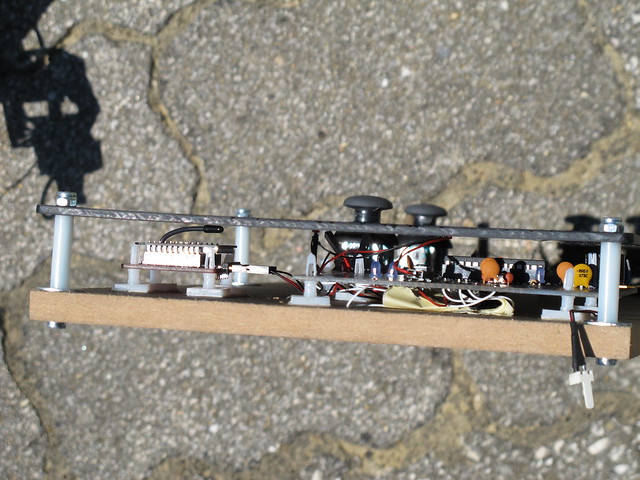
– Basic pan/tilt system built with PVC;
– GUI written in Processing enabling robot remote control, gives vision feedback and servos orientation.
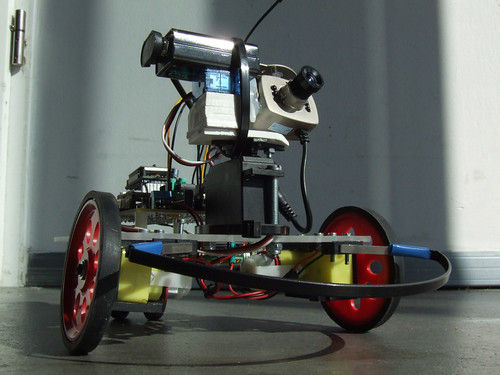
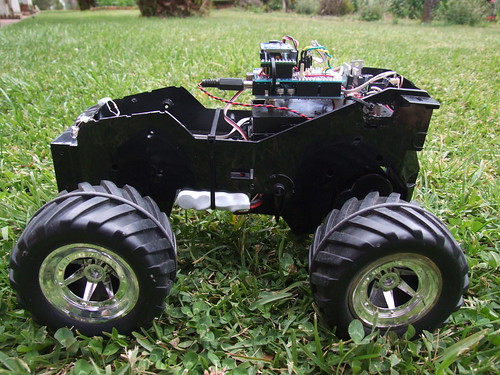
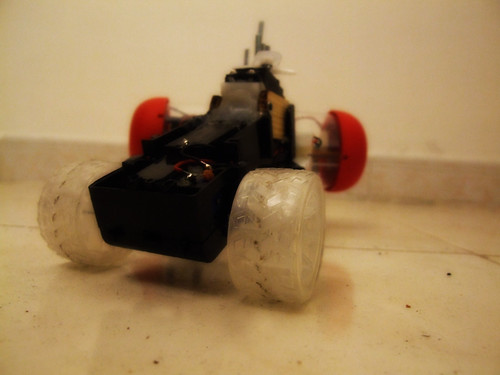
I´ve been quite busy with the motor of this robot and I already started to have some of the results I wanted, but I still couldn´t find a stable setup, after a couple of drifts it starts to lose power as you can see by the end of the movie.
Besides this, I like the way it moves, and I can have some control when it´s drifting, it is now my anti-stress toy!!! :)
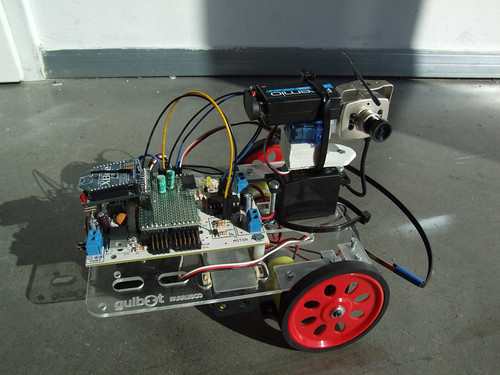
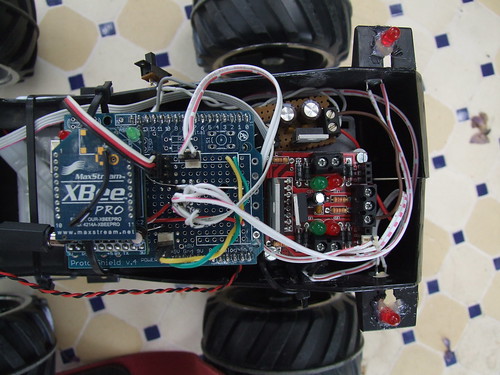
I have also made some major updates to the arduino circuit board. As you can see in the photo below, I finally have figured out how to upload code to a custom arduino board, (this post describes everything related to this), added capacitors to the L293D, added pins for the ladyada xbee adapter and also added pins for the sonar sensor.
To upload code, I have to add a switch button, to change the rx / tx wires from the xbee to the ftdi cable :)
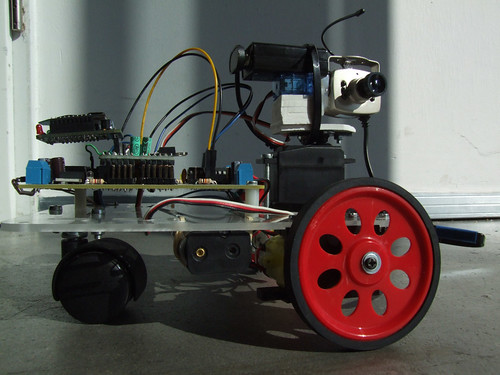
This post is a full description of all the building process, the main idea started with the ratbot, and then I found out that I could follow the same concept with a different approach :)
This is a ratbot derivated, faster, cooler, and with more fun! :)
I like pretty much the way it is going until now, but there are still things I want to do. Beside that, I can´t make it move straight in a line, it seems that it is not well balanced.
When finished, I will post details about the building process.
27-August-2009 UPDATE:
My friend Gerhard from Germany asked me to build a walkthrough regarding the G-Remote, with part list, schematics and code. And here it is. Enjoy :D
This is my first attempt to make a custom remote controller, and also my first customized Arduino.
After seeing this post made by OddBot I wanted to try to make one myself.
I figured out that if I purchased one remote controller it would be cheaper than buying two of these and paying shipment to Portugal.
So, ripping the guts from a game remote controller I get two joysticks, a couple of buttons, two nice motors and one small lcd.
Each joystick have one button inside, that is cool :-)
Now I have more control over my bots, specially the ones with two motors.. will post videos later.