Farrusco, Your First Robot

Farrusco, Your First Robot

Farrusco is a small robot based on the Arduino platform, in this case, is using a Motoruino wich is inspired on the Arduino but with a couple of enhancements – dc motor dual controller, servo and sensor plugs.

With Farrusco you will be able to make it avoid obstacles, follow walls, enter in free space mode, and in the future more add-ons will be available, just to name a few: line follower, speakers and light sensors, RGB leds, and so on.

This robot is intended to:
– enthusiasts wishing to enter in the creative computing and robotics fields but don’t know where to start;
– engineering and physical computing students who need a development platform;
– digital artists and designers;
– students of all grades;
– be a simple toy.


More information @ guibot.pt/farrusco

This Week In Hobby Robotics 2

LetMakeRobots.com

Imagine what happen when hobbyists, engeneers, artists and all kinds of cool people from very different backgrounds, gather with a single purpose in common, to create robots, share knowledge and information, and mostly have a lot of fun!

It’s a joy to see my Talkie Walkie being featured in this nice video. Fritsl and Rik, you guys rule!!

Max + Arduino + Industrial Motor

At Artica, we had a request to link MAXMSP to an industrial motor for an artistic installation witch we will speak about at another time.

This motor is a true beast, and since we have never worked with such a thing we decided to ask for help to our electronics guru David Palma.

MAXMSP - ARDUINO - INDUSTRIAL MOTOR

MAXMSP - ARDUINO - INDUSTRIAL MOTOR

The motor controller:
MAXMSP - ARDUINO - INDUSTRIAL MOTOR

David developed an electronic circuit to simulate a PWM analog output from 0 to 10v (originally it gives 0 to 5v), and another circuit to switch motors direction, both circuits were assembled on a shield and connected to the motor controller.

The first circuit is a transducer:

TRANSDUCER

And this is the switch circuit that tell to the motor controller wich direction the motor will spin:

PNP

Then he builded an Arduino shield:

MAXMSP - ARDUINO - INDUSTRIAL MOTOR

And the final part was the Max patch that send the direction states and the PWM values to the Arduino:

MAXMSP - ARDUINO - INDUSTRIAL MOTOR

And this is the result:

MAXMSP – ARDUINO – INDUSTRIAL MOTOR from artica on Vimeo.

And last but not the least all the source codes can be downloaded here

Arduino HackDay @ altlab

No último sábado, 5 de Fevereiro, o altlab organizou o Arduino Hack Day.
Participaram no evento perto de 40 pessoas, entre entusiastas em electrónica, artistas, programadores, arquitectos, fotógrafos, amigos.

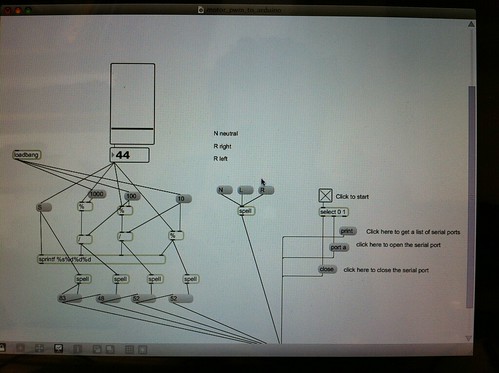
Para muitos, foi o primeiro contacto com o Arduino, a descoberta da simplicidade desta plataforma para o desenvolvimento de projectos de computação física.
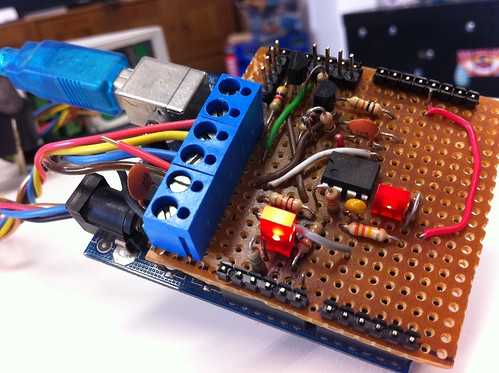
Distribuídos por quatro bancadas, os participantes começaram a experimentar assim que chegaram!

Arduino Hack Day Arduino Hack Day

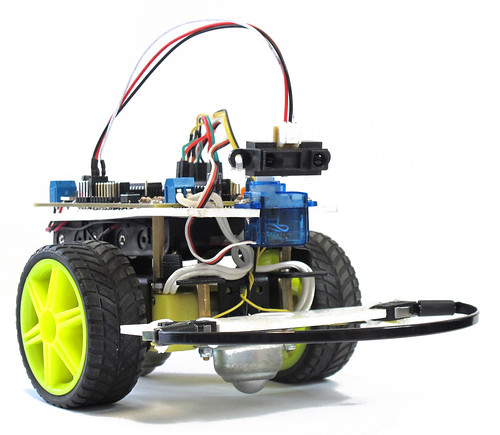
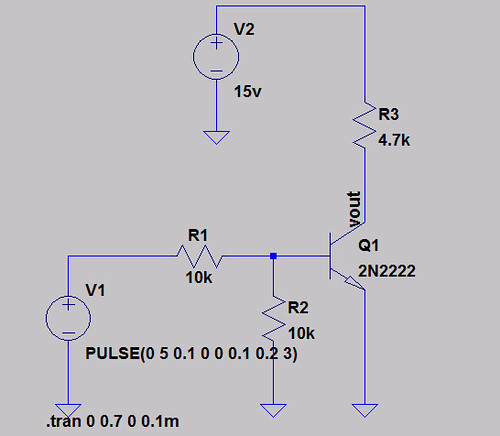
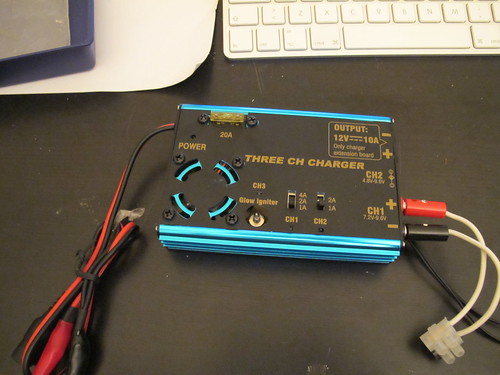
Uma das bancadas, dedicada ao tema Arduino, motores e a robótica, ficou por conta do Guilherme Martins (Guibot). Noutra bancada, alguns principiantes aprendiam a dar os primeiros passos, com a ajuda de membros do altlab.

Arduino Hack Day Arduino Hack Day

Enquanto isso, a impressora 3D (“makerbot”) trazida pelo nosso convidado neozelandês, Tiago, ia imprimindo as primeiras peças.

Arduino Hack Day Arduino Hack Day

O Pedro Ângelo, do LCDLab, veio do Porto para nos ajudar e ressuscitou um projecto antigo do Maurício, que depois de pronto gerou alguma diversão…

Arduino Hack Day

Arduino Hack Day – FIRE! from altlab Lisbon's Hackerspace on Vimeo.

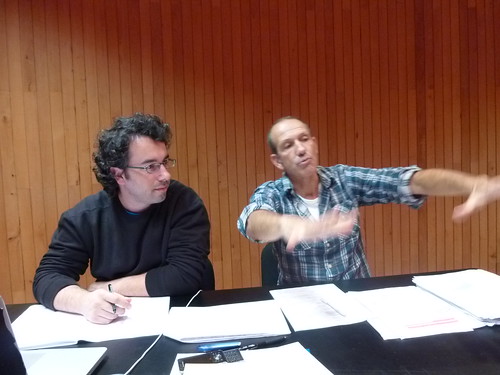
Logo depois do almoço começaram as apresentações. A Mónica Mendes e o Maurício deram a conhecer o colectivo altlab, o seu passado, presente e futuro. A Cheng Xu, também nossa convidada, apresentou-nos o Seeeduino Film. Por fim, o Guibot e o André, da Artica, falaram do Motoruino e do Farrusco.

Arduino Hack Day Arduino Hack Day

Passadas 10 horas de puro hacking e muita cerveja, o Arduino Hack Day chegava ao fim, todos os participantes muito satisfeitos com a experiência. O altlab conseguiu concretizar o principal objectivo desta iniciativa: juntar pessoas interessadas em partilhar conhecimentos sobre o Arduino, ajudar quem nunca tinha desenvolvido nada com a plataforma e conquistar novos interessados em pertencer a este colectivo fantástico!

ArduinoHackDay @altlab from Rita Carvalho on Vimeo.

Por último, fica aqui um agradecimento muito especial aos membros do altlab que contribuíram na organização deste evento:

Andre Almeida, Ferdi Meier, Guilherme Martins, Leonardo Marques, Manuel Alves, Mauricio Martins, Mónica Mendes, Nuno João, Paulo Rodrigues e Pedro Ângelo (LCD).

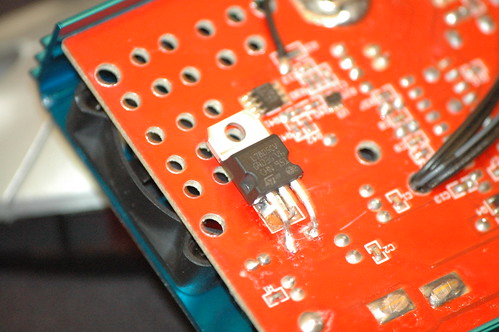
Some photos by João Nogueira e Rita Carvalho.

Flickr Photo Set: http://tinyurl.com/6f7vhsx

English version soon!

Post original aqui

Curso de Introdução às Técnicas de Palco

DOWNLOAD PDF

destaque

OFICINAS

DE 29 DE JANEIRO
A 17 DE JULHO

na Culturgest das 10h00 às 13h00 e das 14h30 às 18h30

A inscrição poderá ser feita na bilheteira da Culturgest, por correio ou e-mail, com a entrega da ficha de inscrição devidamente preenchida.
Cada oficina terá um número mínimo de 14 formandos e um número máximo de 20 formandos. Caso não haja o número mínimo de formandos a oficina poderá ser cancelada, sendo devolvido o respectivo valor de inscrição.

Informações
21 790 51 55
culturgest.bilheteira@cgd.pt
apoio
Departamento de Artes Cénicas

Com o “Curso de Introdução às Técnicas de Palco” pretende-se fazer a iniciação nas áreas cénicas da Cenografia, Iluminação Cénica, Sonoplastia, Vídeo, Figurinos, Adereços e Caracterização. Cada tema terá uma oficina com a duração de um fim-de-semana. Serão sete entre Janeiro e Julho, uma por mês. Apesar de autónomas, estas oficinas permitem, no conjunto, uma visão alargada e integradora do universo das técnicas teatrais não performativas. O curso terá uma forte componente técnica, com espaço para a experimentação e criação por parte dos formandos.

Os destinatários são encenadores e coreógrafos que queiram ter conhecimentos básicos das diversas áreas cénicas, actores, bailarinos e performers interessados em dominar os aspectos técnicos para potenciar a sua capacidade performativa, profissionais da área do espectáculo para quem seja útil uma visão de conjunto das artes cénicas (produtores, directores de cena, directores técnicos) e estudantes dos cursos de artes cénicas.

Para estudantes universitários, o Curso de Introdução às Técnicas de Palco permite a obtenção de créditos ECTS (European Credit Transfer and Accumulation System), que serão emitidos pela Universidade de Évora. Cada oficina vale um crédito, o curso completo dá direito a sete créditos. Para a obtenção de créditos ECTS é obrigatória a apresentação de um trabalho escrito.

ILUMINAÇÃO CÉNICA 29 e 30 de Janeiro (Paulo Ramos) mais info
SONOPLASTIA 19 e 20 de Fevereiro (Rui Dâmaso) mais info
CENOGRAFIA 19 e 20 de Março (João Barros) mais info
FIGURINOS 16 e 17 de Abril (Mariana Sá Nogueira) mais info
ADEREÇOS 28 e 29 de Maio (Hernâni Saúde) mais info
CARACTERIZAÇÃO 18 e 19 de Junho (Aurora Gaia) mais info
VÍDEO 16 e 17 de Julho (Américo Firmino e Guilherme Martins) mais info

Ficha de Inscrição

Nº OFICINAS PREÇO Preço para docentes e alunos
do ensino oficial e funcionários
das empresas do grupo CGD
1 100,00€ 75,00€
2 200,00€ 150,00€
3 290,00€ 220,00€
4 380,00€ 285,00€
5 465,00€ 350,00€
6 540,00€ 405,00€
7* 615,00€ 450,00€
* O pagamento das sete oficinas pode ser feito em 3 prestações.

Paint Me breakdown

Like everything, there is always an idea at the very beginning and this time was no exception.

stage_skecth

Rui Horta gave me a drawing with a set design to be created in 3D. Creating environments in 3D is always good for a first impression of the set, to detect possible flaws and to comunicate ideas with set designers, performers, musichians, technicians and with everyone involved.

This was the first iteration of the set:
Paint Me
Paint Me
Paint Me
Paint Me

After many discussions and iterations, the design became aesthetically more solid:
Paint Me
Paint Me

After solving all the issues with the set, was time to design the most efficient projection system. At first I made a couple of tests in the 3D environment:

Testing one projector for the fantasy zone, and another for the train cabinet:
Paint Me

Testing one projector for each single wall/floor, this turned out to be the most efficient way to do it:
Paint Me
Paint Me

The next step was to test the fantasy area (the right side of the stage) in a smaller scale, but this time in a real environment. I used PVC sheets and wood for this.

Paint Me

Each projector is pointing directly to each wall and floor. And because my digital camera is broken I only have photos taken from my crappy mobile. The photo below shows a bit of the Jitter software, at this point final adjustments on the code were being made:

Paint Me

Paint Me
This is a closeup of the program, it consists on a video player with the possibility of crossfading between each video with custom xfade time, slipt one entire video into 3 different videoplanes, where each videoplane can be adjusted accordingly the projection needs, perspective, width, height. Click on the photo if you want to see more screens.

We went to the stage with a full planning of the projection system, 6 projectors to be rigged on a single bar. One Big Thanks to the Culturgest amazing crew, this complex task was accomplished smoothly!!

Paint Me

Paint Me

Paint Me

Some stills of my visual work:
Paint Me

Paint Me

Paint Me

Paint Me

Paint Me

Paint Me

More photos here:
http://lab.guilhermemartins.net/2010/12/18/paint-me-insights/

Repairing a damaged charger

We at Artica are taking this manifesto very seriouslly:

Due to a stupid mistake (inverted power wires), this battery charger (the best that my fingers ever touched) smoked for a second or two:

Repairing a damaged charger

When we opened the case, there was this little SMD with a strange eruption result of an overburn, it was definetely what got burned, and it has written on it 7805 (photo out of focus unfortunately)

Repairing a damaged charger

This IC is very common in the electronics and robotics fields, it is a voltage regulator and in this case it regulates incoming voltage to 5 volts. We got a few 7805’s laying around and decided to take a try repairing this because we need badly to charge Farrusco’s batteries.

Repairing a damaged charger

This is the result.

Repairing a damaged charger

Not bad IMO! :)

Repairing a damaged charger

A hole was opened to completely close the case, and it is now ready to roll, I mean charge again.