SapoBot

SapoBot is a robot that wonders through spaces avoiding obstacles detects holes on the ground, follow walls and follow lines, to change between behaviors you only need to press the shell, and when he detects a collision gives a frog sound. This project was comissioned by Sapo, means frog in portuguese.

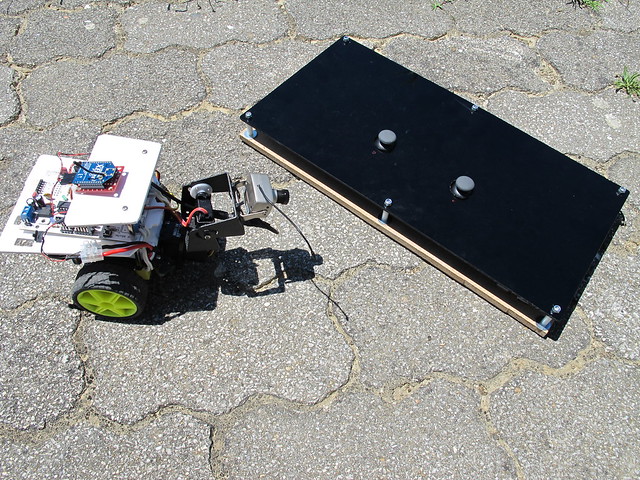
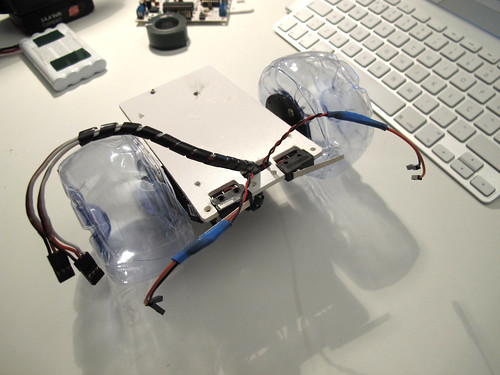
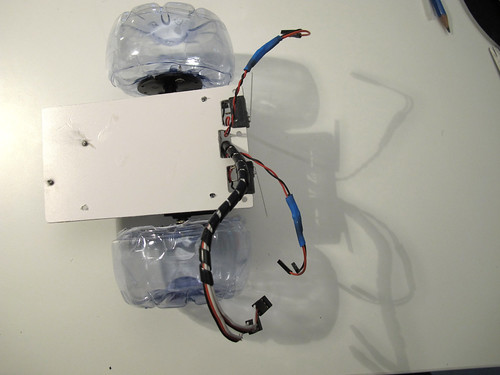
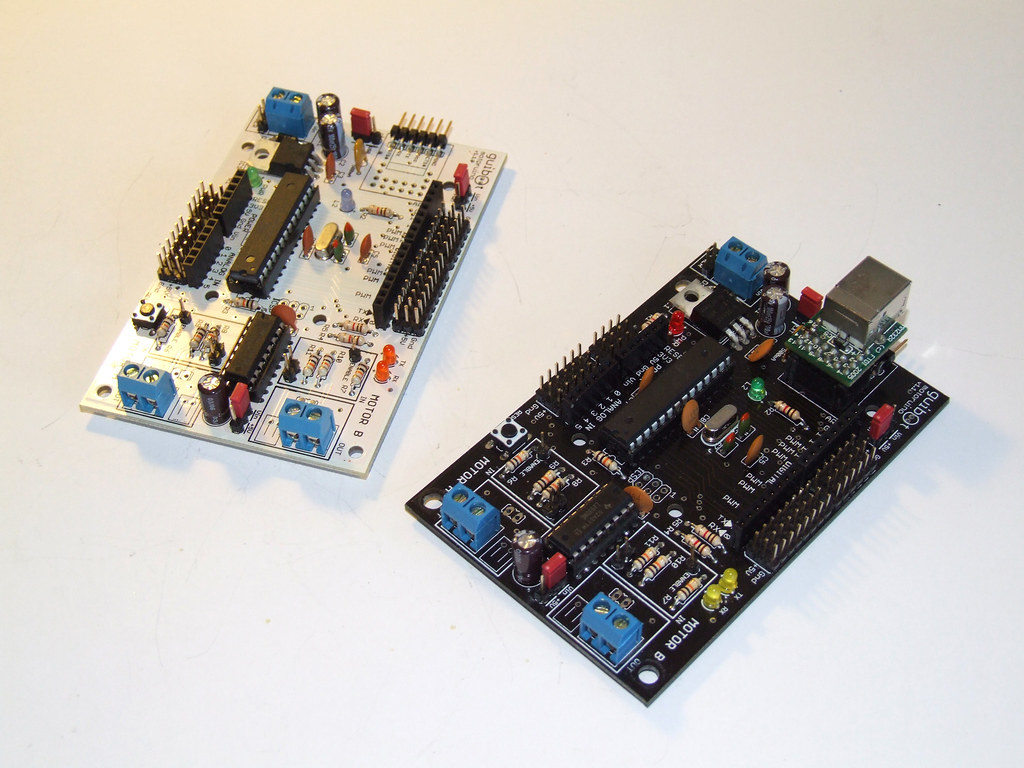
This bots were made with a Farrusco chassis and Motoruino and once again with the great IDMind hardware and electronics skills, all the credits for the eyes mechanics and all the rest of the hardware upgrade goes to them.


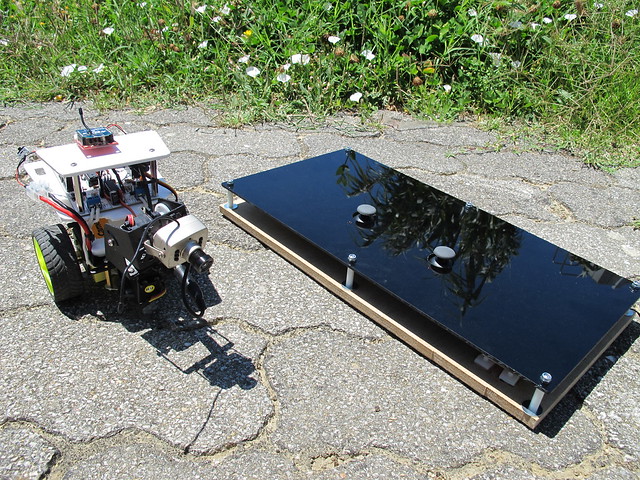
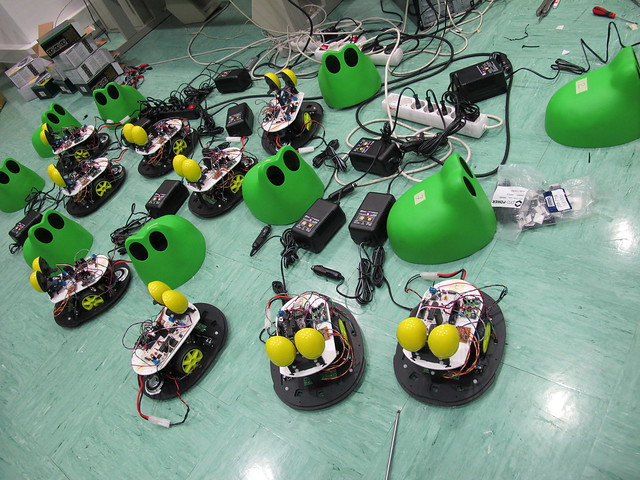
The shell was made by Fernando and Margarida Antunes, don’t forget to check their amazing art work at http://margaridantunes.weebly.com.


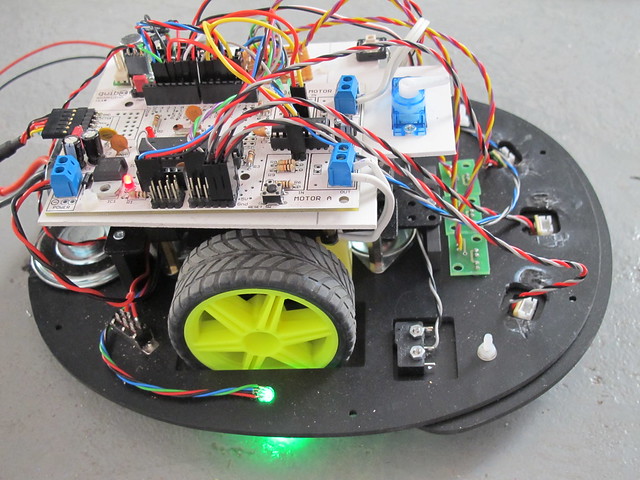
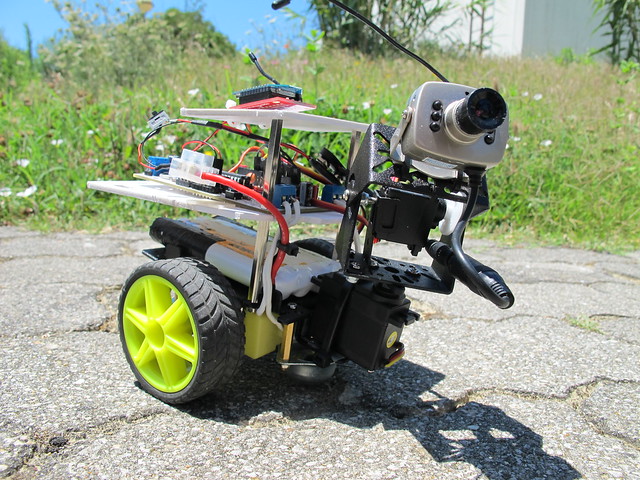
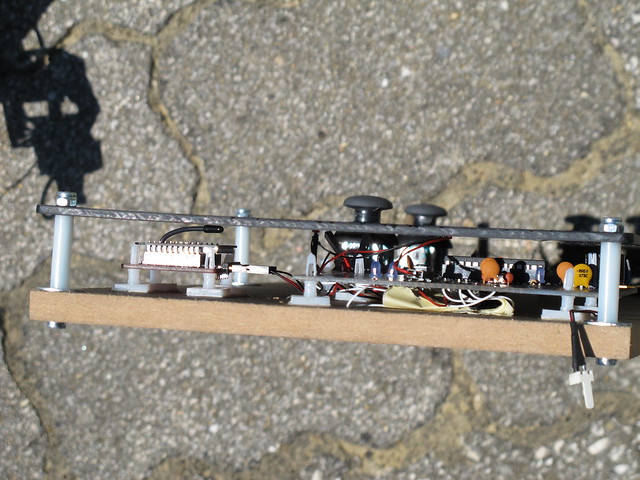
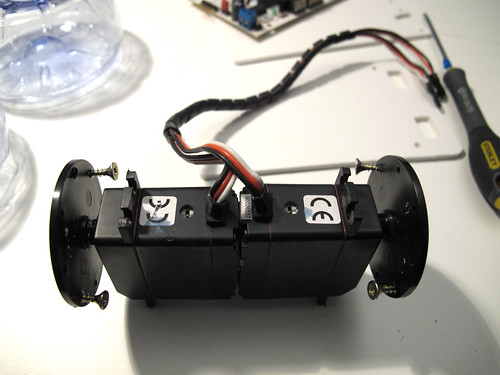
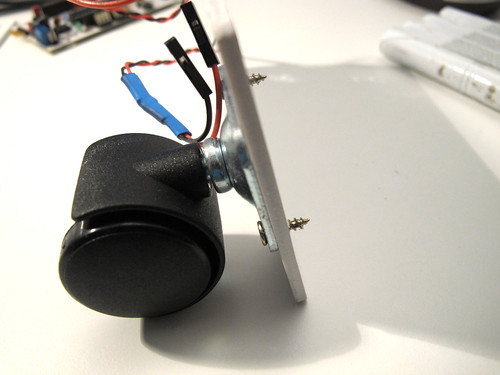
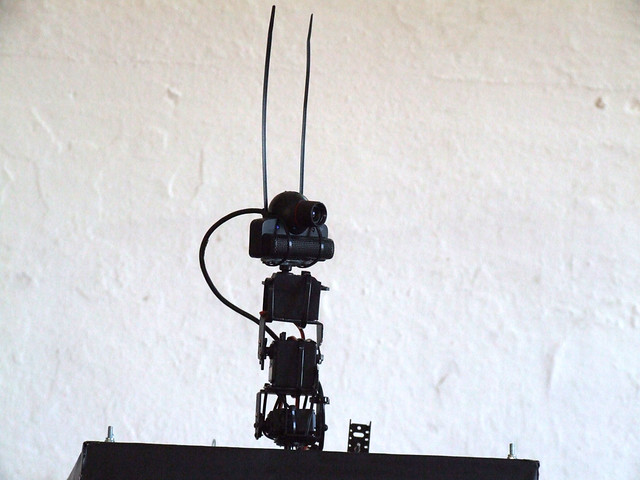
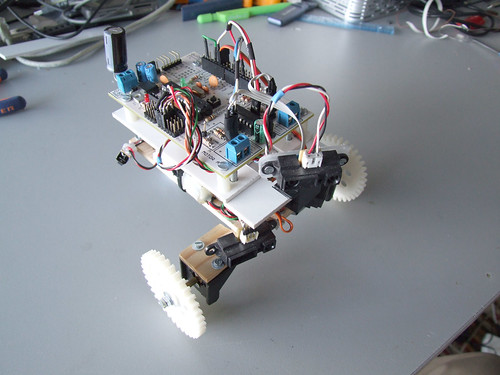
This is a Farrusco on steroids!! Only the pins 0 and 1 for serial communication are free, all the other pins are taken for a considerable amount of sensors and actuators: 3 infrared sensors to measure distances on the front, 3 infra red sensors facing the ground, a speaker, 1 RGB LED, 1 servo motor, 2 dc motors and 2 bumper micro-switches to detect collisions.


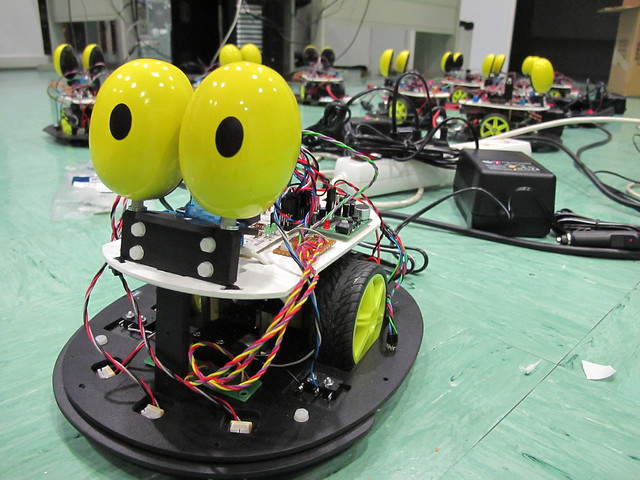
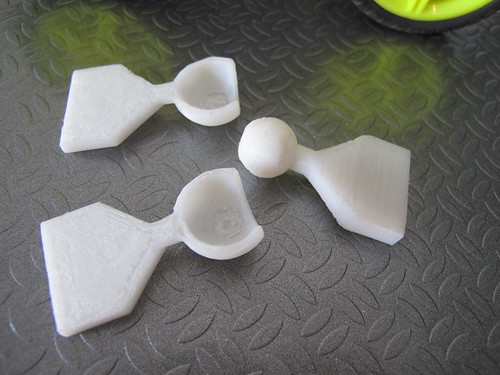
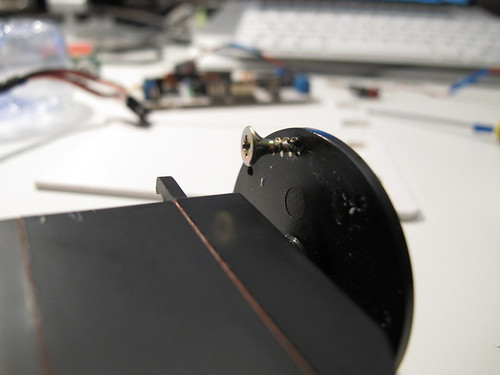
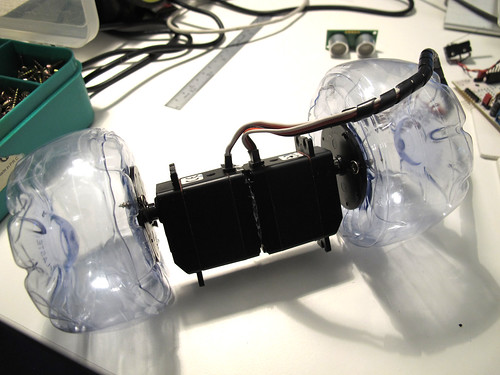
The eyes are meant to give some human expression to the bot, they turn organically to both sides according the direction that the robot takes.


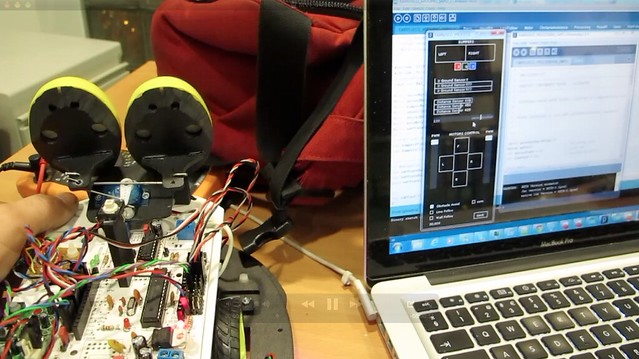
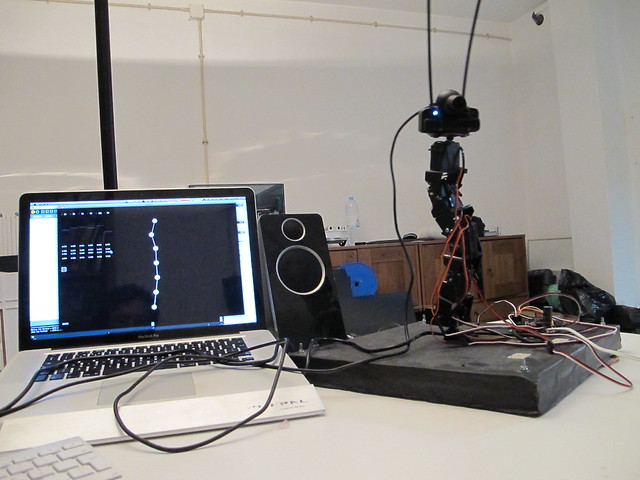
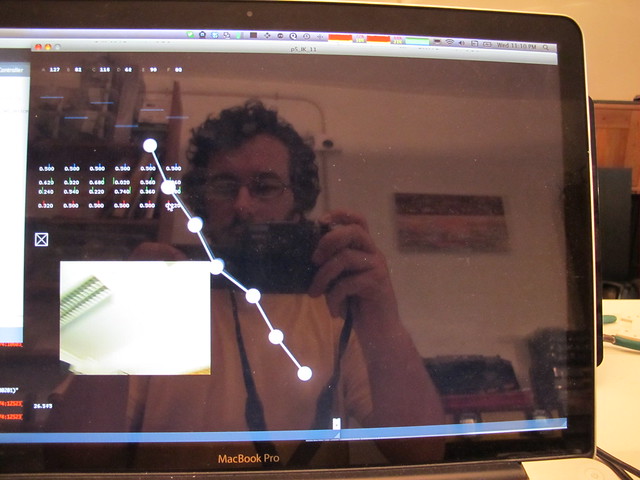
We coded an application in Processing to check all the sensors and actuators, allowing to save settings on the microcontroller EEPROM. This code will be available on Artica’s github soon.


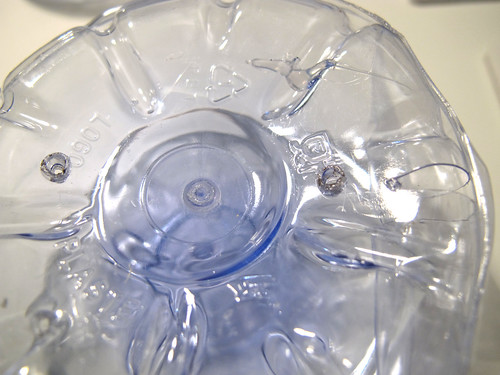
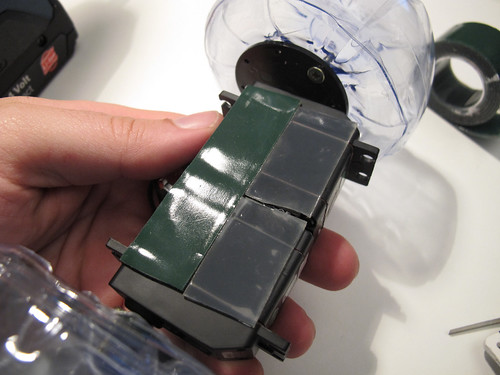
Time to drink some juice :]


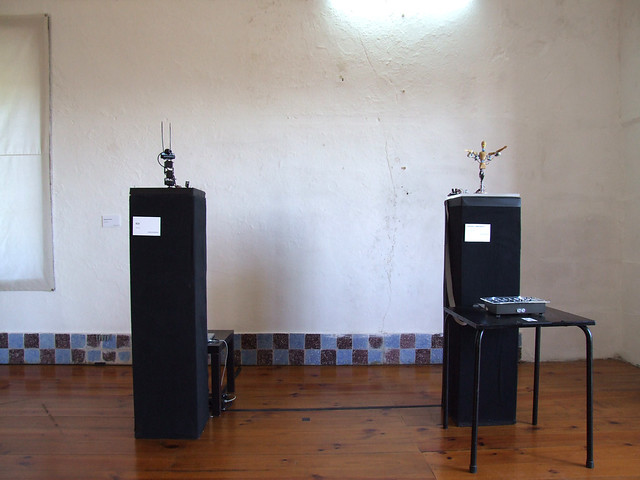
And the result is a happy family!

Motoruino and Motors – Workshop @ ALTLAB

Last Wednesday Artica lectured a Motoruino workshop at AltLab.
Beside all the participants there were more than a hundred watching a live stream on Ustream, people from Viseu, Guimarães, Porto, Évora, Madrid and many more places I believe.

The central theme was Motoruino and motors such as Servos, DC motors, Steppers and Linear actuators.

In the end we had Farrusco working in Obstacle Avoidance and Following Light mode.


Video streaming by Ustream

ICU . 1.01

ICU has been sleeping for a while but was awaken suddenly because I was invited to an exhibition at Flausina, a new born association in Lisbon.

ICU v1.01

Complexity is always a welcome thing around here and the bot was presented with two more servo motors and all the software has been re-written. And because I needed to simulate its movements I coded an application in Processing in a way that I could test all the non-dangerous angles. Inverse kinematics is way to advanced for my taste and I think I can call this a “forward kinematics simulator”. This simulator gives also the possibility to generate individual sine waves for each motor, minimum and maximum range of motion, an interpolator for smoothness and frequency for speed.

ICU v1.01

Unfortunately I don’t have any decent video of photos of the Flausina exhibition, I leave you with a video of the bot in the office with the processing application.

TODO list:

– capability to save presets
– timeline with keyframes, play and stop buttons
– upgrade this servos to more powerful and digital servos
– upgrade all the structure to enhance weight distribution
– create a mask in silicon/rubber and give this bot a crazy new look
– everytime a face is detected it will say something on Twitter and upload the picture in an online gallery

Source code can be downloaded here.

All for now.. Roger, over and out.

ICU v1.01

Photo at Flausina.

Driving Farrusco @ CoworkLX @ LX Factory ‘open day’

Since the first SWARS experience, I knew this could go A LOT further, but having Farrusco on a remote terrace where you could only have access by climbing an outside ladder.. I must confess, I never thought of such a thing, until… my friend Fernando Mendes (Cowork_LX) came to me with this crazy idea!

Driving Farrusco

I loved the challenge, and wanted since the first moment to create a cool and easy to use physical interface and it came out a nice piece IMHO.

Driving Farrusco

Then Farrusco with the wireless cam already built in for the first “Driving Farrusco” experience, I used two packs of batteries to enhance the play time (one battery pack is missing in the photo). This small wireless camera needs a lot of juice, and a little 9v batteries doesn’t feed it for to long, besides that it gives a very weak transmission with lots of interference, but with this 9.6v racing pack, it worked out really good!

Driving Farrusco

And finally the video:

Some bits around the controller:

At the beginning I wanted to have four joysticks, one for each motor, one for pan and the other for tilt the camera.

Driving Farrusco

Driving Farrusco

Driving Farrusco

Driving Farrusco\

Driving Farrusco

It ended a bit complicated to operate and a learning curve was needed to get used to it, because this was going to manipulated by many people it needed to be simple and fast to learn.

Driving Farrusco

[ FOTO MISSING showing the end result with two joysticks, a motoruino only with the necessary components and the xbee mount ]

Driving Farrusco

Driving Farrusco

F4WD + ball link

Four wheel drive vehicles have always excited my imagination, and this time I joined two Farrusco’s chassis in front to front as you can see in the picture below:

F4WD

This way both chassis are fixed on each other (is this correct to say in english??) and I thought it would be cool to have them articulated in some way, so I started to design a ball link and this is the first output (oh, did I mention I have a 3D printer in the office? :D

F4WD

F4WD

It still need a bit of work because the link needs some kind of lock to prevent the vehicle to bend itself and touch the ground (gosh!! what a crappy english!!)

F4WD

F4WD

I used OpenSCAD to design the piece, it is a great tool to use because everything is made with simple commands and you can design pretty much everything!! You can download the OpenSCAD files in Thingiverse.

Screen shot 2011-05-05 at 11.07.32 PM

Screen shot 2011-05-05 at 11.05.23 PM

In the next chapter, the redesign!

BOTtle

BOTtle is a robot like many others but with a particularity, the wheels are made of plastic bottles as you can see in this video:


The components I will be using:
BOTle


The servos are already attached to one another with double side-tape, I will show you how to attach the wheels to the servo horns
BOTle


Start by adding wood self-tapping screws to the servo horn just a little in a way they won’t fall
BOTle


Repeat this process 4 times
BOTle


Open small holes in the exact place where the screws will be tight. I used a soldering iron.
IMG_0170


Tight both screws to the wheels
BOTle
BOTle


Now I am placing the bumpers on the front of the bot on a PVC sheet (in this post you can see what I have done for a Sharp sensor)
BOTle


And now the caster wheel, those screws tips are going to be cutted out
BOTle


The screw tips are gone and added a bit of super glue because the PVC melted when cutting the screws
BOTle


To attach the pvc base to the servos I am using double side rubber tape
BOTle


And this is what I have done so far, more will be added soon (I hope)
BOTle


BOTle

ICU . I See You

ICU is a sub-project of the SWARS (see what a robot sees) project.

This time I not just wanted to see what a robot sees, but I also wanted to give the robot the ability to understand that there is a person in the room, and stare at the person.

To detect faces I used the OPENCV library for Processing, wich turns out to be very fun to work with and is very sensitive to human faces.. and sometimes it detect faces where there aren’t any.. maybe it is a ghost face detector algorythm!!

I didn’t have time to work with the four motors, I am only working with the two servo motors on the top. Next step will be to apply inverse kinematics and have a better level of interactivity.

Unfortunately I had to pick the computer that was being used in this installation, I will need it in the next weeks, but this bot will be available to the public very soon I promise!!

This is the code I am using if someone wants to look at it, you will need to have the MegaServo library installed for the Arduino sketch, and the OPENCV lib for the Processing sketch.

motoruino in action

The motoruino is so easy to setup, just plug the motors, sensors, upload code and your bot is ready to go.

I added a big capacitor (4700uF) on the PCB power connections as I had the Motoruino resetting randomly when a motor started (OddBot explains everything here)

This is a quick test drive with the demannu (unnamed bot).

source code