My interest in robotics was always present, but until a certain age it was a complete unachievable skill due to my artistic and non engineering background. When I discovered the Arduino platform I started to mess with LEDs, buttons, breadboards, sensors and motors, and when suddenly I gathered everything into one piece my first robot was born. After that many robots and strange creatures appeared. Most of all, the main objective was to have loads of FUN!! I never imagined that this hobby would become a business someday!
This is the final result of the first stage of this project. An installation where zezinho calls for visitors and when a visitor reachs the mixing controllers he waits for new poses.
If you are nearby Lisbon, you can visit zezinho until 9 of July at: FABRICA FEATURES Lisboa. Rua Garrett, nº83 | Megastore United Colors of Benetton, 4º andar | 1200-203 Lisboa
OddBot is going to China, and he created several packs with robotics stuff and came up with a great creative challenge wich is to create a video with the keyword FUN. One of the extra points was to build something with paper, wood, and cheap materials, no techy thing here, the main purpose was to spend a great time creating a cool video to make others laugh. The other extra point was to build a PCB with non PCB materials like, paper, card, or any other thing, I’m so happy to know that paperduino was one of the inspiration to this competition.
“el sapatero” came with this great challenge in mind, and I wanted to build something really nonsense.. and started to play with stuff I have, and my wife appear with this silly boots made out of recycled card. This card boots(?) are used inside shoes to keep their original shape and I knew in that precise moment that I have to use them! :)
and the video for the challenge: http://letsmakerobots.com/node/8630
This was the first layout. I thought that I could build some kind of a walker… but I was wrong :D
This is a motor plug made with polymorph..
Polymorph plugged into the motor and with a plastic bit.. (can’t explain this in english) lol
The polymorph structure was shaped in a way that gives fully support to the card boots.
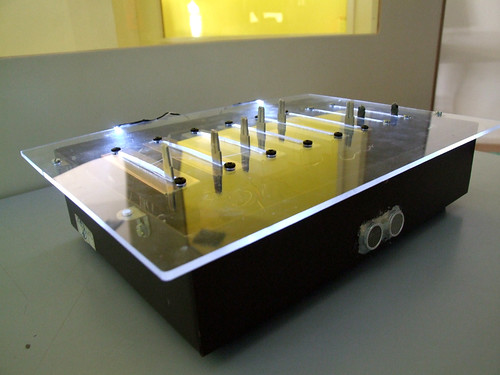
This is the circuit, I wanted to try other non conventional PCB materials, and this time I tried with acrylic. I kinda like it.. its different… but not an easy task.. I don’t know how many hours I spent with this..
It was a great disapointment when I saw that only the body spins.. and the boots remained still.
So I have to create another polymorph structure to give some traction to the entire system.
1st test drive
And the final result :)
I used hotglue to reinforce the card. And this makes a cool accoustic sound coming from the boots :)
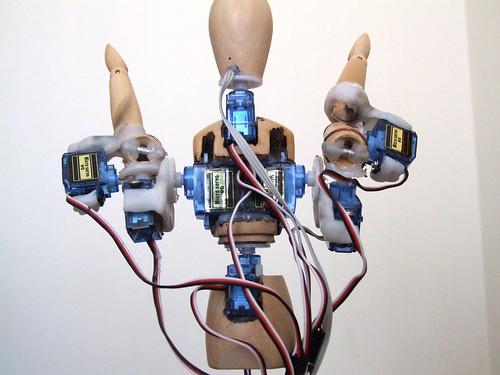
This is Zezinho, a humanoid robot that likes to pose! :)
All the microservo supports where made with the amazing material Polymorph.
For now he is being controlled by 8 analog inputs, each input controls one microservo. In the future (as I hope) he will be controlled by a computer vision system where he will try copy real human poses in real time.
I’m still programming servo control functions and movements presets.
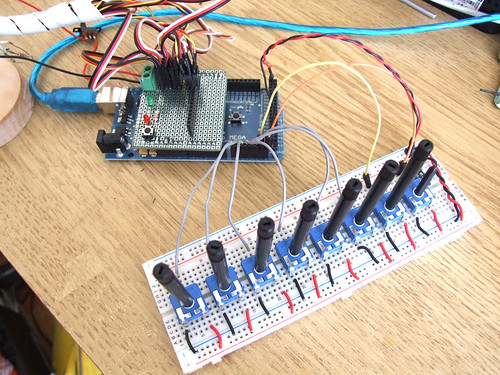
This is the analog inputs setup and a custom servo shield.
I’m using an Arduino Mega because I need more than 6 analog inputs that the regular Arduino boards have and I don’t have the time (or should I say patience) to digg around multiplexers.. I’m very lucky to have the support of InMotion.pt, they sent me the Arduino Mega for the first test drive. Thank you so much Filipe!! ;)
This robot will also be my final project for the course ‘O Som do Pensamento’. It will be an instalation where the user will be able to control his poses with physical controllers. I’ve made a controller box in acrylic and will post photos as soon as I have it with me.
Playing with movements and poses.
Testing movements and different servo speeds.
________________________________________________________________
Update (21.08.09)
Other posts related to Zezinho:
This is the new version of Farrusco, tomorrow we will build a bunch of them at the workshop, and you will be able to build your own very soon.. We are planning more future workshops! ;)
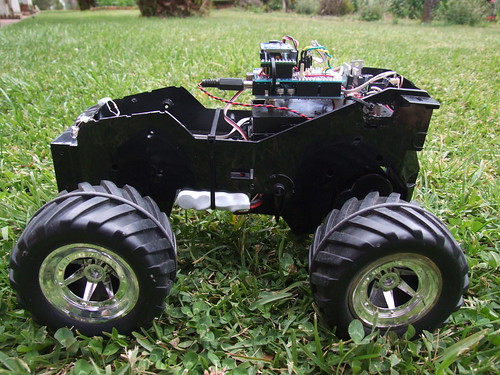
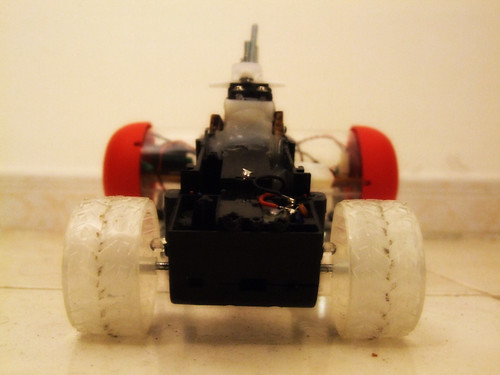
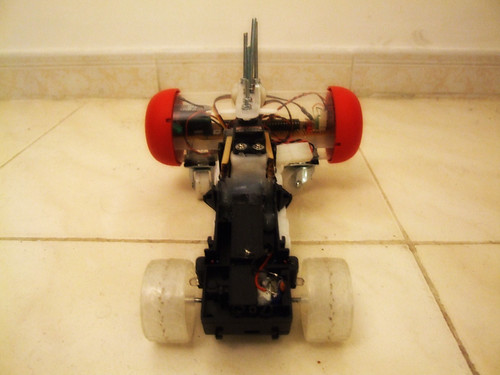
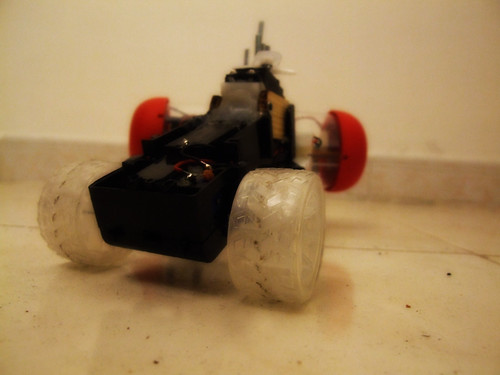
I´ve been quite busy with the motor of this robot and I already started to have some of the results I wanted, but I still couldn´t find a stable setup, after a couple of drifts it starts to lose power as you can see by the end of the movie.
Besides this, I like the way it moves, and I can have some control when it´s drifting, it is now my anti-stress toy!!! :)
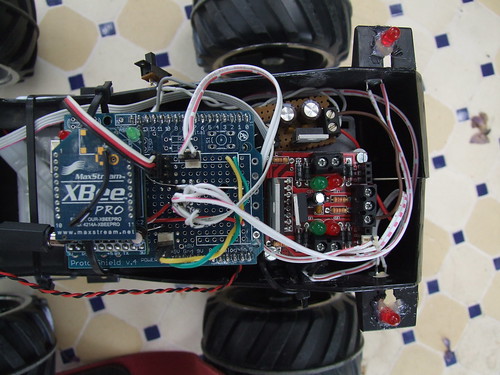
I have also made some major updates to the arduino circuit board. As you can see in the photo below, I finally have figured out how to upload code to a custom arduino board, (this post describes everything related to this), added capacitors to the L293D, added pins for the ladyada xbee adapter and also added pins for the sonar sensor.
To upload code, I have to add a switch button, to change the rx / tx wires from the xbee to the ftdi cable :)
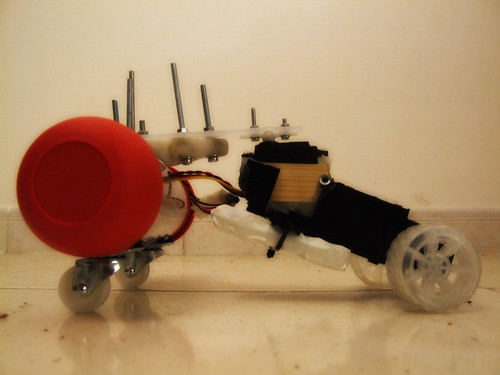
This post is a full description of all the building process, the main idea started with the ratbot, and then I found out that I could follow the same concept with a different approach :)
This is a ratbot derivated, faster, cooler, and with more fun! :)
I like pretty much the way it is going until now, but there are still things I want to do. Beside that, I can´t make it move straight in a line, it seems that it is not well balanced.
When finished, I will post details about the building process.