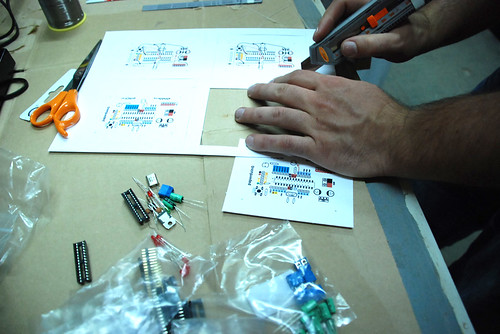
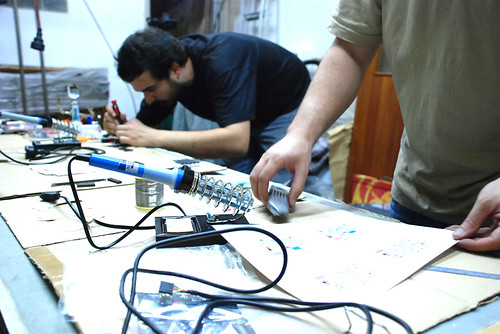
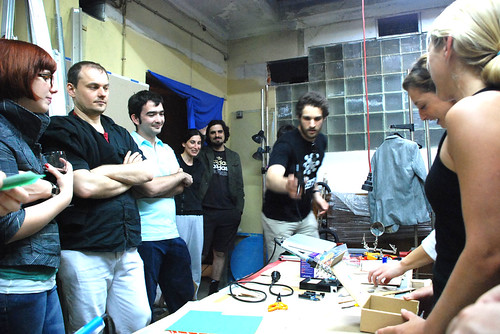
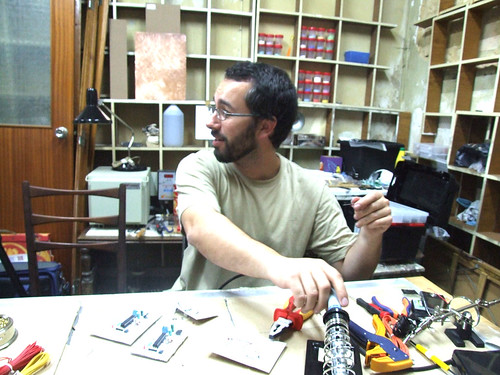
We had a great time building this electronic/paper pieces, and more are to come pretty soon .)
We had a great time building this electronic/paper pieces, and more are to come pretty soon .)
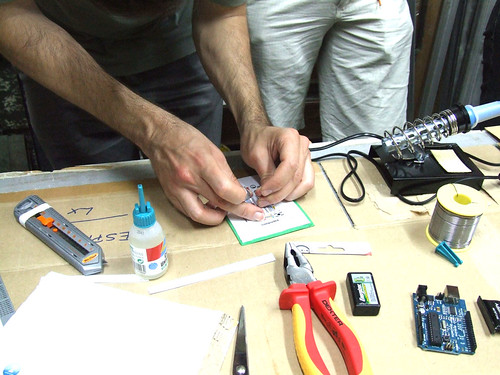
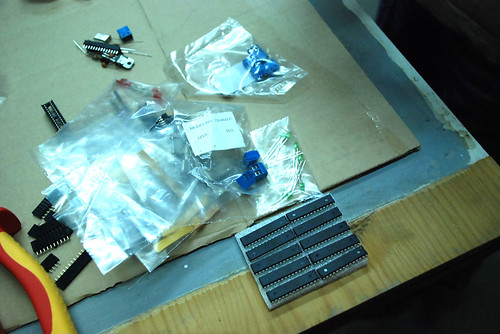
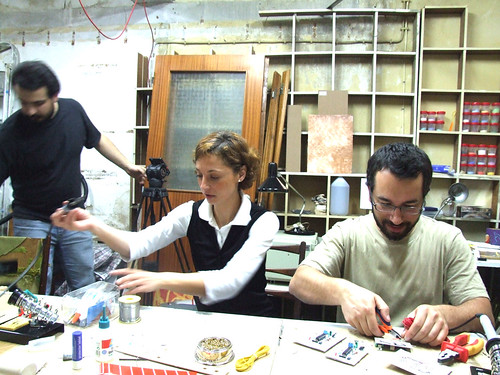
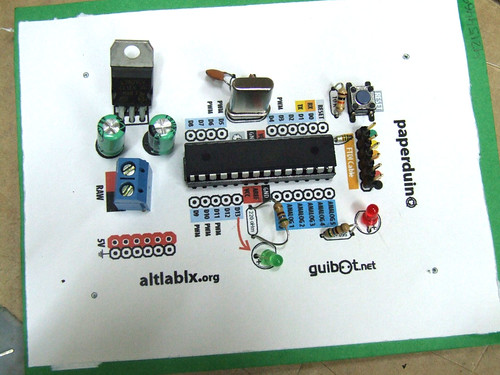
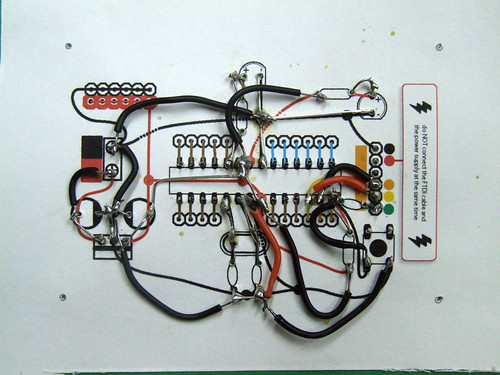
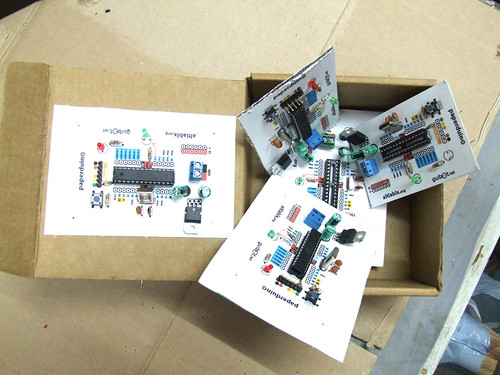
I’m happy to introduce the paperduino :D

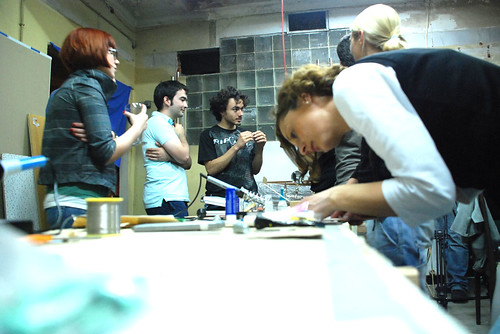
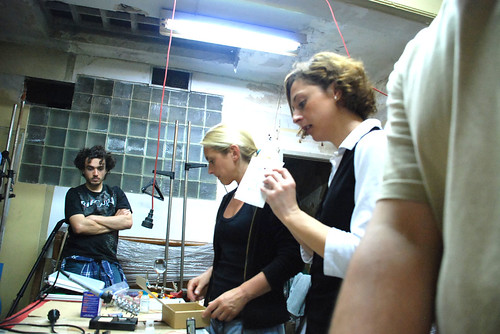
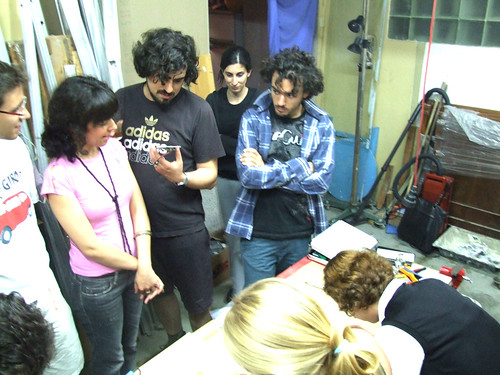
This Tuesday AltLab had its first public session and we did a mini workshop on “paperduinos”, a new generation of cardboard arduinos. We had lots of fun and have many more ideas we’d like to try: different layouts, colored papers, and other materials. More info soon at AltLab.

Finally I have some time to continue with this investigation and great improvements were achieved with the circuit provided by Ant: http://www.rev-ed.co.uk/docs/picaxe_sound.pdf
First here are the photos deleted by mistake from flickr:
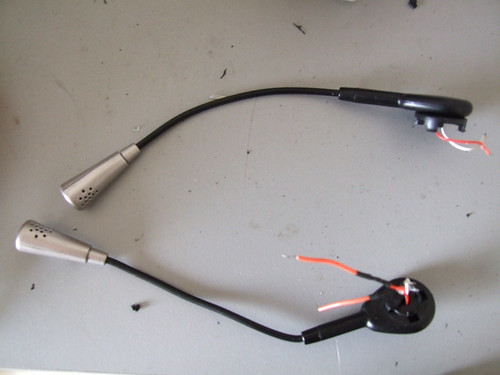
Headsets microphones
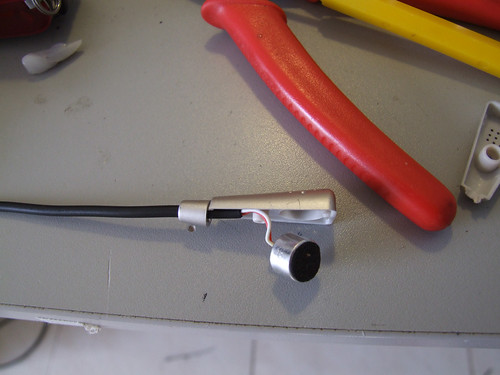
Electrec thingey inside.
The circuit
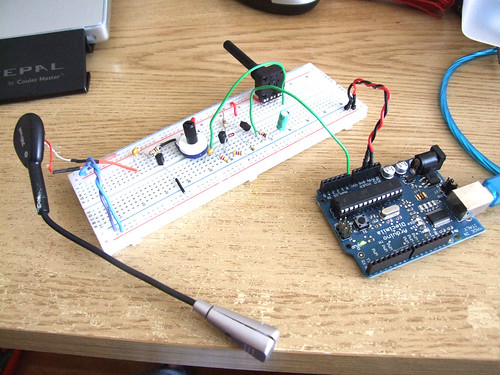
This is a closeup of the circuit, I´ve added a 10uF capacitor to stabilize the output signal (it´s the green cap on the right).
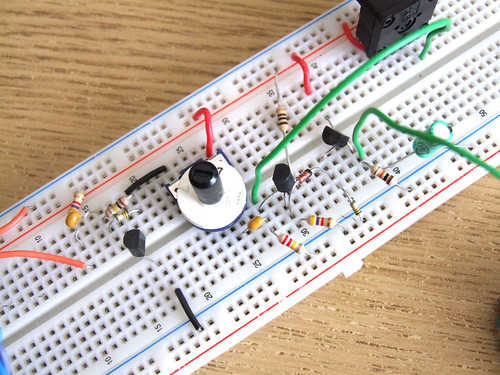
The problem here is that I can´t imagine myself soldering all this components onto a pcb, I would like to have at least two of these, four would be awesome.
Click the following button to see source code for Arduino and Processing
Just finished another walkthrough about hacking a HiTec servo and make it spin continuosly.
Follow it on flickr: http://www.flickr.com/photos/guibot/sets/72157617531839610/
Instructable: http://www.instructables.com/id/HiTec-Servo-Hack/
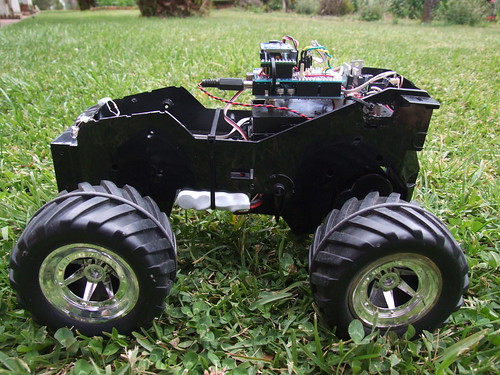
This time I added the Solarbotics L298 Compact Driver Kit, the car is now much more powerfull and it is very cool to drive.
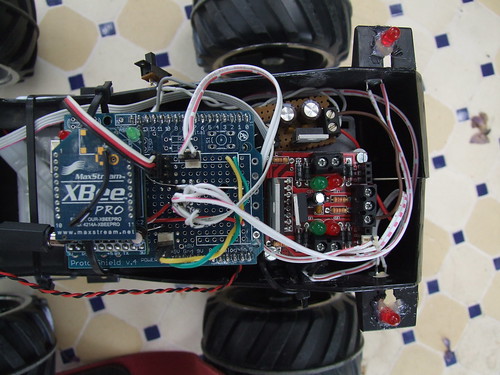
In the photo you can see a proto shield where I connected the Xbee, the motor and servo and the LEDS, than the L298N board and a 6v voltage regulator.
I added a small video with some “stunts” :)
(I´m using the G-Remote to drive this beast!) :D
Click here to see more cool stuff:
Este fim de semana tive o prazer de dar a primeira edição de Workshops de Robótica Criativa no Porto no espaço Imerge e com o apoio fantástico da Inmotion.pt.
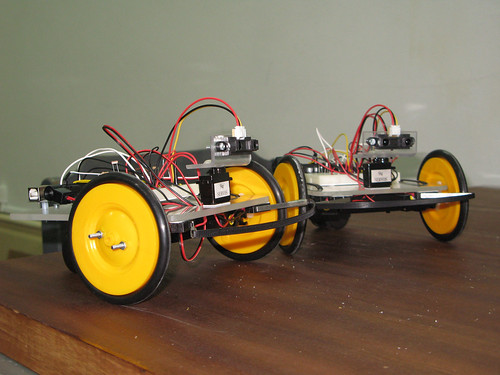
This is the new version of Farrusco, tomorrow we will build a bunch of them at the workshop, and you will be able to build your own very soon.. We are planning more future workshops! ;)
Say hello Farrusco!! :)

I´ve been quite busy with the motor of this robot and I already started to have some of the results I wanted, but I still couldn´t find a stable setup, after a couple of drifts it starts to lose power as you can see by the end of the movie.
Besides this, I like the way it moves, and I can have some control when it´s drifting, it is now my anti-stress toy!!! :)
I have also made some major updates to the arduino circuit board. As you can see in the photo below, I finally have figured out how to upload code to a custom arduino board, (this post describes everything related to this), added capacitors to the L293D, added pins for the ladyada xbee adapter and also added pins for the sonar sensor.
To upload code, I have to add a switch button, to change the rx / tx wires from the xbee to the ftdi cable :)


This post is a full description of all the building process, the main idea started with the ratbot, and then I found out that I could follow the same concept with a different approach :)
Click the button to read more: