NightRider – update c

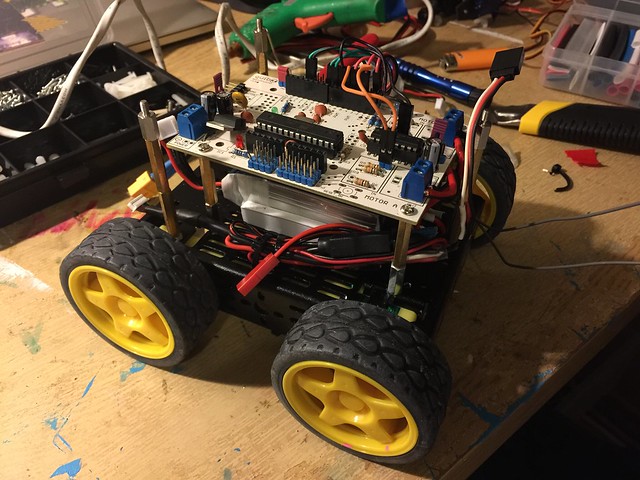
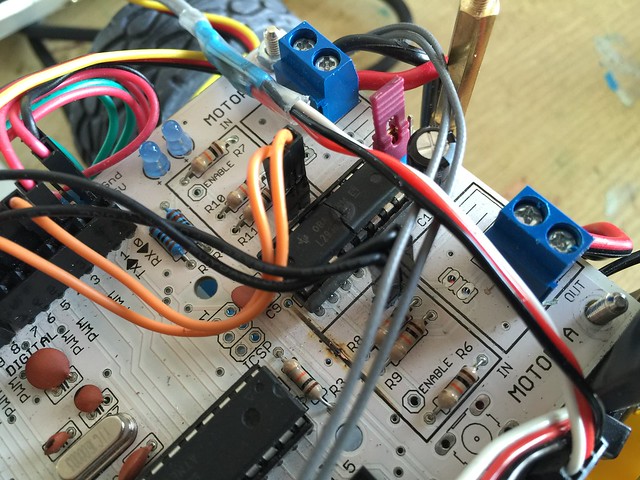
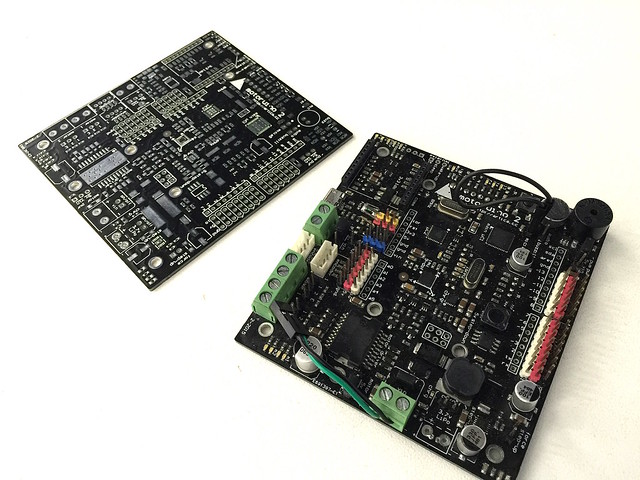
Motoruino2 is a great board, has a built-in IMU, motor encoder connections and an L298 for more power demanding motors, there is a dedicated low-level Arduino (uno) to handle all the raw data from this sensores and actuators. Then, there is a high-level Arduino (Leonardo) that is totally available to whatever we want to do. Both microcontrollers communicate via I2C. There is also a speaker and a microphone that I intend to use later on this project. Also an xbee socket, 1S lipo charger and a mosfet output capable of driving about 2 amps.

Enough said, its a great board and I hope Artica manage a way to put it into the market. Just see for yourself :)

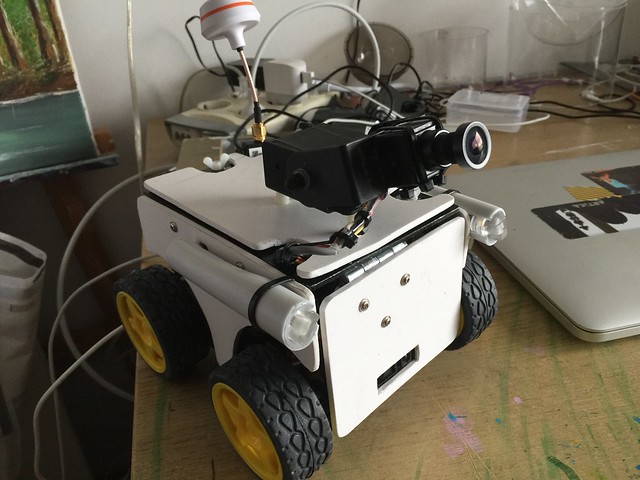
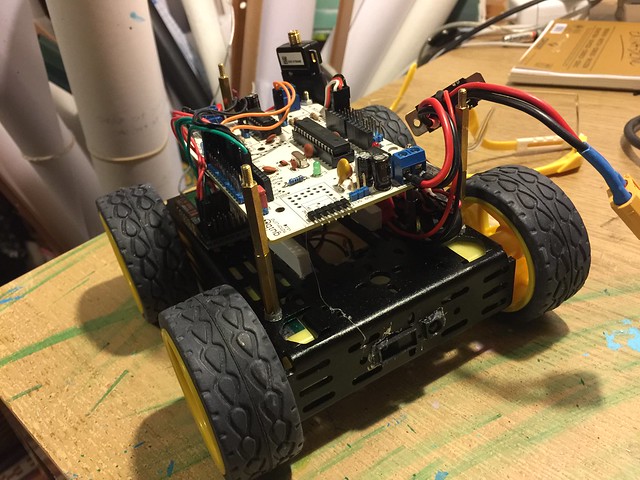
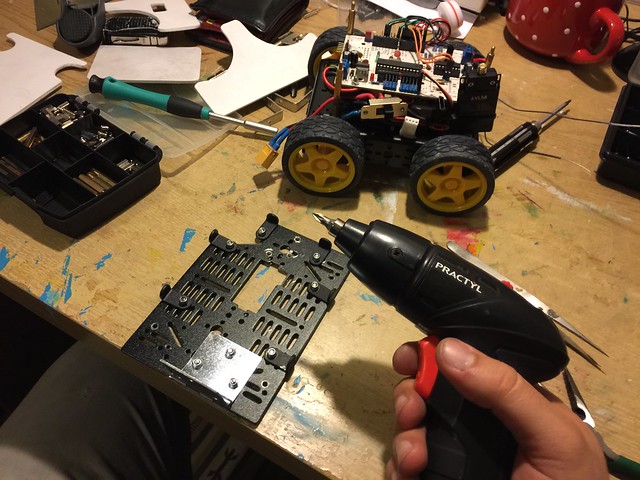
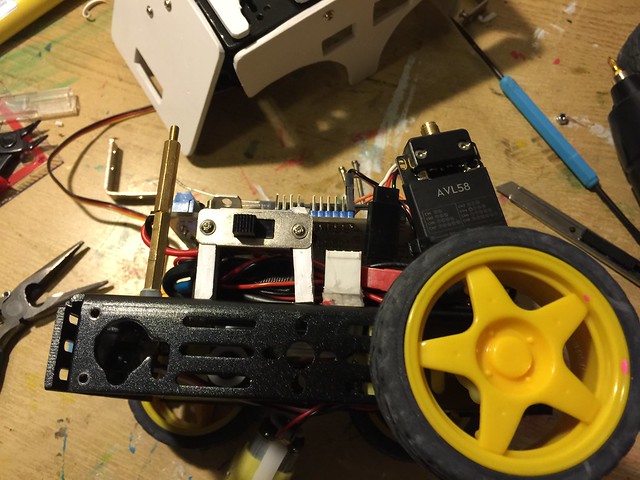
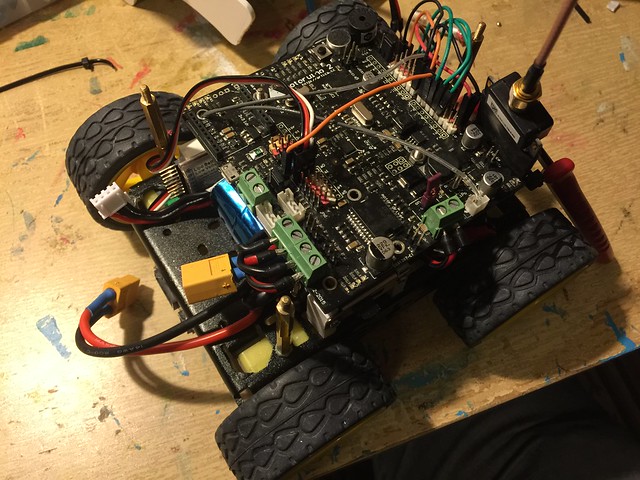
This is how the bot is looking..

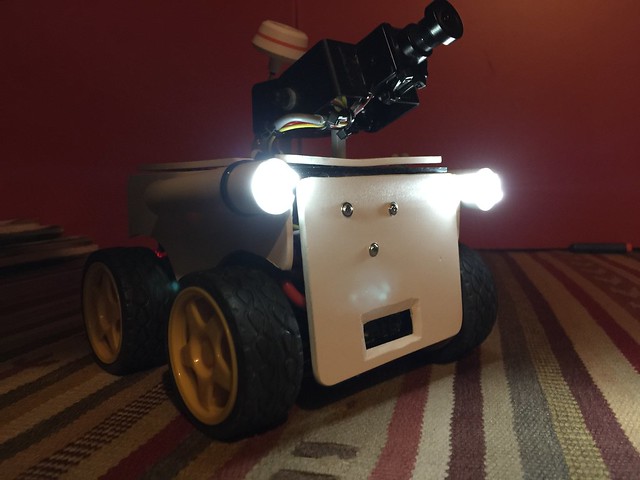
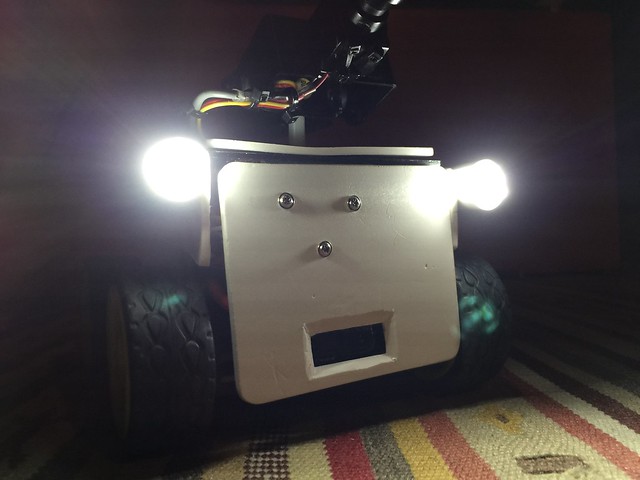
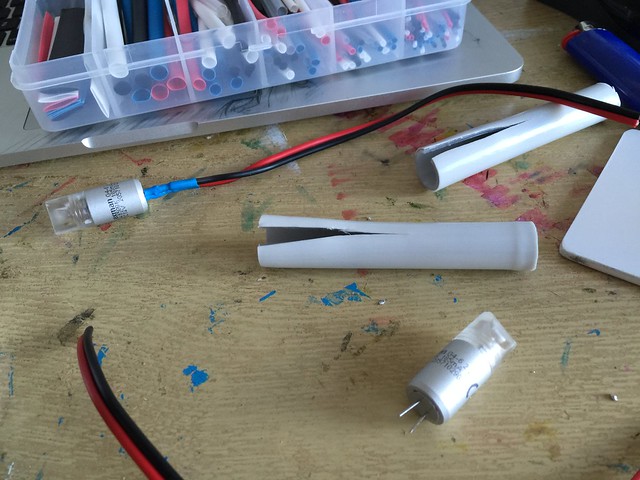
I want to have some lights and I found this little 12v LED lights on the hardware store, this little things in full power completely blind you! To drive the LEDs I am using the mosfet output on the board.

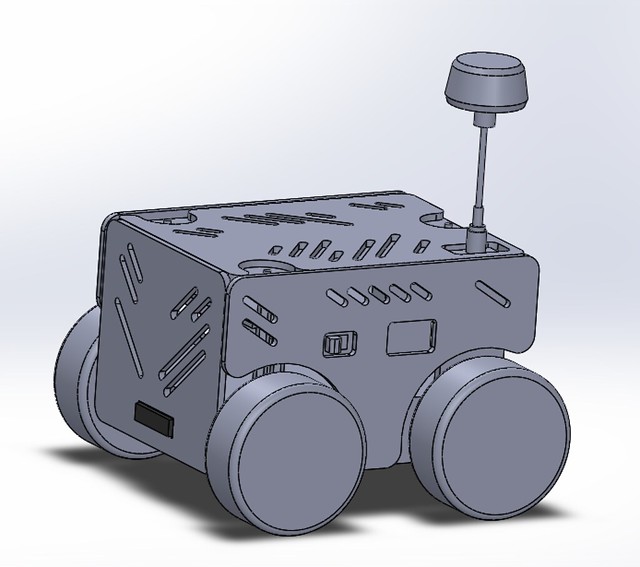
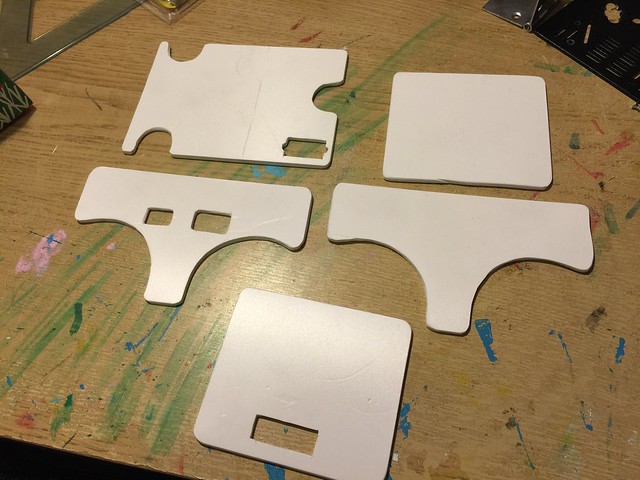
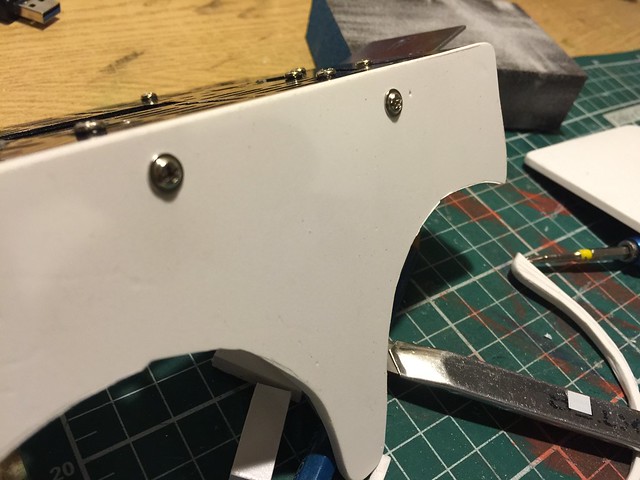
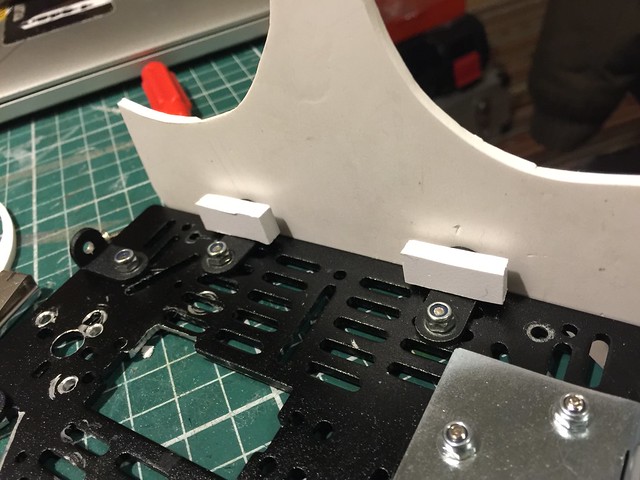
And the shell of course, I changed the pan and tilt system, this is a much robust solution and I removed the pan, if I want to pan I just move the bot side to side.
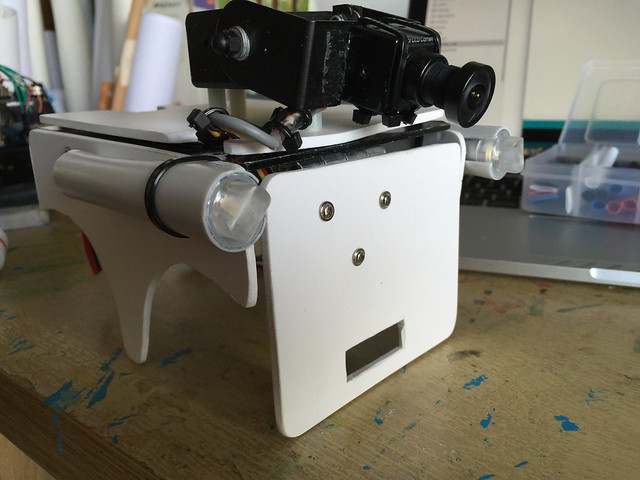
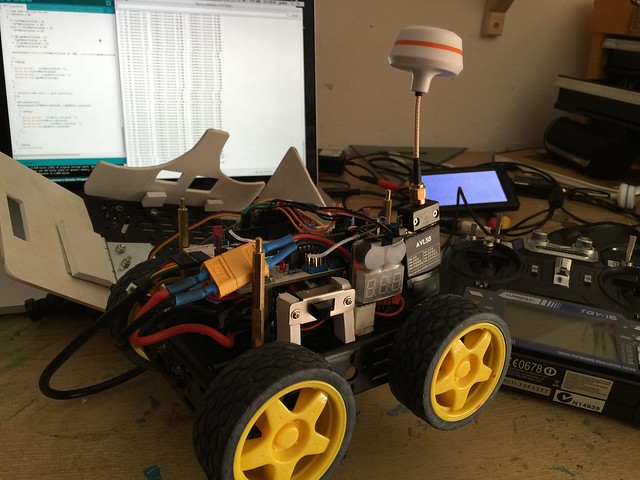
Et voilá… :D

NightRider – update b

I felt with courage to start the modifications to the bot, first I moved the battery to the lowest possible place, this makes the center of gravity lower.

With the electronics board all looks good..

I added a power switch and a Sharp Infra Red sensor, this sensor will act as a fail safe to avoid collisions.

I also wanted to create some kind of a shell, so went to 3D to design the plates and this is the result.

The plates will be cutted in laser or CNC, but meanwhile I will just print them and manually cut PVC sheets.

using graphite pencil to transfer the plate drawings to the PVC sheets.

All the plates are transfered and ready to be cutted.

The plates are cutted, now I will just sand a bit to give a final touch

All plates are looking good for now

Time to start with the supports for the plates, I will go to these small L shape things

All the supports are fitted, when we have loads of screws an electric screwdriver is handy, this one is the cheapest I could find

Now to fit the plates I will use this selftap screws, they come together with the servos motors, and I always harvest them because they are hard to find in hardware stores.

You can also see a hinge, this will actually make a door to swap batteries.

And this is how the plates are securelly fitted.

A look on the inside

This is how I managed to hold the power button in place, it is just PVC pieces fitted to the chassis, and then hold the power button with selftap screws.

There’s the hinge.

Testing everything, all look good.

I was doing another quick test when suddently smoke started to come out, it was the L293D that got smoked.. well, I couldn’t expect worse since I was pushing 12V to 4 motors and the L293D only handles 600 mAh per channel.

I will swap the board to the new Motoruino2 from Artica, wich is still a prototype but nothing better that this bot to test it.