I didn’t feel so happy with this minimalistic chassis design so I felt the need to add some complexity to it. And because I am a 3D lover and because I have some spare time I decided to do what I never use to do: “think before act”. Oh, and the other thing that makes me want to do this is the fact that we have a CNC machine at Artica’s office. So althouth I love to build robots without thinking to much on how is it going to be, when there is a cutting machine evolved there is always the need of planning and design wich is a lot of fun as well!
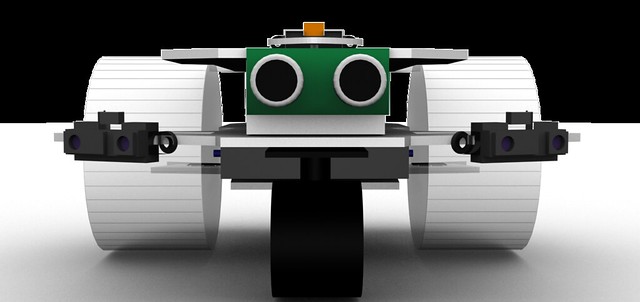
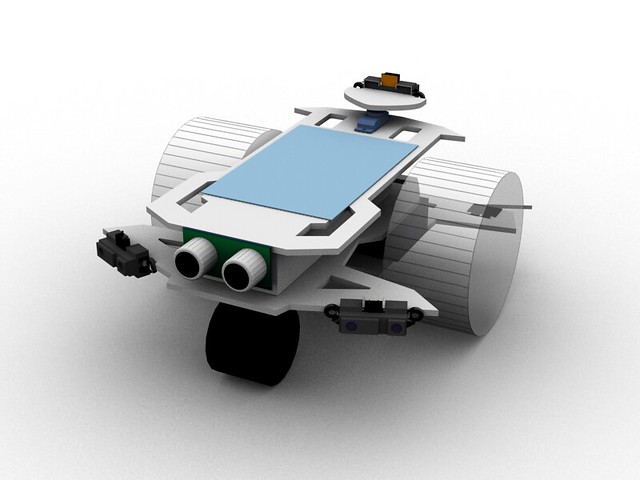
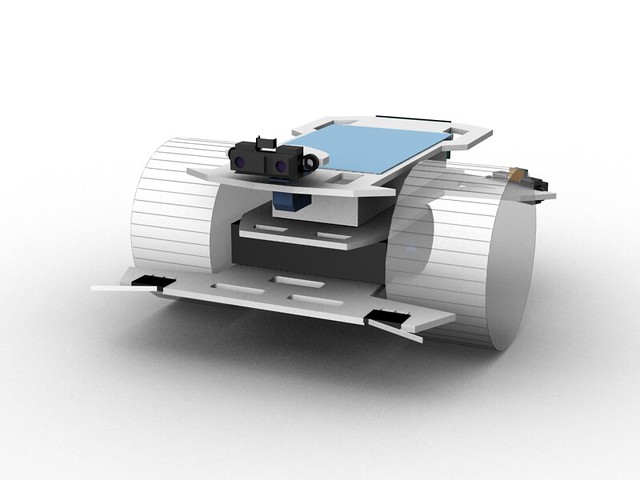
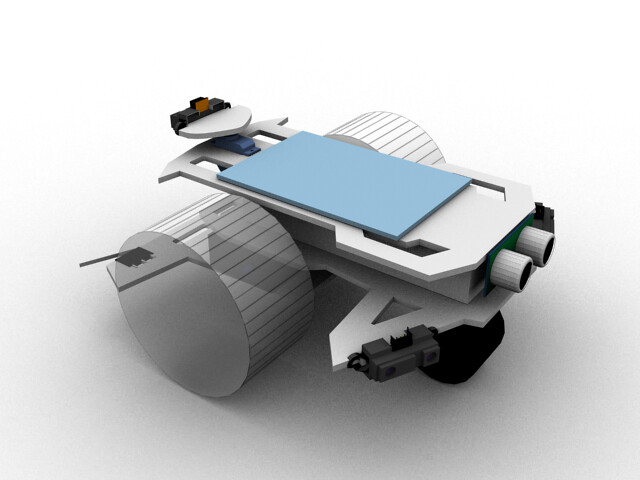
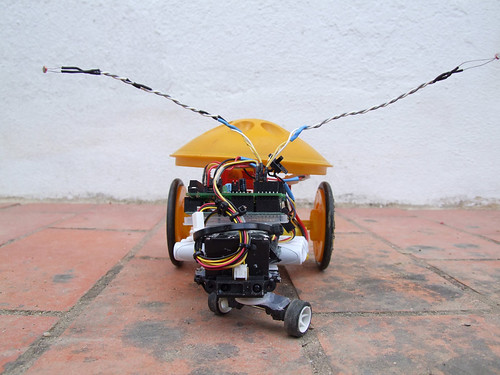
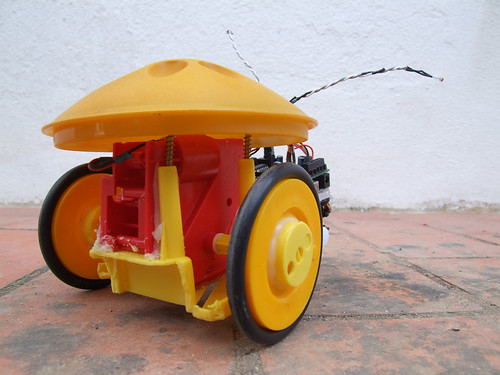
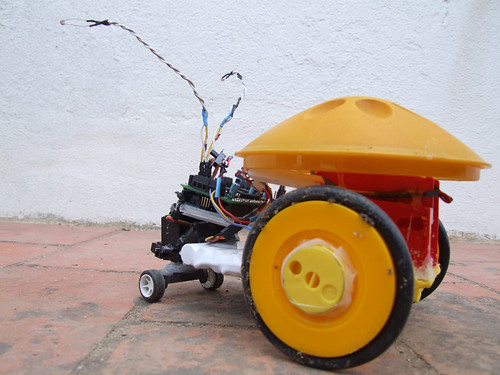
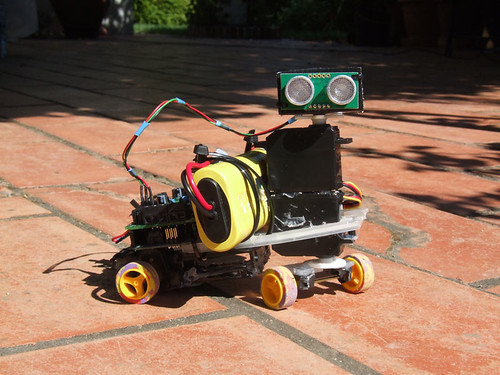
This creature will be able to go in both directions, and for each direction it will have a diferent sensorial setup. On one front there will be an infra-red distance sensor mounted on a servo and two touch sensors to detect colisions. On the other front there will be a sonar distance sensor between two low-range infra-red sensors. This setup will need to use different programming methods for movement and for sensorial perception and will be fun to program.
The design is ready, now let the machine do its job.
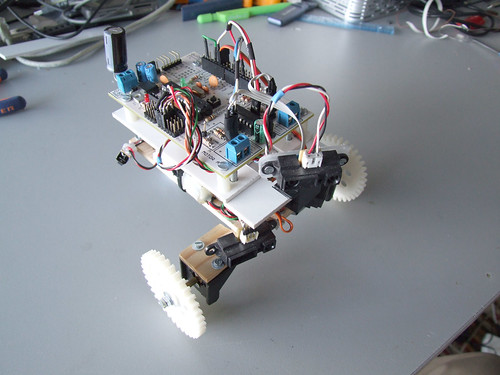
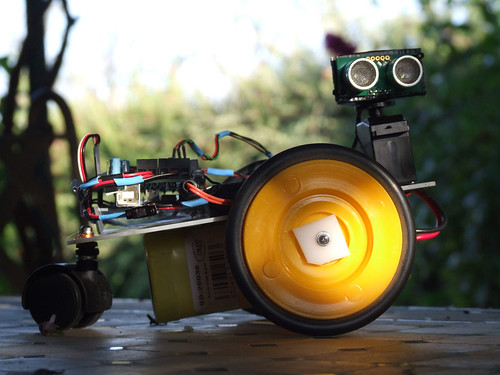
The motoruino is so easy to setup, just plug the motors, sensors, upload code and your bot is ready to go.
I added a big capacitor (4700uF) on the PCB power connections as I had the Motoruino resetting randomly when a motor started (OddBot explains everything here)
This is a quick test drive with the demannu (unnamed bot).
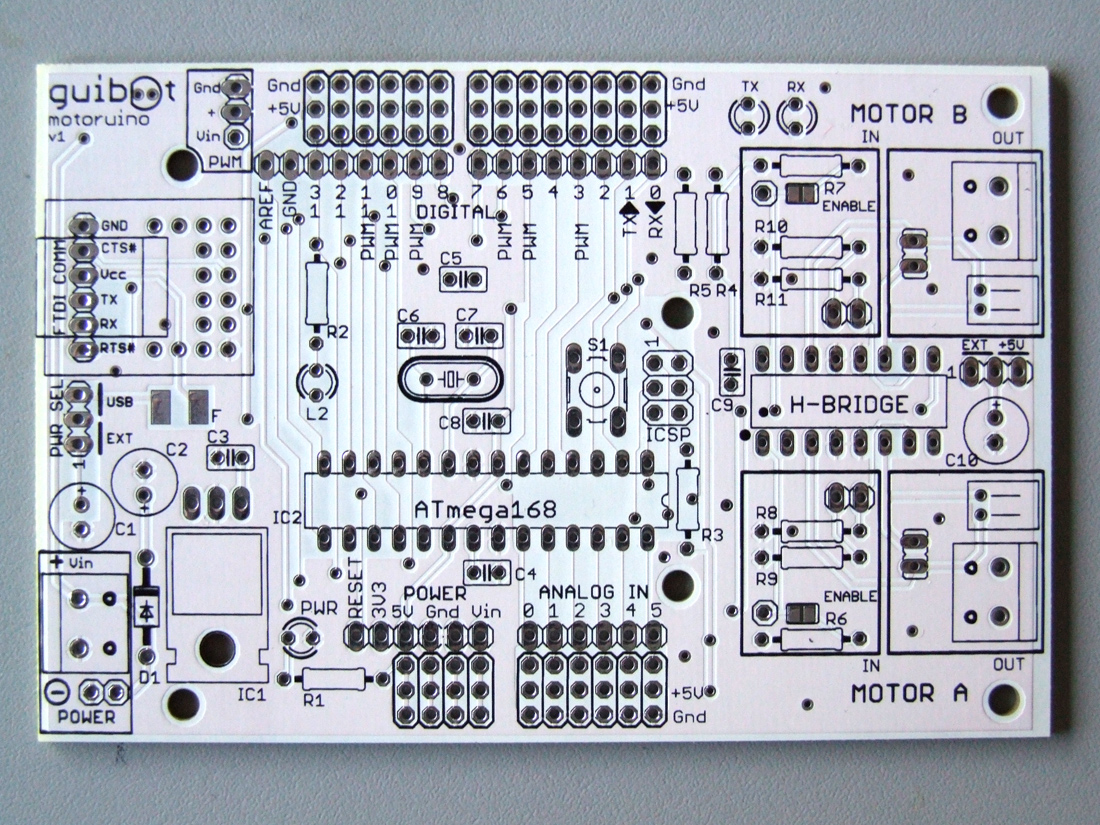
It´s since I started with robotics, that I felt the need of having a board where I could directly plug-in my motors, servos, sensors and all the stuff without having to purchase extra shields, or building pcb’s and soldering and troubleshooting and hours and hours of hard labour.. so, I decided to start designing a new Arduino board. When I mention design, I didn’t actualy design the board in cad software, this amazing task was accomplished by my friend David Palma.
We talked a lot about usability, electronics and how to introduce robotics to newbies, and this is the first batch we ordered. We are working on a new batch with more layout improvements.
Main key words:
– easy to use, understand, play with;
– must be a plug-and-roll board;
– to be suitable with shields, and with regular Arduino Diecimilla/Duemillanove boards;
– the usage of the H-Bridge is open, i.e., there aren’t any Arduino output pins assigned, the user can use the bridge the way he/she wants;
– motors supply and PWM pins might be used with external voltage or regulated 5 volts
– motors have 3 different connectors, screws terminals, male headers, JST connectors
– two possible FTDI/USB connections available:
1. USB / TTL convertor, there are some choices on the market for this one, you can have it in the form of a cable, or in the form of a small pcb
2. USB adaptor with the FTDI chip embedded
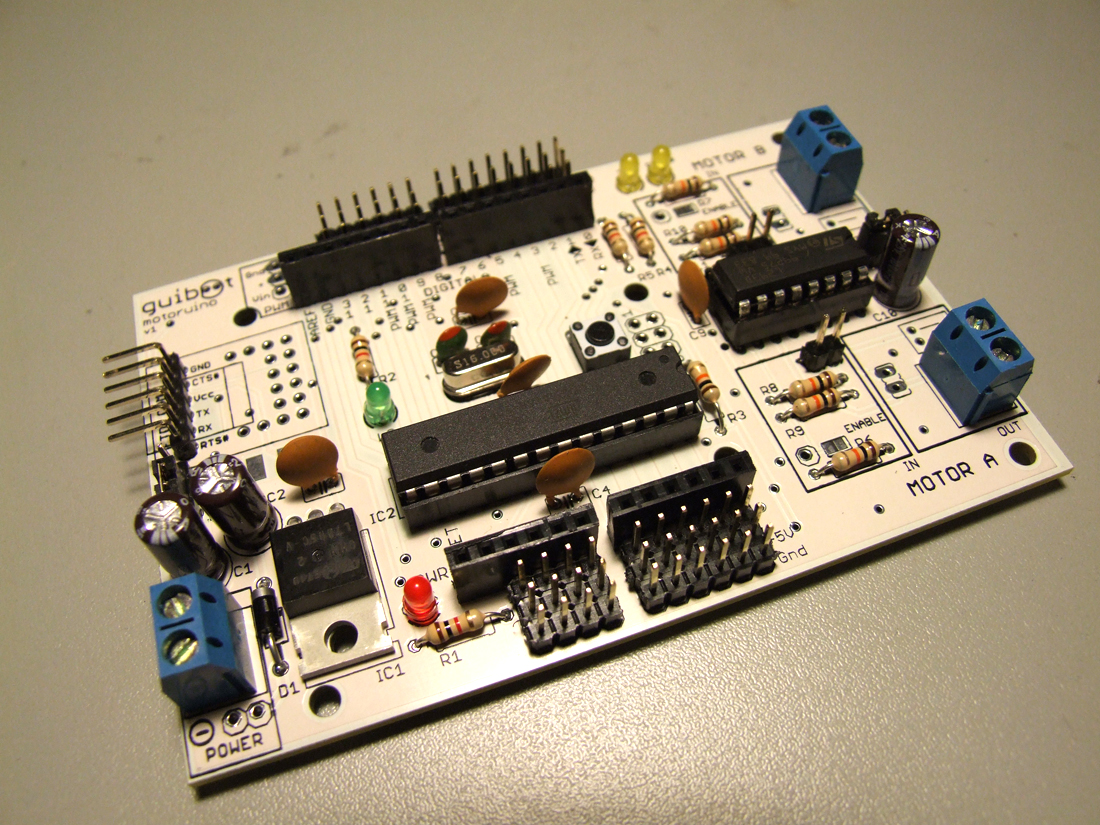
The board fully assembled is pretty neat and clean.
This creature roams through the surrounding environment and seeks for light sources. When an object is too close it reverses motion and turns around, and then goes on seeking light.
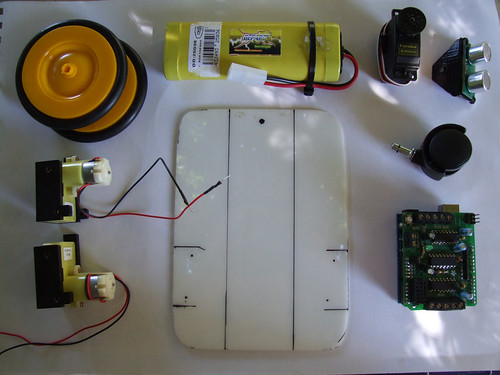
I used an old toy motor and platform, then added two LDR light sensors, a SHARP infrared sensor on the front and Arduino Diecimila for the brain.
With a better understanding of robot building and navigation programming I came up with this robot!
I think that the great improvement here was that I’ve made a plan of what I wanted to build and looked after solutions before the assemble process. So, this one came out a more successful robot!!
This is my first real approach of avoiding obstacles and navigation programming and I’ve had a lot of fun with it! Nevertheless, the values that return from the sensor fluctuate a little and I need to work on it!
Here goes my second robot. This turns out to be the 4th robot actually :)
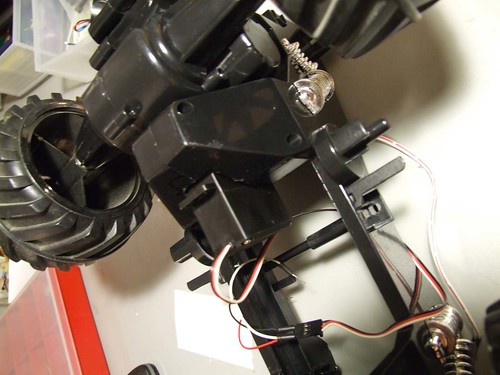
I found this offroad car in an old junk and it was love at first sight!
Now I want to add some brains and sensors and give him a new life :]
The steering DCmotor burned out and I’ve removed all the gears and stuff around it. I’ve made a hole and installed a servo motor to do the steering, it seems to work out good! I can´t post a video because the motor shield I was using burned out as well, now I’m working on a custom motor driver … (it seems I’m having lots of burning issues lately) :D
2008 – 09 – 22 —- update ———————————
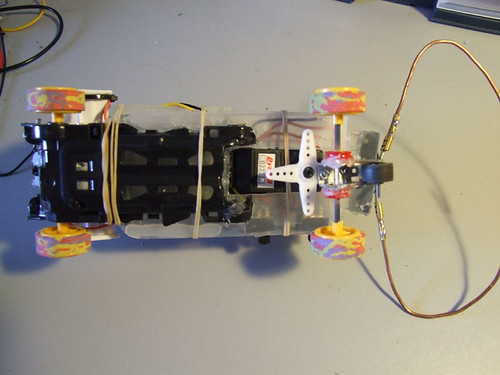
My custom motor controller seems to work quite well! These videos show the servo steering.
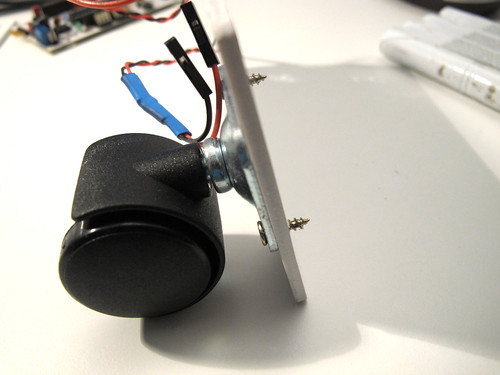
This was my first robotic experiment, I used an arduino and a motor shield with one servo for steering and a small dc motor for traction.
I didn’t have any cool sensors like infrared or ultrasonic at the moment, so I used two micro-switches to be like bug sensors. And I called it “baratinha”, a Portuguese word for “little cockroach”.
I´m so proud of my little Baratinha!! :] Thanks to João Silva for putting me up-to-date!
I thought this was a finished project… I was wrong!! :]
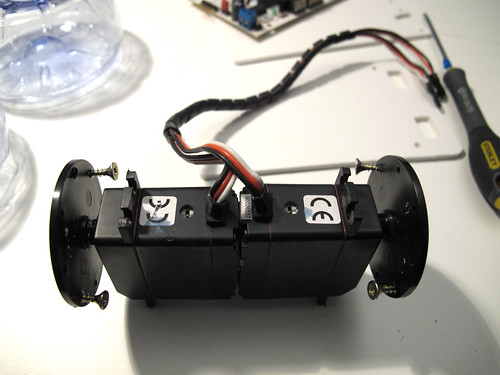
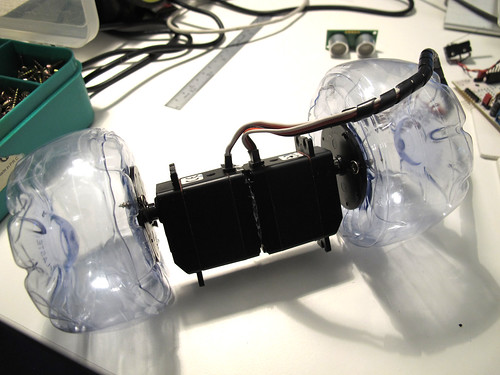
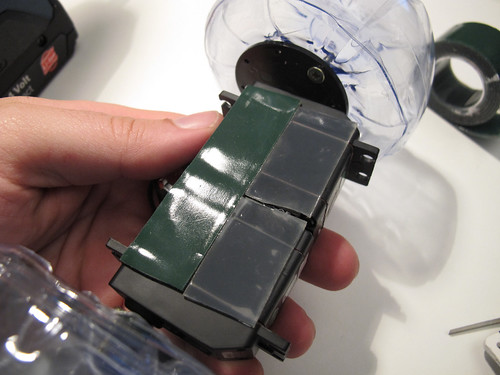
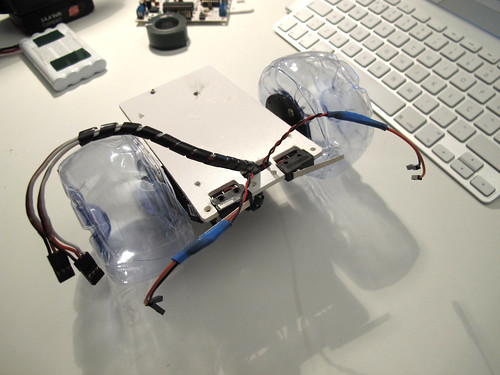
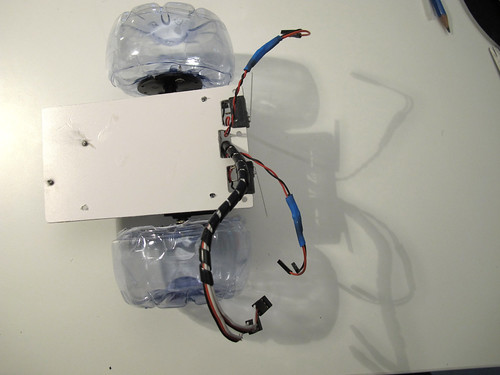
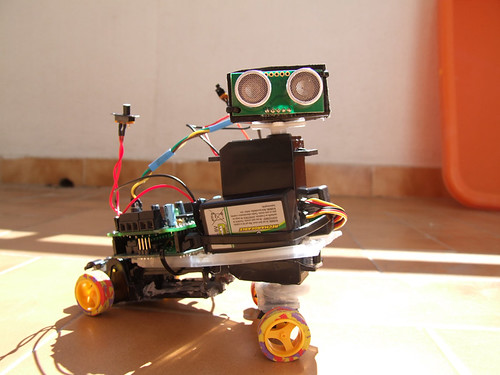
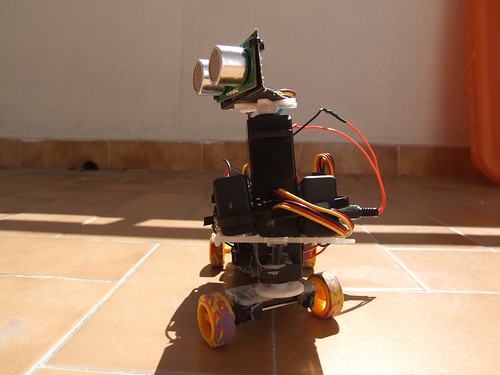
I’ve decided to change the structure and the geometry of the chassis. Now the gravity center is lower, which performs more stability. I’ve decided to remove the other power switches and put these smaller ones, one below the other, so that I can switch on all the system at once. And now about the ultrasonic sensor :)
I’m programming the navigation system, and it’s being another challenge for me! But I’m having lots of fun with it!!
I’ll be out for one week so see you soon guys! ;)
Just a final note: I thought that if I created a blog post and assigned it to my robot project it would appear in this page.. but it didn’t.. so, I’ll update only this page from now on..
I´m closing this project because the motor that I’m using is very weak and it doesn’t have enough strength to run with all that stuff. I’ll make a similar one with a stronger motor and bigger wheels, and with a better understanding of robot design!
It was a good way to start and I’ve learned a lot about hand crafts, physical construction, materials and programming. :)
I started this robot without any planning at all, I was just adding more and more stuff, and when a problem was solved, another problem was created, so this resulted very time consuming. It was something like adding something here and something there, then I didn´t liked it there so changed it… Now I must fix this because I’m thinking about a new way of doing it… so it was like a never ending project :)
The main purpose here was to build something, to understand how work some materials, like hot glue, and to program an interaction system.
The main purpose here was to build something, understand how some materials work like hot glue, and program an interaction system.