May I introduce you to the new family members: Farrusco v2.5, and Farrusco Junior.

Farrusco v2 is the new generation of my first robot Farrusco.
The F2 was created with Filipe Valpereiro from InMotion.pt, and this was the robot used for the last robotics workshops season.

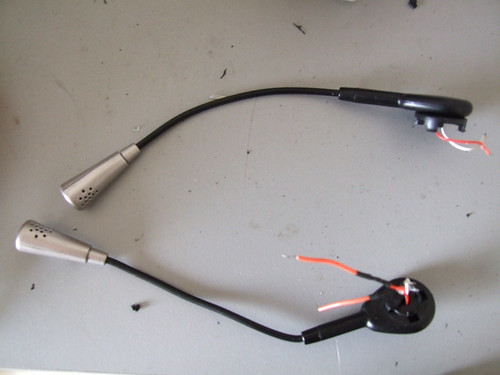
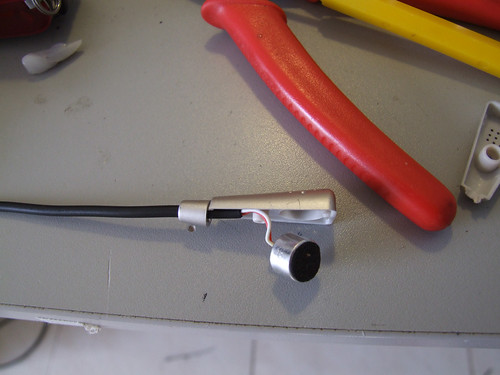
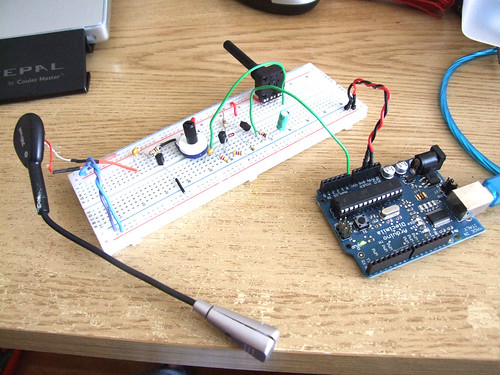
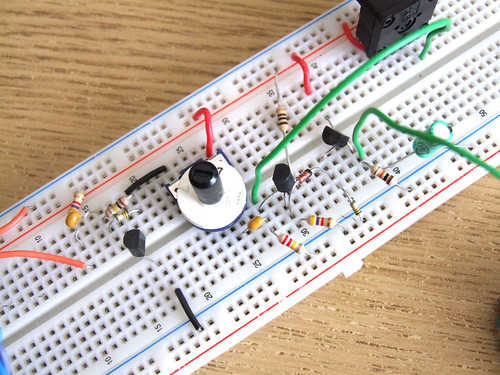
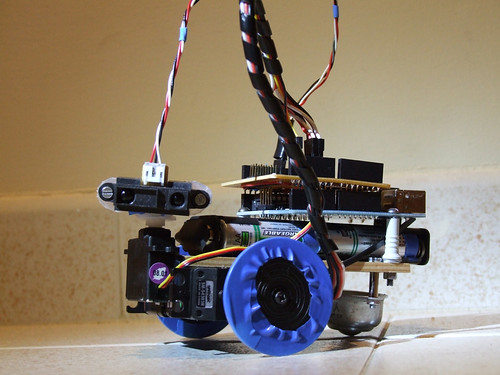
The F2.5 version has a cleaner design, we are using two modified servos to work as DC motors as you can see in this tutorial, the motor driver is an ardumoto, and soon I will upload more photos with new addons.
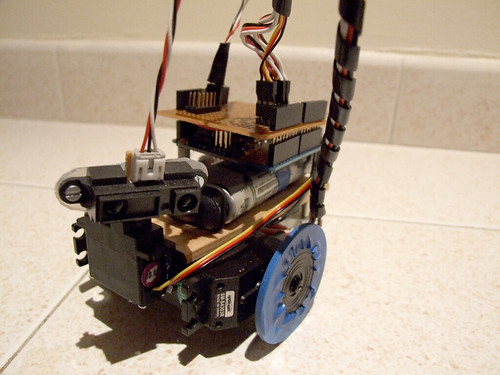
Farrusco Junior is another iteration, he has two modified servos and a small chassis. The modified servos operate as normal servos but they rotate 360º continuously, and you can learn howto hack them watching this video tutorial (in portuguese).
This robot is still a work in progress, and I will upload new pics soon.
All the components were sponsored by InMotion.pt.