Ajuda-me a Ajudar is a non-profit association, they give support to orphan children and young mothers.
This website is all Flash-XML based.

Ajuda-me a Ajudar is a non-profit association, they give support to orphan children and young mothers.
This website is all Flash-XML based.
Lusorobotica.com and EmbeddedDreams.com made a challenge to build a robot only with one servo, and this was what I came up with.
I used the sound sensor I’ve done a few days ago and a little paper-boat + a servo and a box and this is the result :)
This how the puppet works:
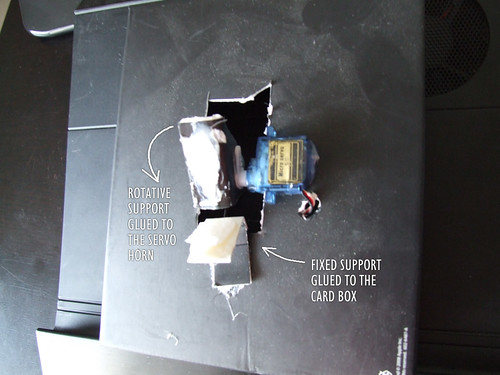
A hole was digger on a card box, and the micro servo is glued to the box as you can see.
One piece of paper is glued to the servo horn, and this will make the puppet talk movement.
Another piece of paper is glued to the box and it will be fixed and hold the puppet.

This is how the puppet is glued to the paper supports. ;)
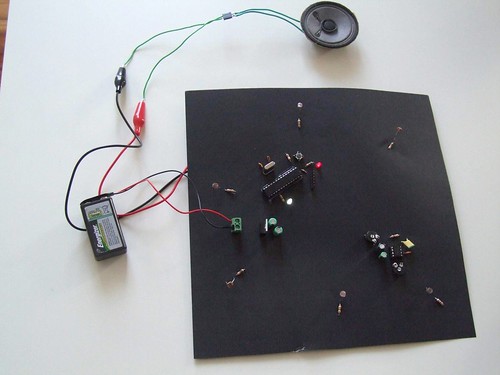
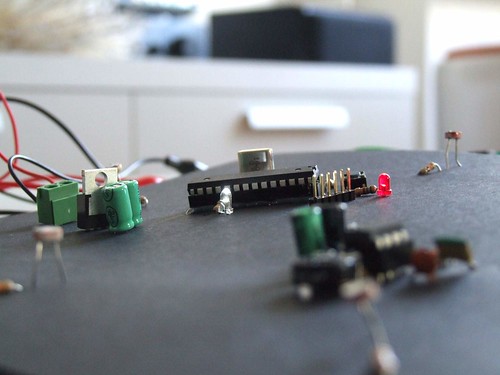
“untitled circuits” is a series of experimental circuits based on paper and other materials.
I’m working on this project with Catarina Mota (openmaterials.org), and this will be our final project for the course “O Som do Pensamento”
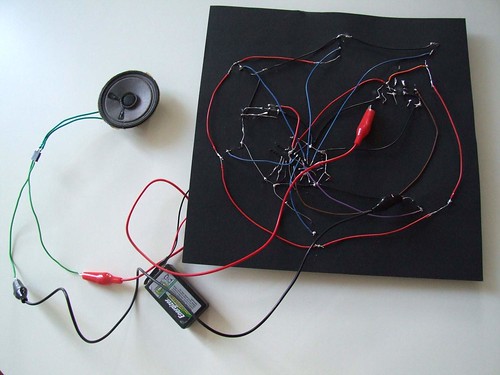
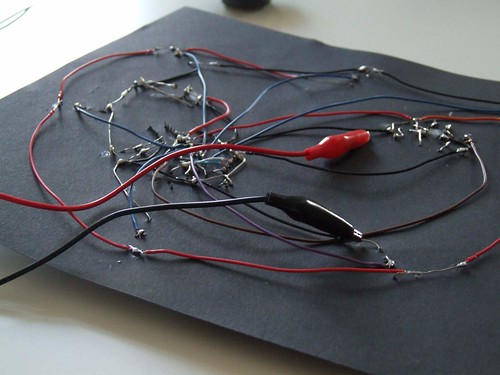
#1 is a copper wire circuit on a paper support that generates sound in real time based on six LDR sensors.
The brain is a paperduino and we are using the Auduino from Tinker
untitled circuits #1 from Guilherme Martins on Vimeo.
Jornal dos Sabores is an online magazine about portuguese food and everything related.
A content management system was built from scratch due to the nature of this website and turned out to work really well.
Take a visit to this flavour’s site and enjoy your stay.

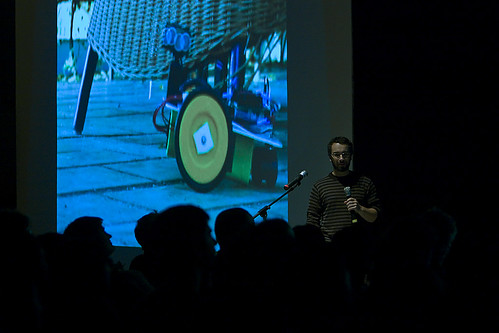
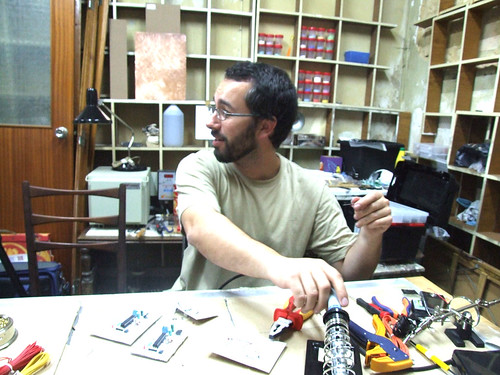
PechaKucha Night Lisbon is next Wednesday (May 13) and I will give a 6 minutes presentation about robotic creations :)

It was my premiere talking to an audience, and I loved the feeling! I hope to be invited next time! :)


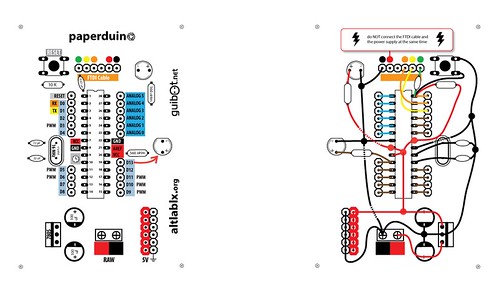
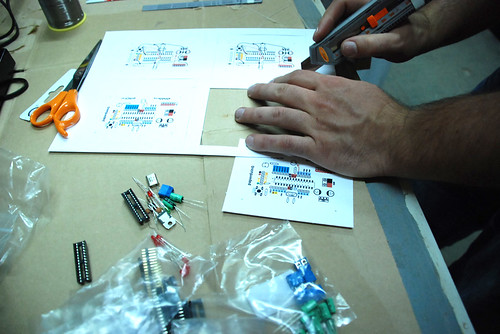
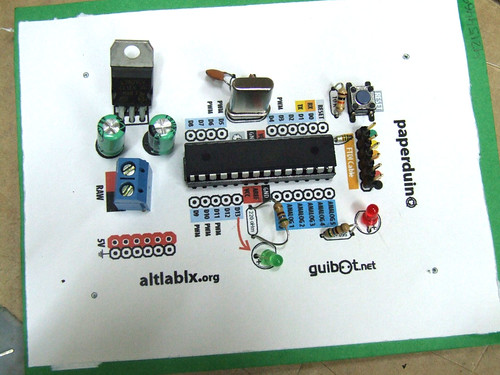
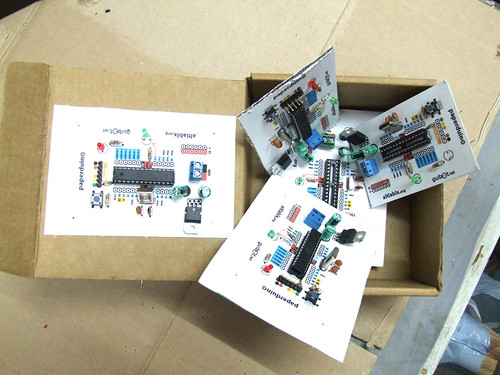
This is a fully functional version of the Arduino. We eliminated the PCB and use paper and cardboard as support and the result is.. the PAPERduino :D
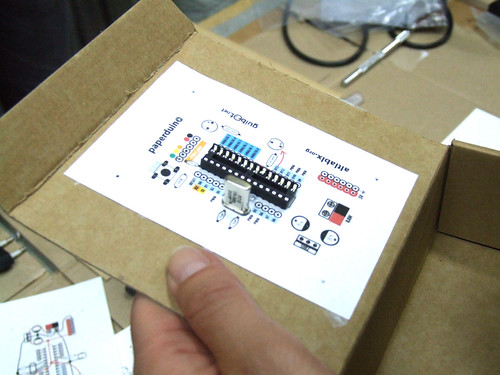
This is the the first version of the layout design, next we will try more designs, and another materials. You just need to print the top and the bottom layout, and glue them to any kind of support you want. We hope that you start making your own boards. If you do, please share your photos with us, we would love to see them ;)
There is no USB direct connection, so to program the paperduino you will need some kind of FTDI cable or adapter. One of this products will be fine:
FTDI cable from Adafruit Industries
FTDI adapter from Sparkfun
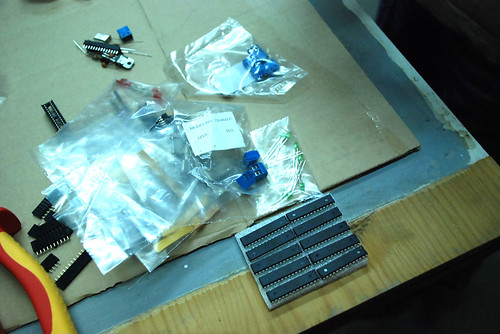
Components list:
1 x 7805 Voltage regulator
2 x LEDs (different colors)
2 x 560 Ohm resistors (between 220oHm and 1K)
1 x 10k Ohm resistor
2 x 100 uF capacitors
1x 16 MHz clock crystal
2 x 22 pF capacitors
1 x 0.01 uF capacitor
1 x button
1 x Atmel ATMega168
1 x socket 28 pin
Female and Male headers

Instructions:
Use a needle to puncture the holes for your components.
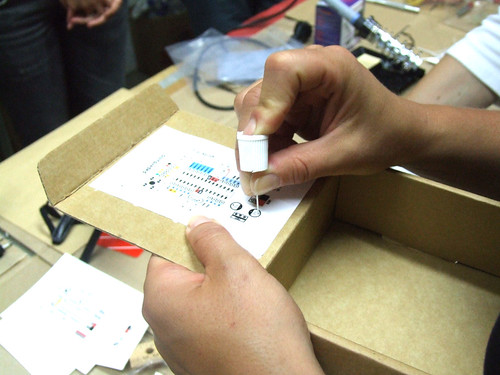
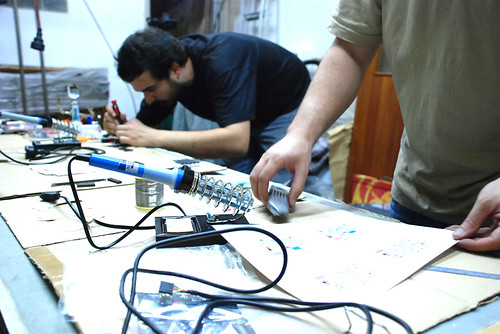
Don’t rush, place one component after another and do all the solder work carefully.
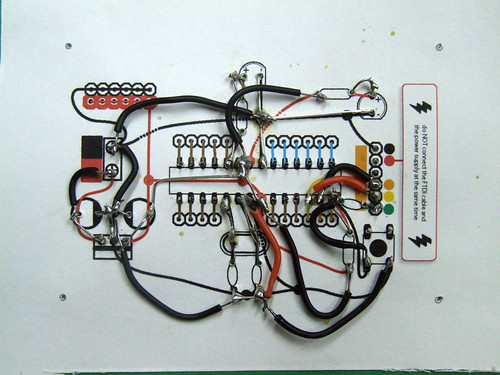
Follow the connection lines.
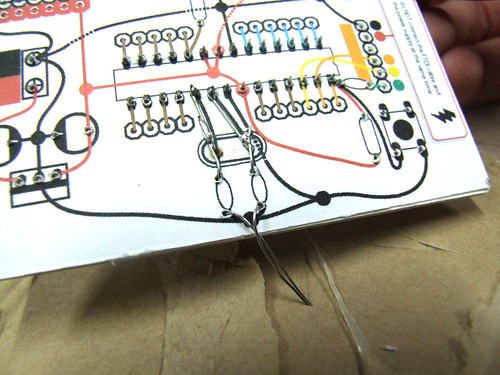
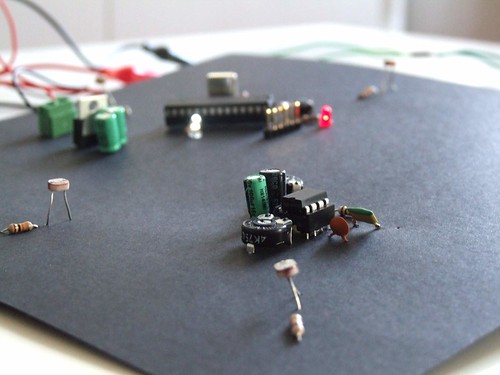
And this should be the final look of your paperduino connections.
PAPERduino for ALL
http://www.google.com/search?client=opera&rls=en&q=paperduino&sourceid=opera&ie=utf-8&oe=utf-8
http://blog.makezine.com/archive/2009/05/paperduino.html?CMP=OTC-0D6B489…
http://gizmodo.com/5248824/paperduino-combines-circuit-boards-with-paint…
http://dailydiy.com/2009/05/11/paperduino/
http://www.freeduino.org/index.html (with 2 stars)
http://search.twitter.com/search?q=paperduino
http://www.engadget.com/2009/05/11/paperduino-is-like-the-cardboard-fort-version-of-every-hackers/
and more..
http://theawesomer.com/paperduino/13281/
http://es.makezine.com/archive/2009/05/paperduino_el_arduino_de_papel.html
http://jmsarduino.blogspot.com/2009/05/paperduino-hifiduino.html
We had a great time building this electronic/paper pieces, and more are to come pretty soon .)
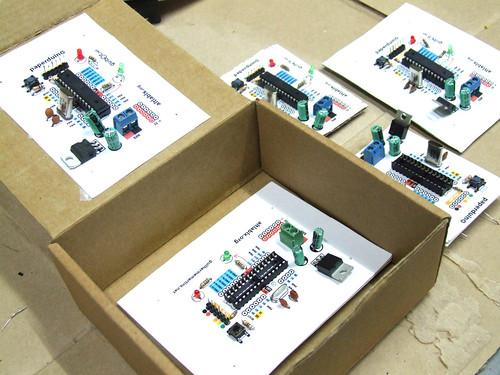
I’m happy to introduce the paperduino :D

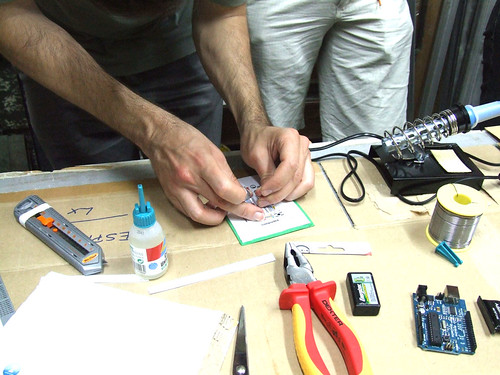
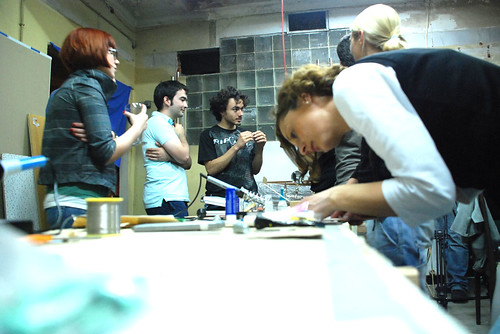
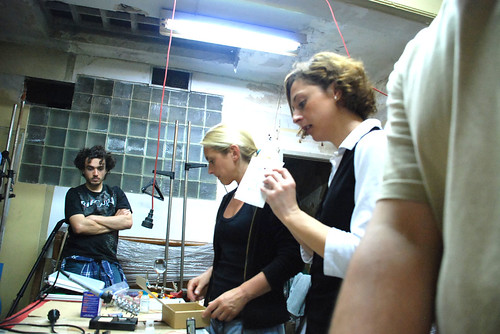
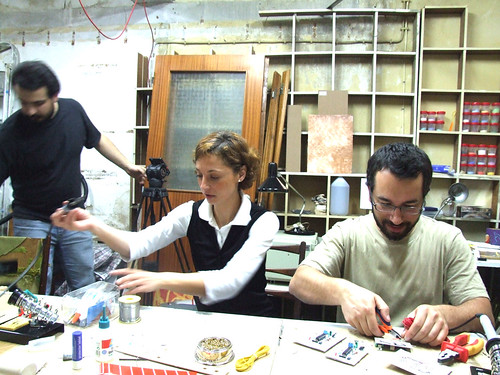
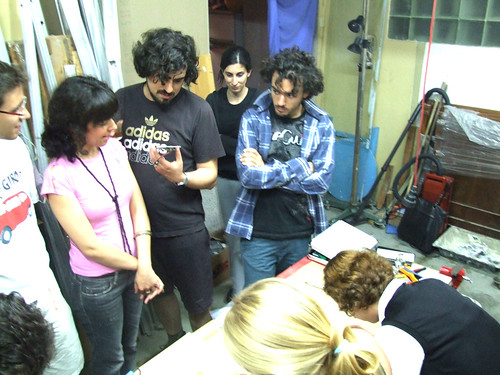
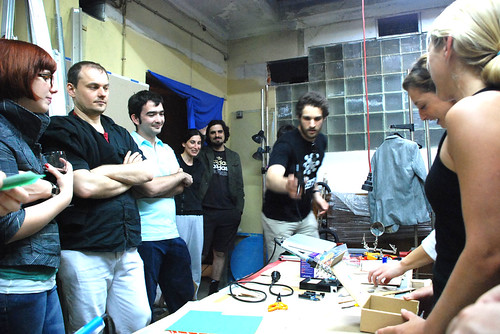
This Tuesday AltLab had its first public session and we did a mini workshop on “paperduinos”, a new generation of cardboard arduinos. We had lots of fun and have many more ideas we’d like to try: different layouts, colored papers, and other materials. More info soon at AltLab.

Finally I have some time to continue with this investigation and great improvements were achieved with the circuit provided by Ant: http://www.rev-ed.co.uk/docs/picaxe_sound.pdf
First here are the photos deleted by mistake from flickr:
Headsets microphones
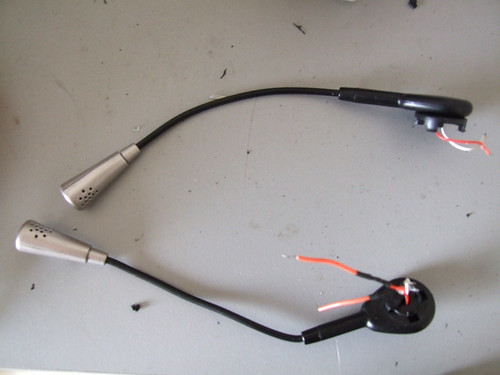
Electrec thingey inside.
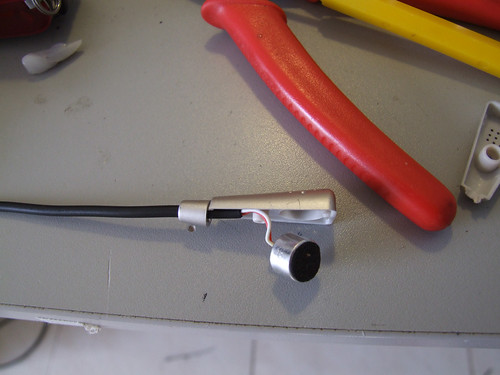
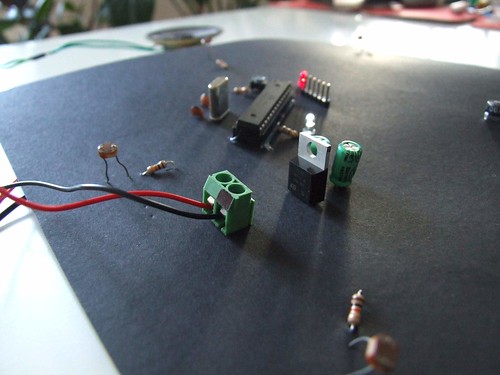
The circuit
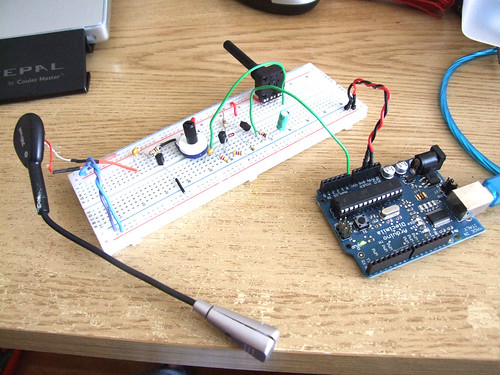
This is a closeup of the circuit, I´ve added a 10uF capacitor to stabilize the output signal (it´s the green cap on the right).
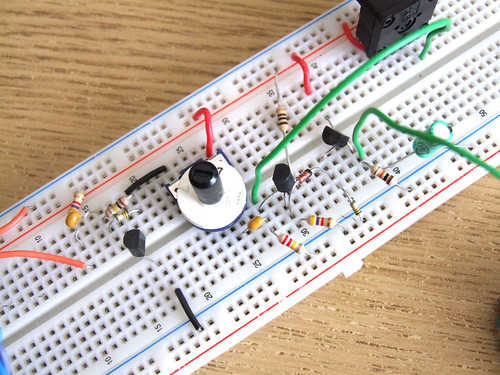
The problem here is that I can´t imagine myself soldering all this components onto a pcb, I would like to have at least two of these, four would be awesome.
Click the following button to see source code for Arduino and Processing
Just finished another walkthrough about hacking a HiTec servo and make it spin continuosly.
Follow it on flickr: http://www.flickr.com/photos/guibot/sets/72157617531839610/
Instructable: http://www.instructables.com/id/HiTec-Servo-Hack/