G’Remote – Arduino based remote controller

27-August-2009 UPDATE:
My friend Gerhard from Germany asked me to build a walkthrough regarding the G-Remote, with part list, schematics and code. And here it is.  Enjoy  :D

___________________________________________________________________________

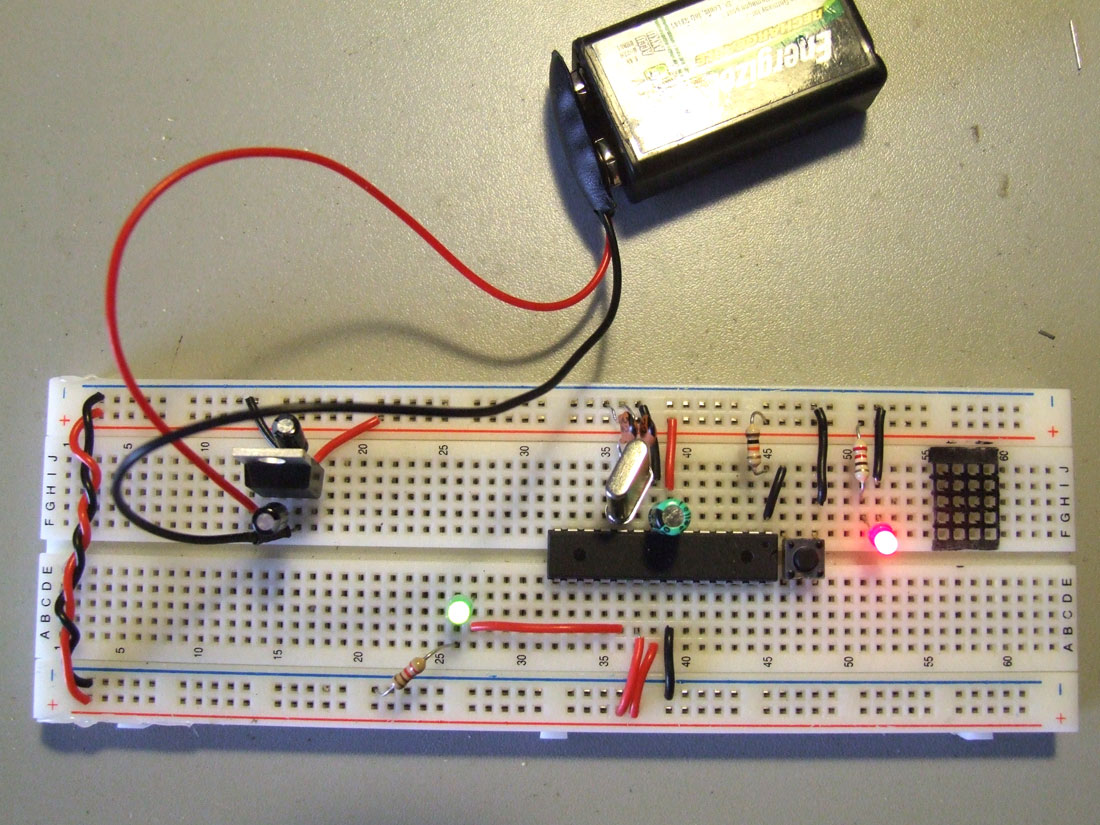
This is my first attempt to make a custom remote controller, and also my first customized Arduino.
After seeing this post made by OddBot I wanted to try to make one myself.

I figured out that if I purchased one remote controller it would be cheaper than buying two of these and paying shipment to Portugal.

So, ripping the guts from a game remote controller I get two joysticks, a couple of buttons, two nice motors and one small lcd.

Each joystick have one button inside, that is cool  :-)

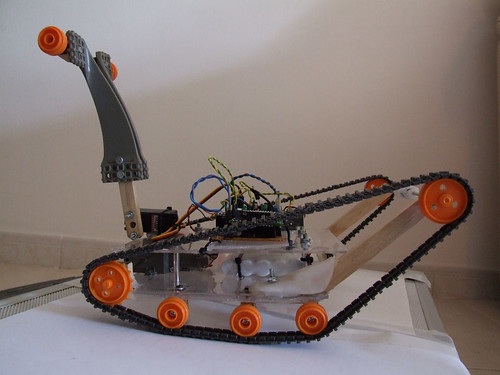
Now I have more control over my bots, specially the ones with two motors.. will post videos later.

no comments on this one :-)

Paulo Sousa


Paulo Sousa asked me if I could give a new life to his website.  And for me that was a great proposal because I love sitar and everything related with the oriental culture.
He gave me all the creative freedom and I enjoyed the design process a lot.
Please take a time and visit his awesome work as a sitar player.
(click the image to enter the site)

BreadUino

This came up with the need of having the arduino permanently installed on the robots, I´m tired of having to remove the arduino from one bot to the other, and then rewire everything, and then reupload the code everytime I have a new idea, or everytime I want to show the bot to someone.

So I followed the ITP Physical Computing tutorial, and it works like a charm, now I want to try to upload code with the FTDI cable, and If I have success on this I can start making my custom Arduino boards. :D

The link below might be of interest:

Burning the bootloader without an external AVR-Writer

=================================================================

Update: 18.03.09

And here´s the trick to upload code without having to remove the chip to a normal Arduino board, and then put it back on the breadboard, I´m using an FTDI cable, Black and Red connect to GND and +V, he RX from the FTDI cable goes to the AVR’s TX (pin3) and the FTDI’s TX goes to AVR’s RX (pin2).

“I hold down the reset button, press the upload button, count to three, then release the reset button. Then the IDE seems to upload the smoothest.” Full credits to Rudolph for sharing the trick.

Another mighty trick is using a 0.01 uf cap between the RTS (green wire) and reset pin, it will make an auto reset before uploading!!! I´ve made my day!! :D    Thank you Rory  ;)

=================================================================

Testing the circuit with the L293D :-)

bigbro

After completing the new motor driver board, now I feel ready to continue with the development of this bot..

For now it´s just remote controlled, but it will have some intelligence soon.
I will try to add microphones and use them as sound sensors. If I add for example 4 microphones, one on each side of the bot I could detect where does the sound come from and make it move in that direction, then add a couple of distance sensors to avoid obstacles..

My living room seems to be too small to drive this bot..

see it on MAKE :]